with Exito decals
Royal Indian Air Force, 2 Squadron, India 1946
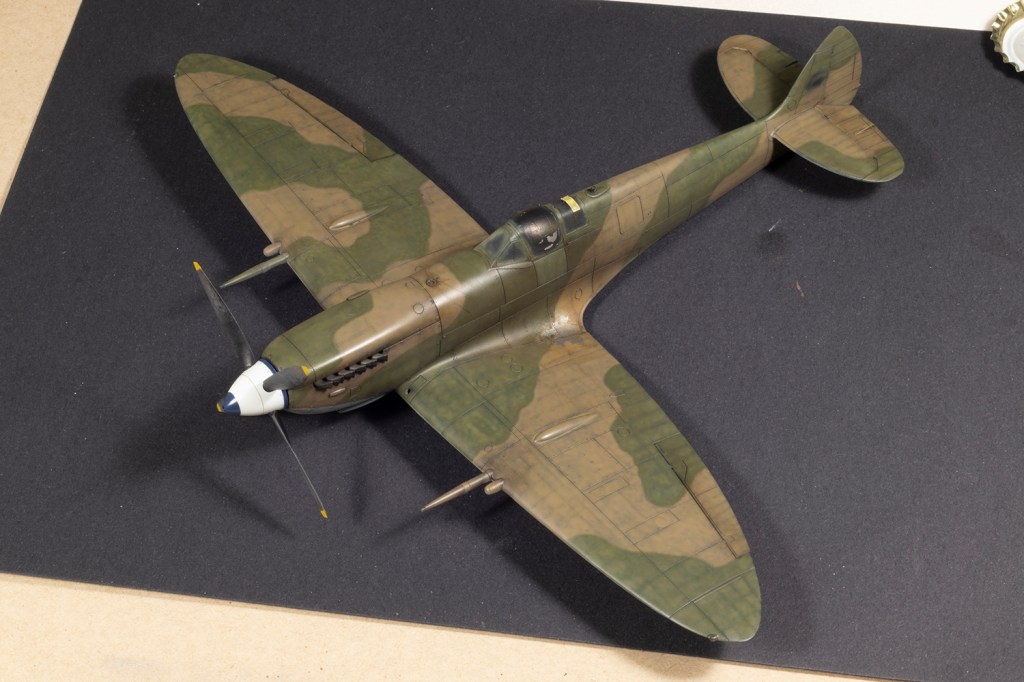
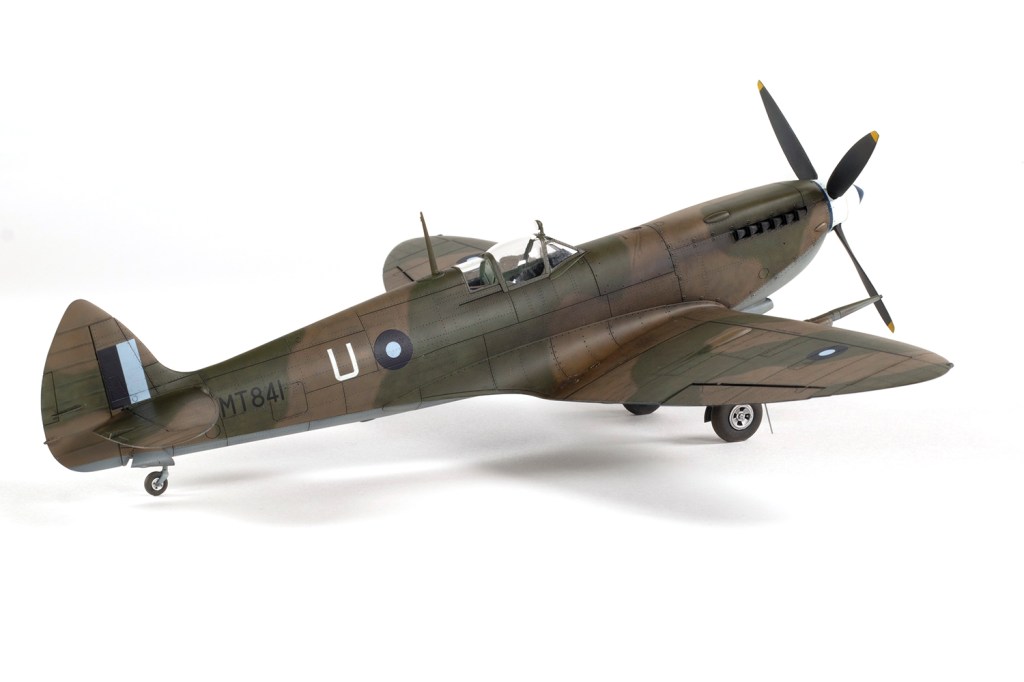
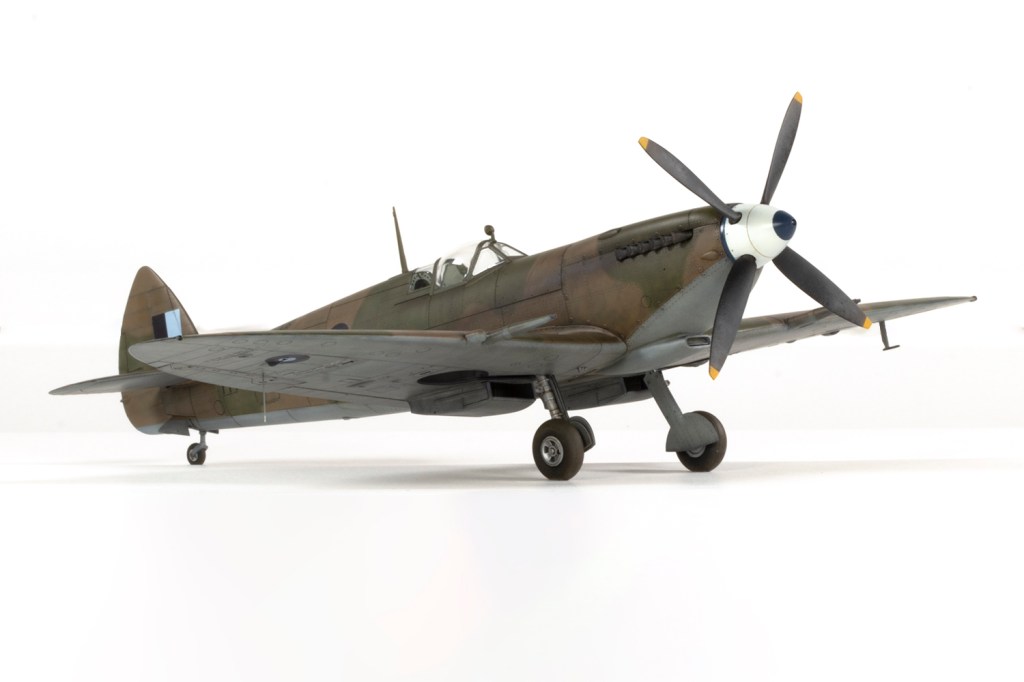
I do love a Spitfire, and I’ll jump at any chance to add one that fits in my collection. It’s even better when it’s an Eduard Spitfire, because I’ve found they’re like modelling comfort food. They are wonderful models that I can put together whilst pretty much on autopilot. I was delighted, then, when Exito Decals released a set that included markings for a post-war Mk.VIII – a mark of Spitfire I’d not yet been able to acquire.
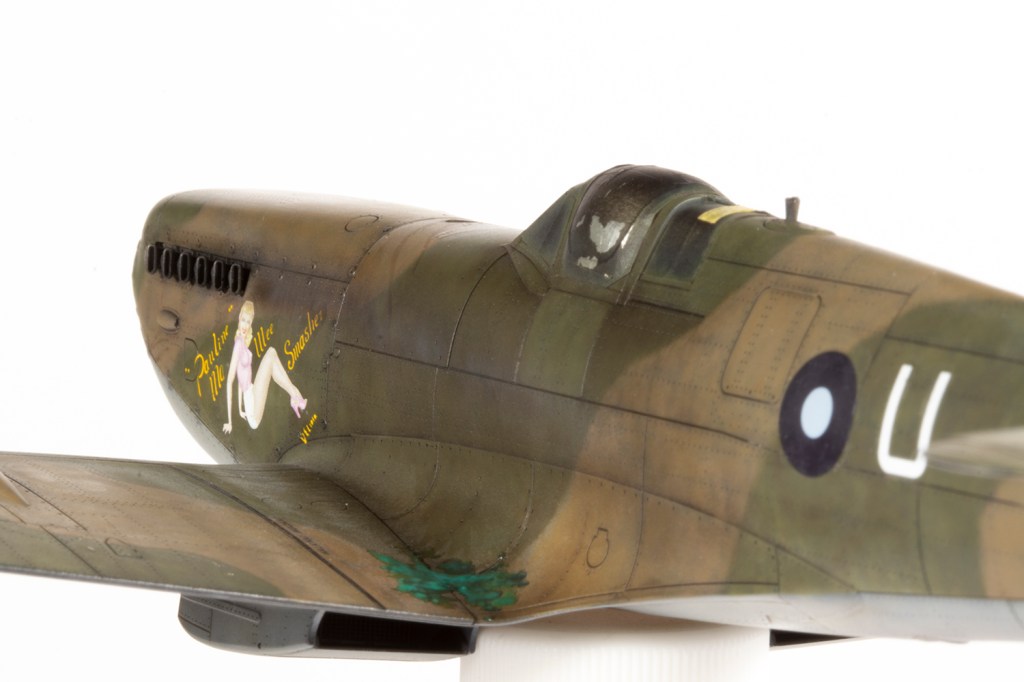
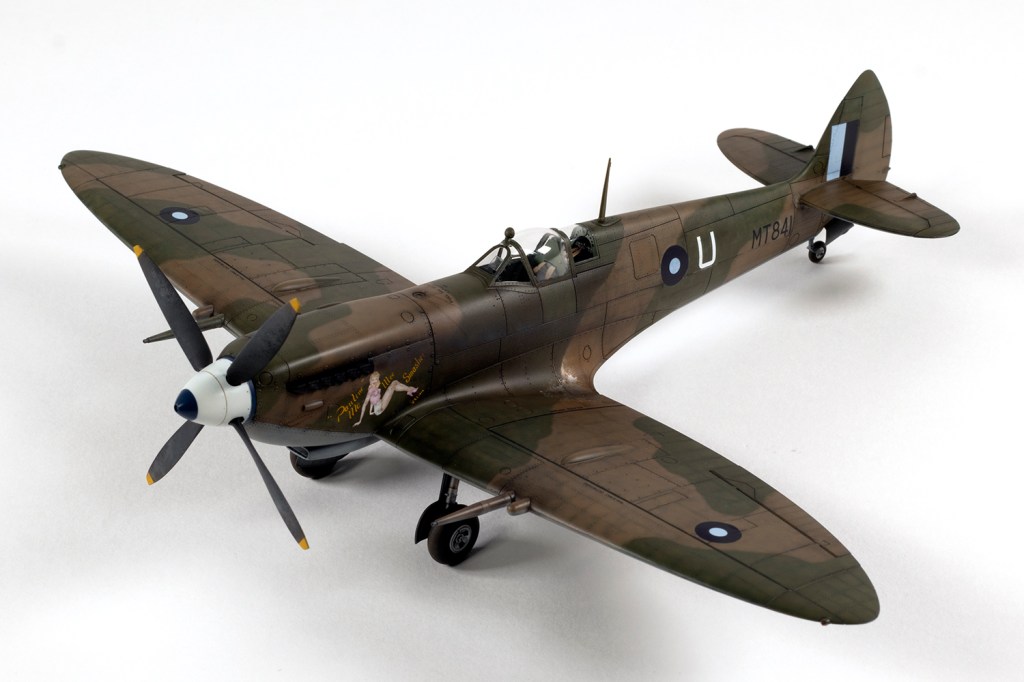
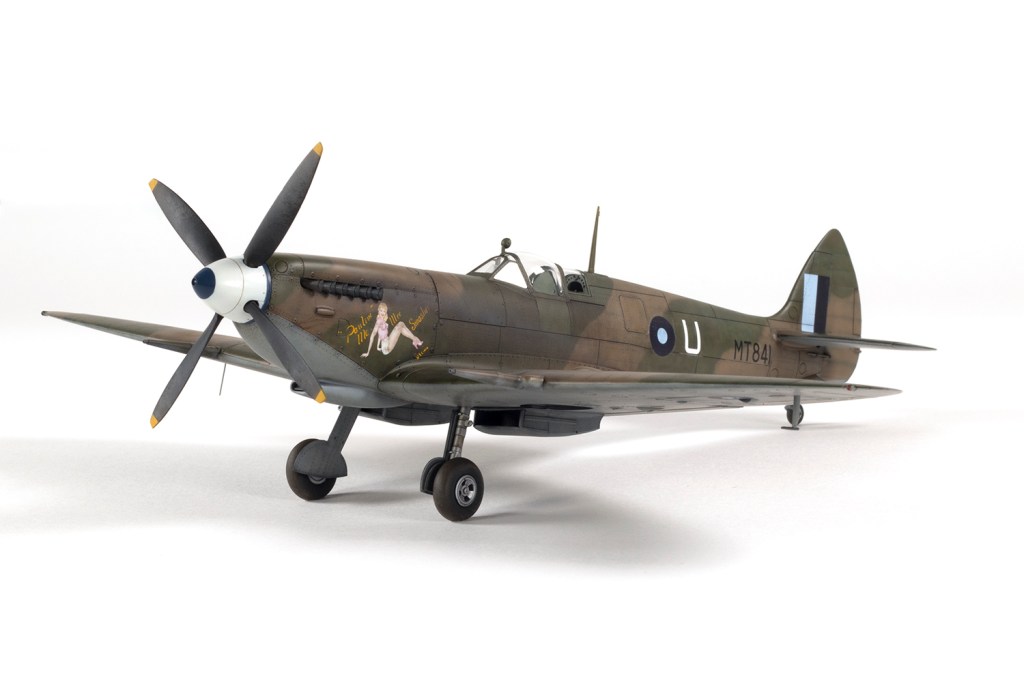
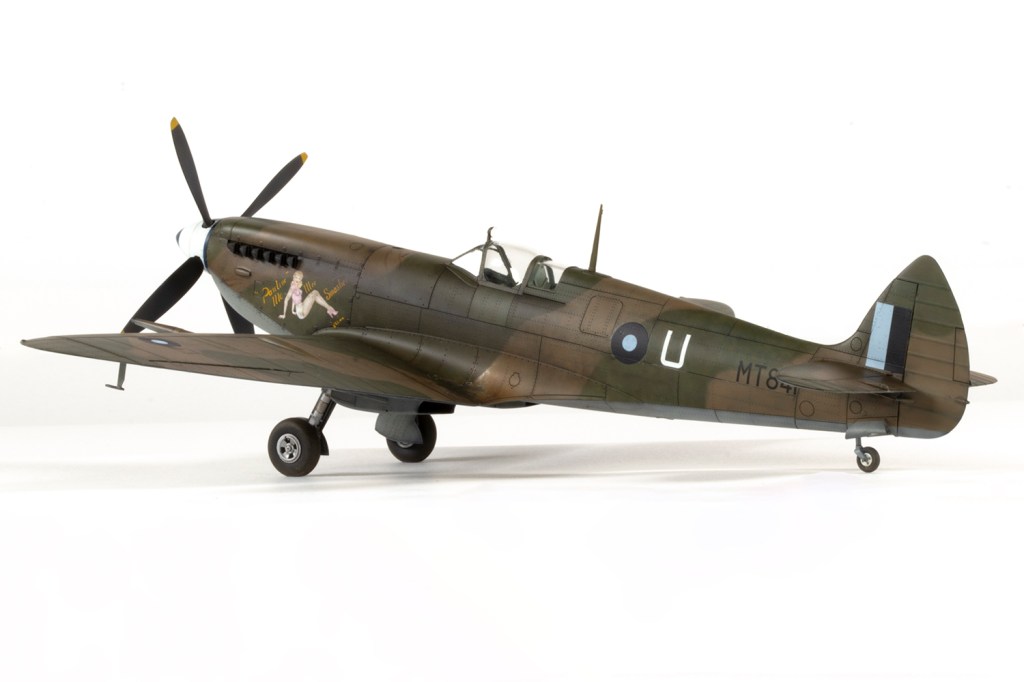
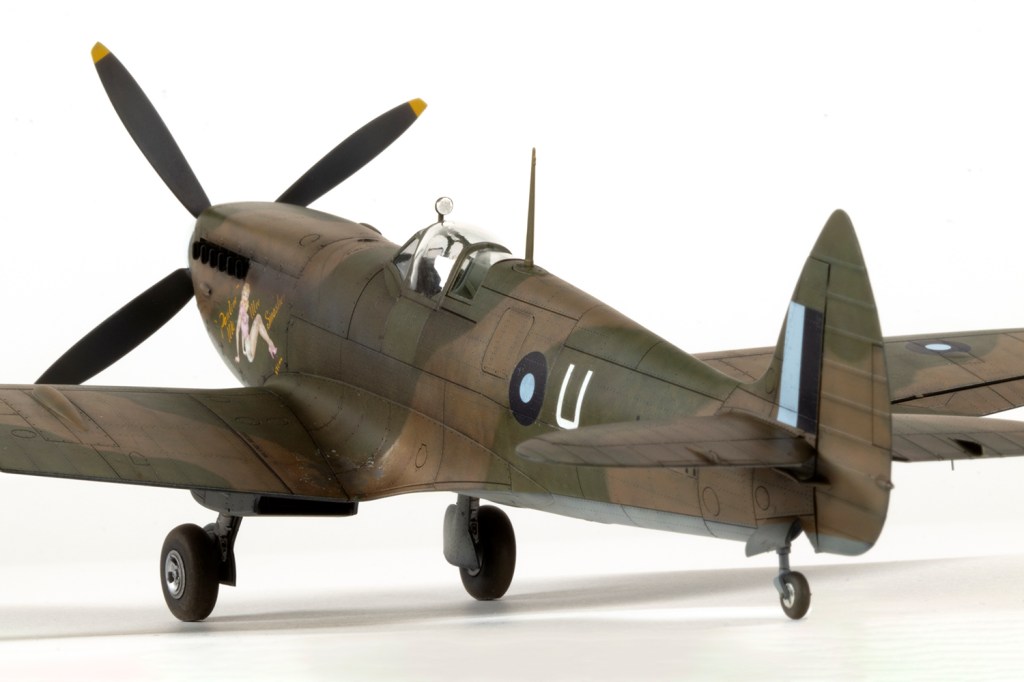
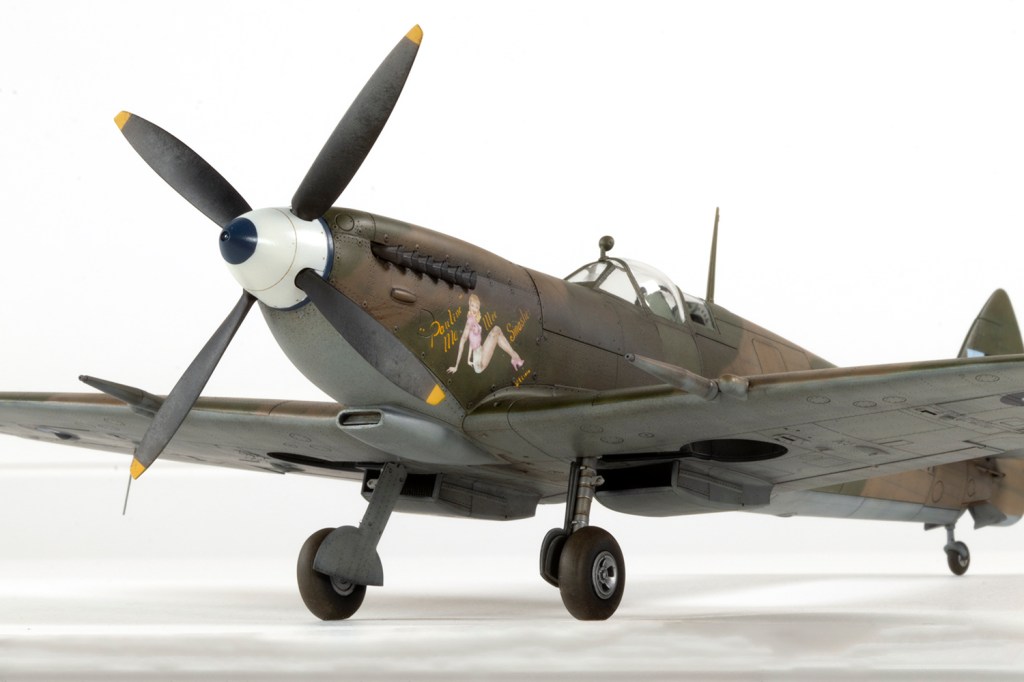
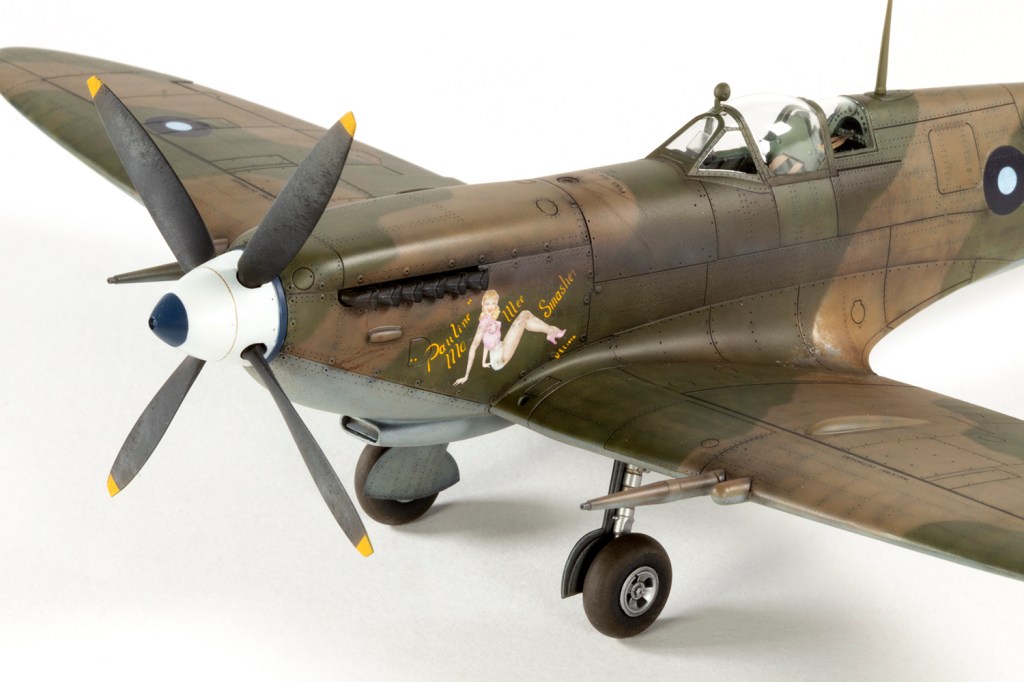
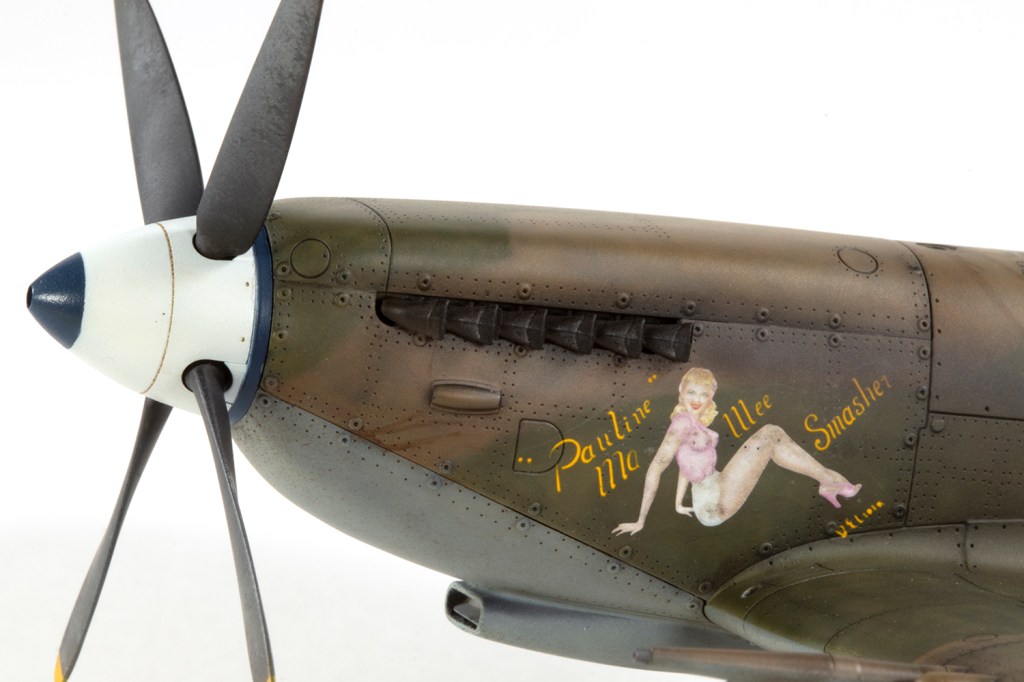
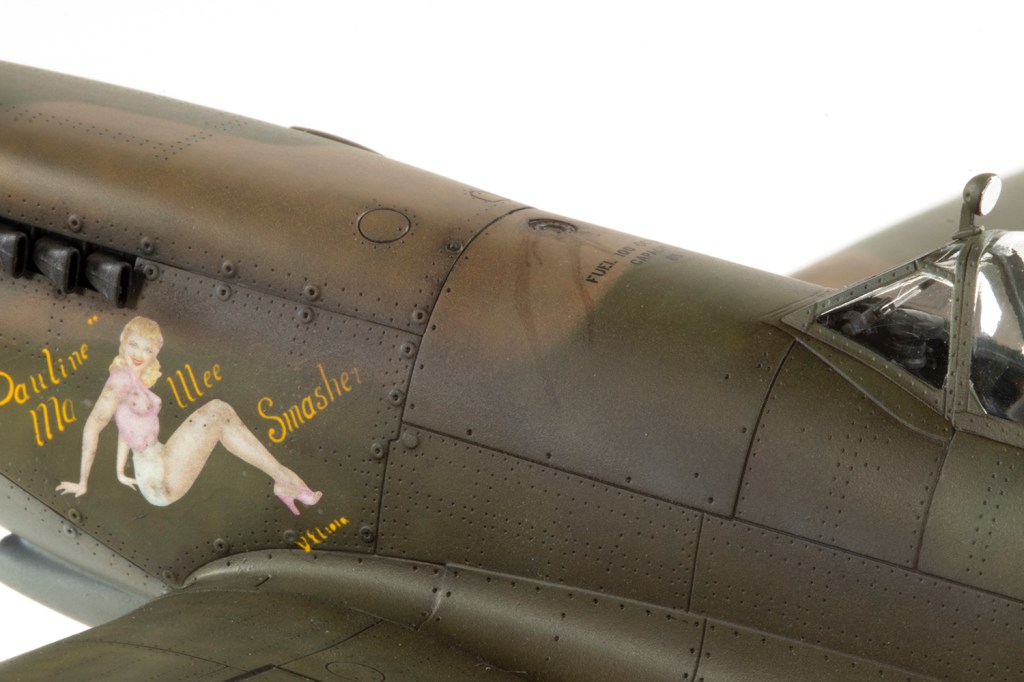
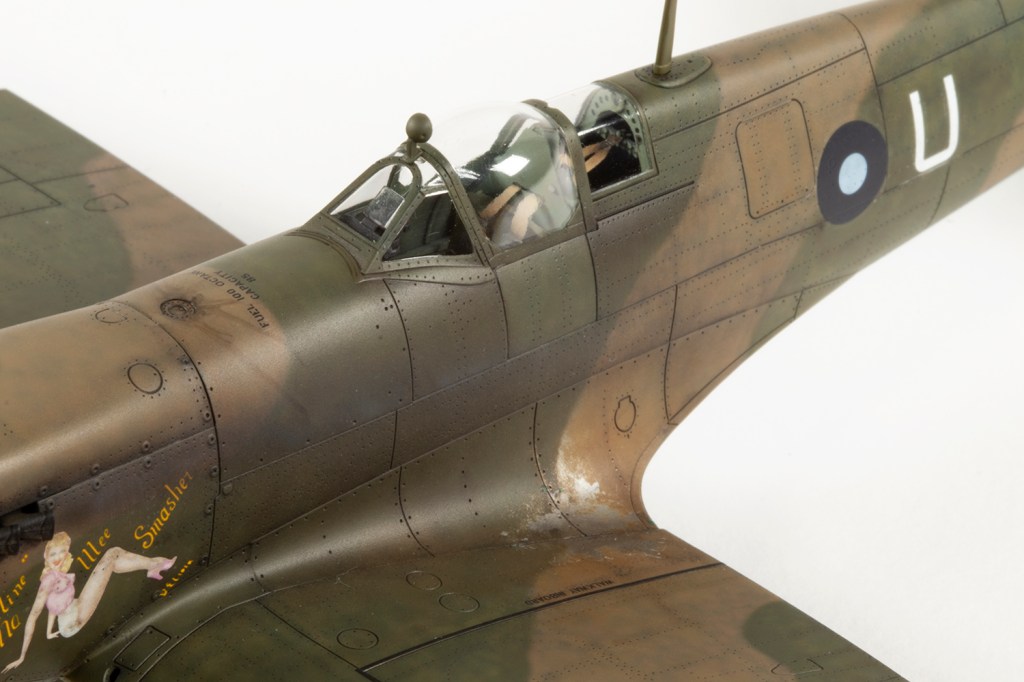
The decals are absolutely beautiful and come with exquisitely illustrated A4-sized posters for each airframe. The theme tying them together is ‘Sexy Spitfires’, which I’m not a huge fan of and thankfully the LF.VIII option was tastefully clothed. I can take or leave nose art, but the scheme was a lovely Dark Earth and Dark Green combo, which I don’t get to model very often.
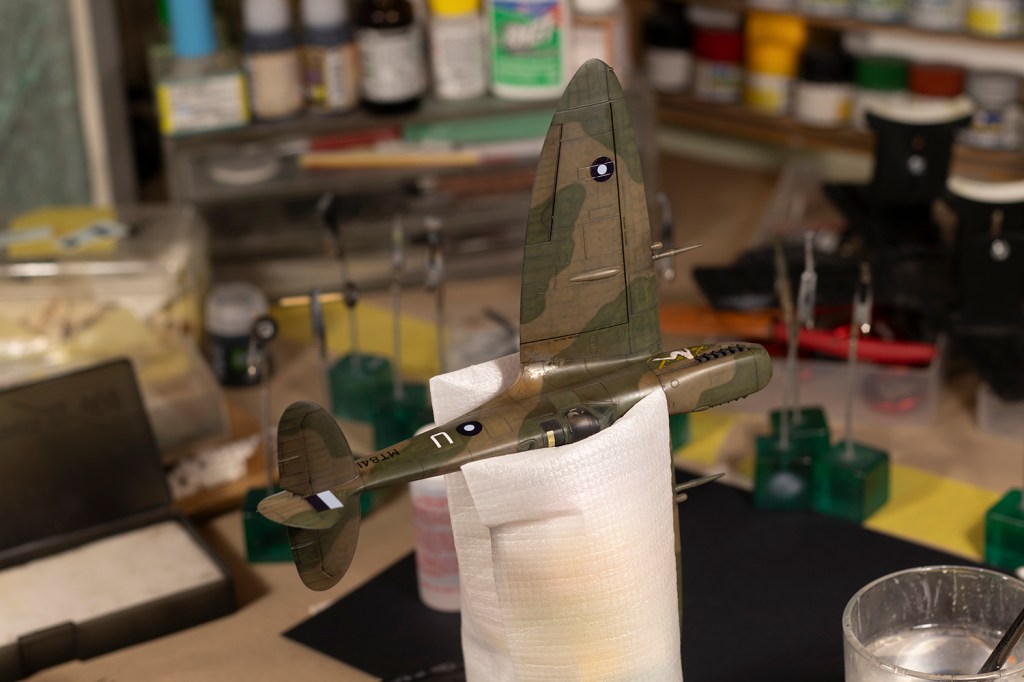
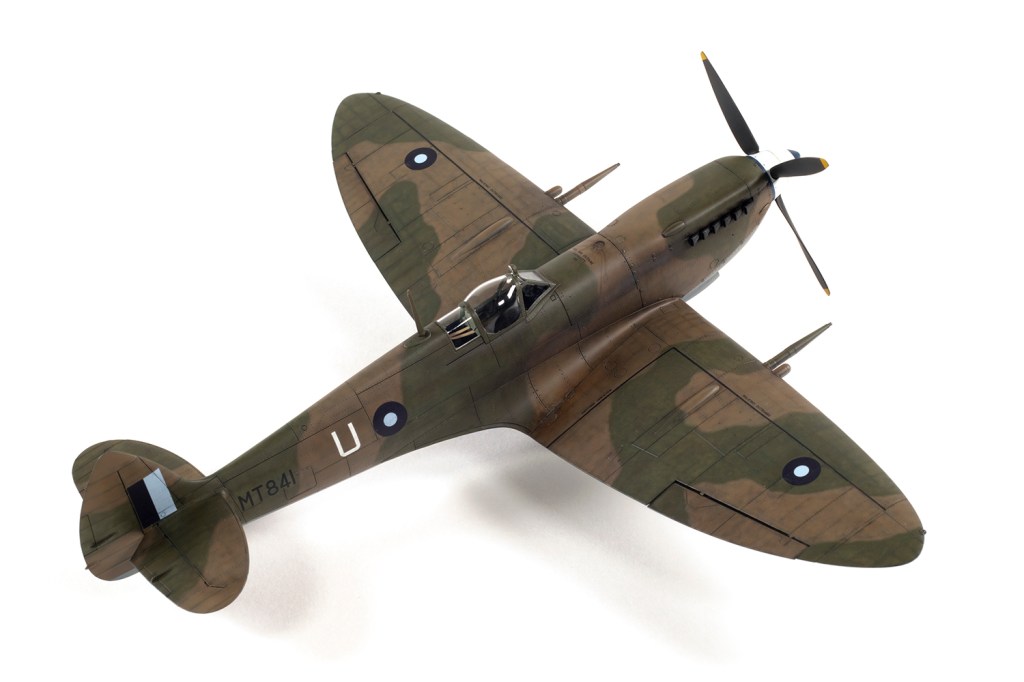
Apparently unlike most modellers, I’m not particularly interested in the history surrounding the aircraft and prefer to focus on the airframe. I therefore know very little about the circumstances of MT841, but there’s a great photograph you can easily find on the web showing it in British India with the Royal Indian Air Force in 1946. The photo is black and white, and there are some nice visible details (like the wonky painting of the spinner tip); the main ambiguity for me is the colour of the wheels, as they look rather dark for aluminium.
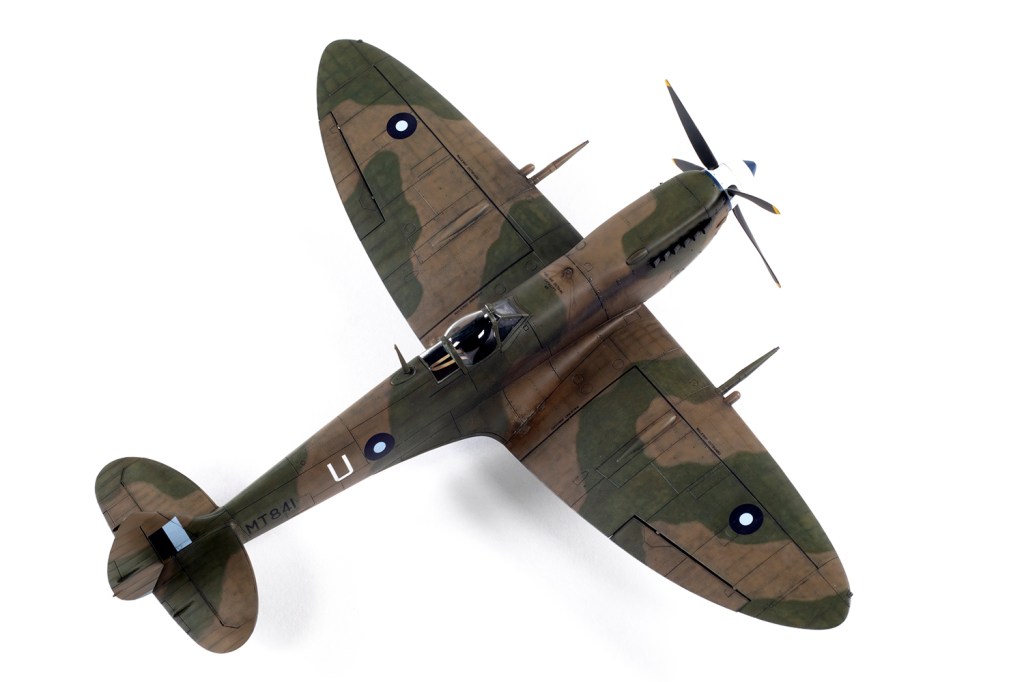
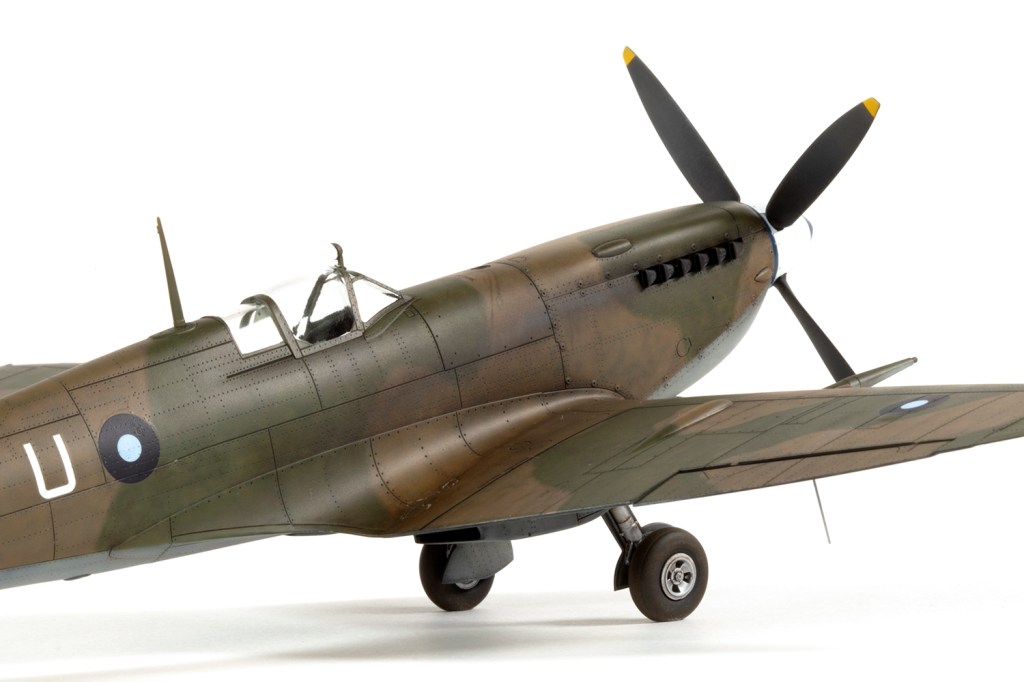
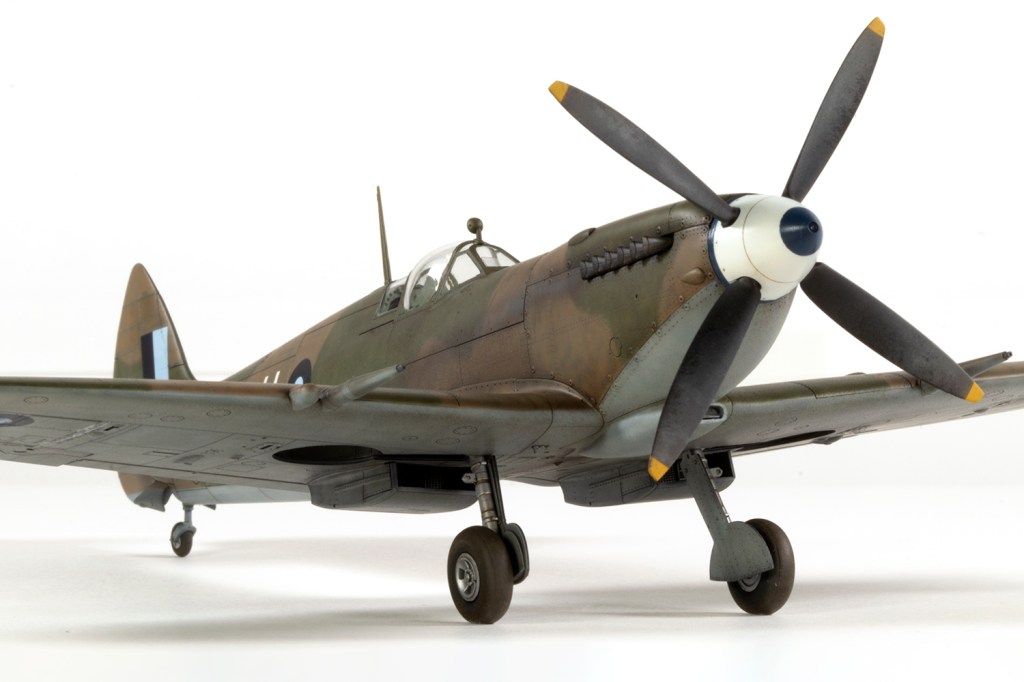
Eduard’s series of Mk.IX/VIII kits is well known, hailing from 2013 and therefore entering the difficult teens. But difficult it is not, and for this model I used a Profipack HF.VIII kit with the ugly extended wing tips and included PE and mask sets. Of course all the parts are there for pretty much any Mk.VIII, and so I simply needed to add the normal wing tips and larger rudder and then just follow the instructions.
The cockpit provided in the box is just fantastic, and doesn’t need the PE really, especially if like me you close the canopy. Nevertheless I like to practice where I can on stuff that will be invisible, so when I saw some of the titchy PE Eduard would have me add to other PE, I pulled out the soldering iron to see what I could do.
I am not an expert solderer (apparently that’s not a word) and was only taught how to solder printed circuit boards by my dad in my early teens. (One year the family Christmas card he sent out was a complicated affair involving LEDs that illuminated when the card was opened, so we all had to pitch in to get them done.) I had no reason to touch solder again for the next few decades, but was inspired by Paul Budzik in 2020 to give it a go ago for PE. Although I use it rarely, I’ve found it a revolutionary technique for PE, as by far and away my least favourite thing about that medium is sticking it together. Solder produces ultra-strong bonds.
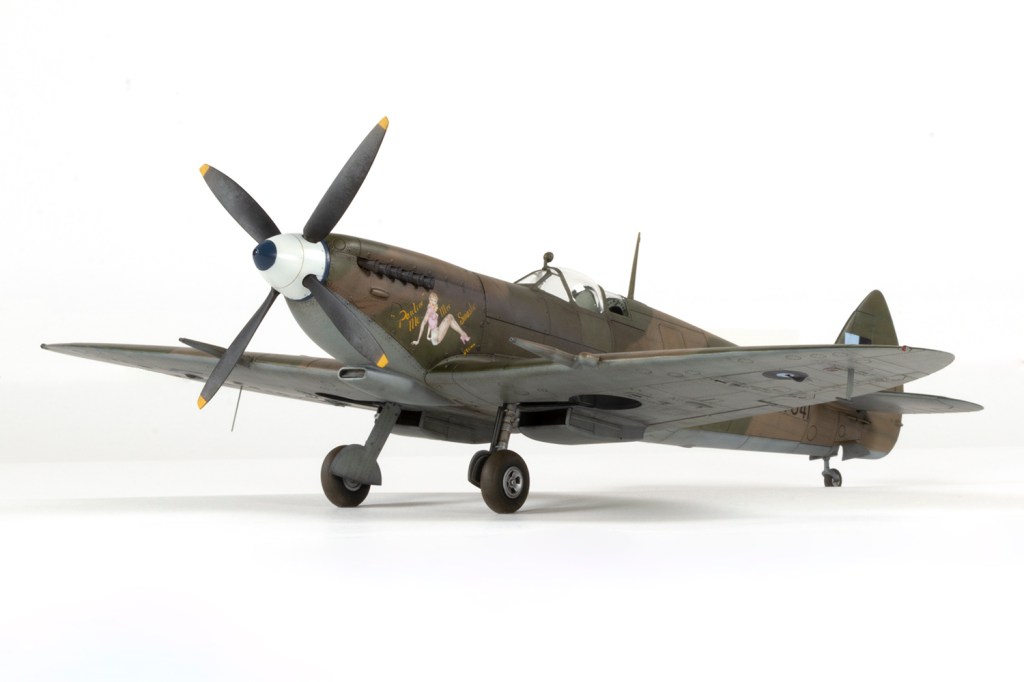
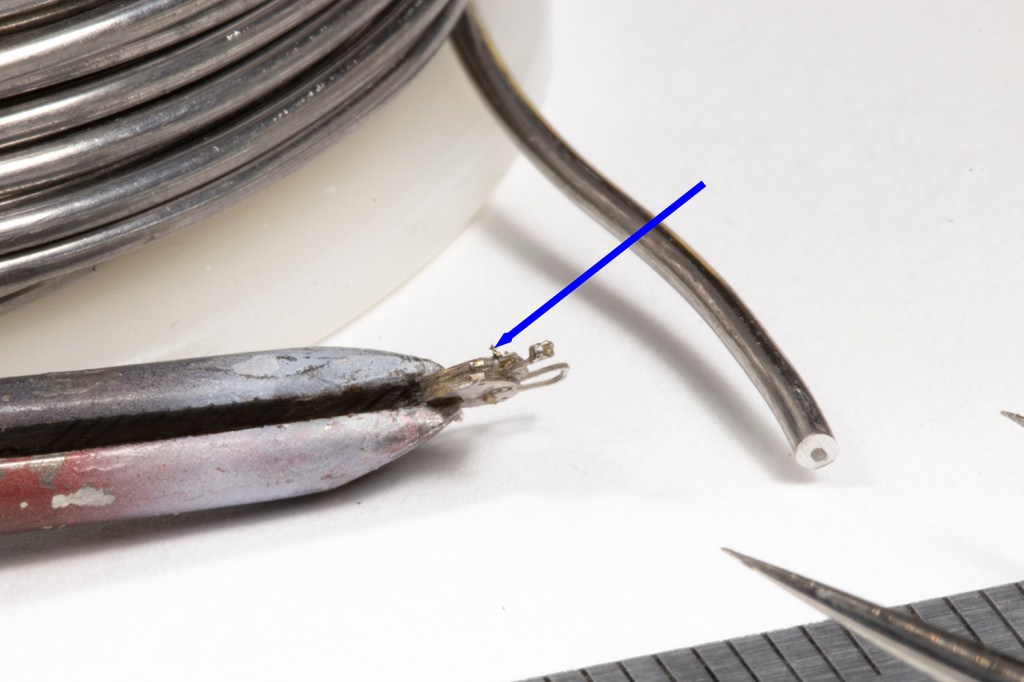
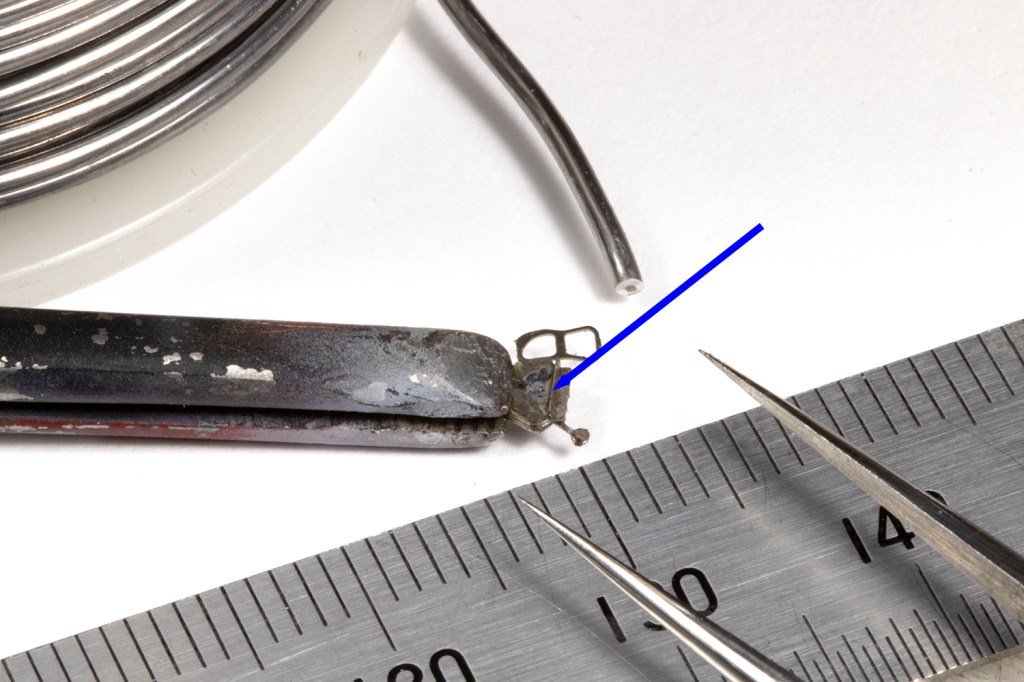
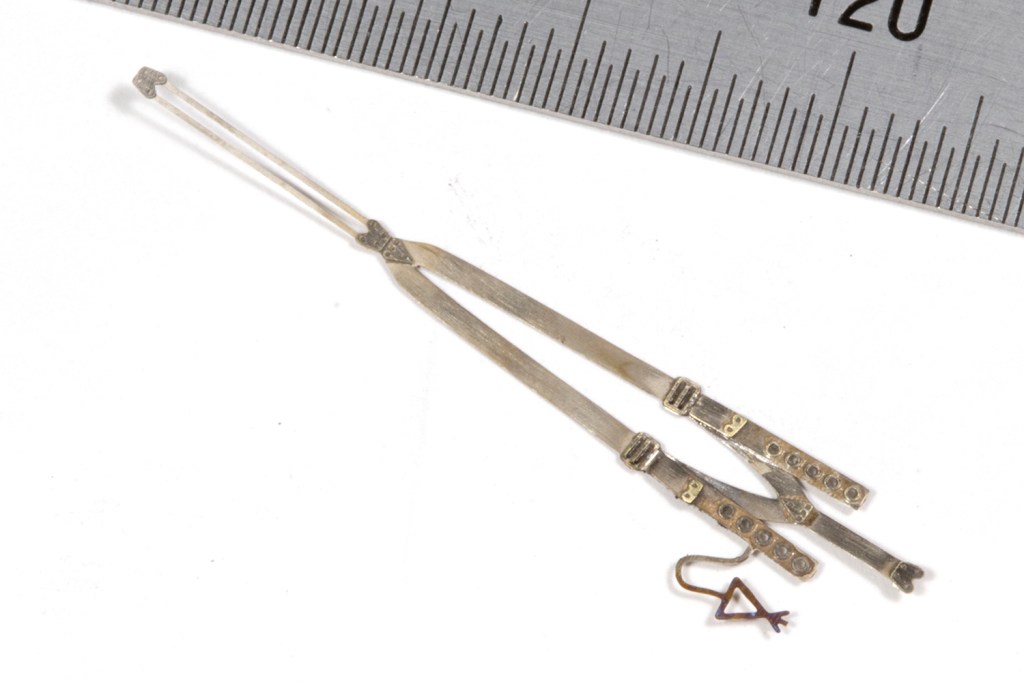
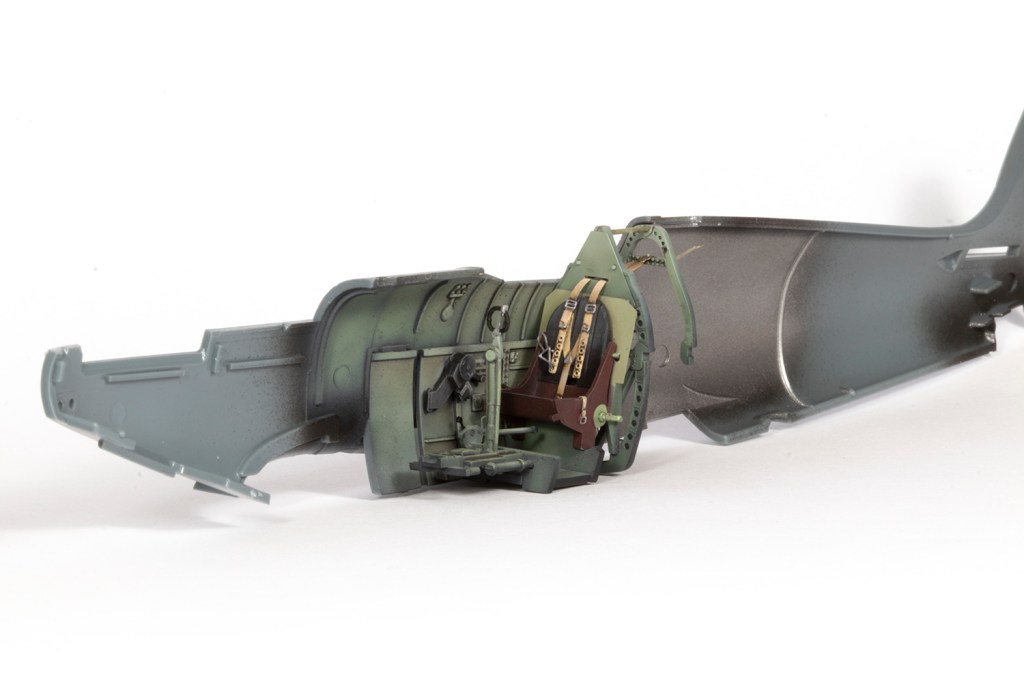
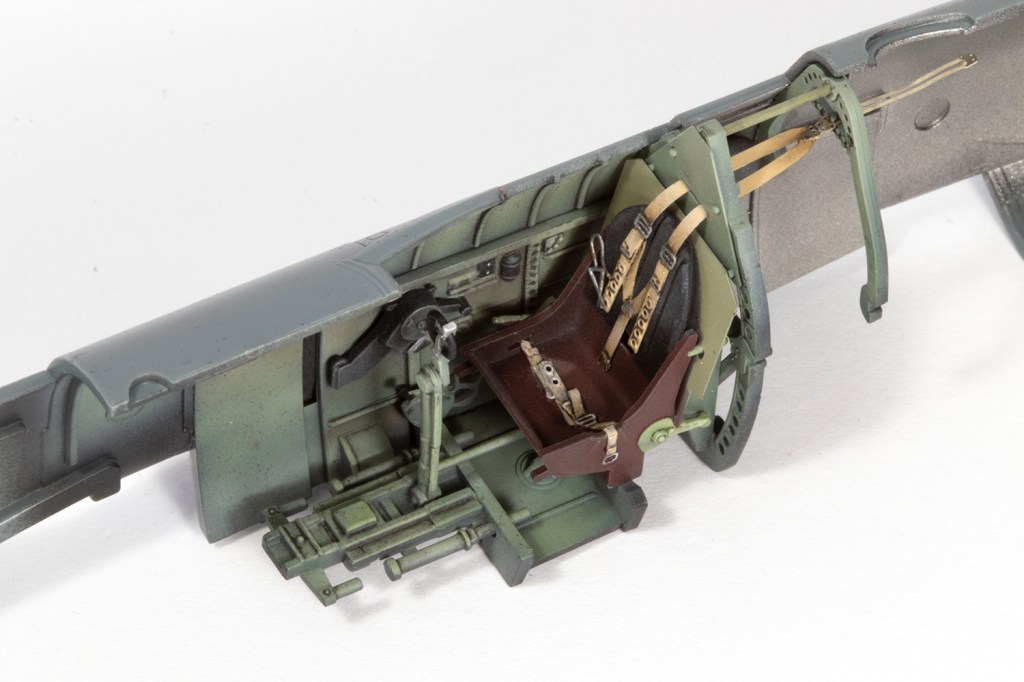
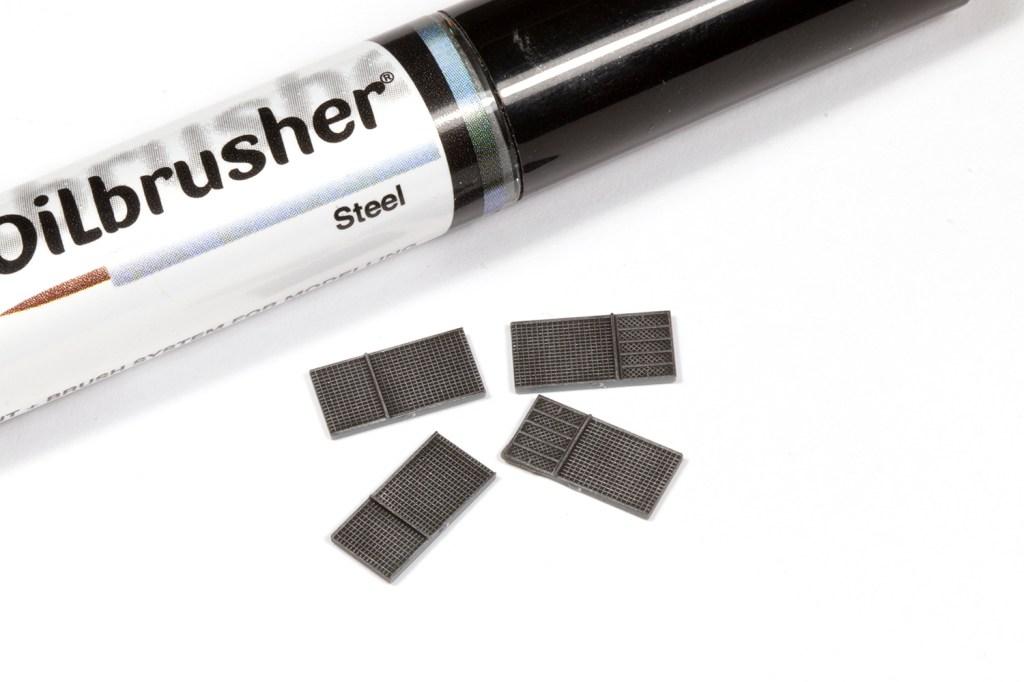
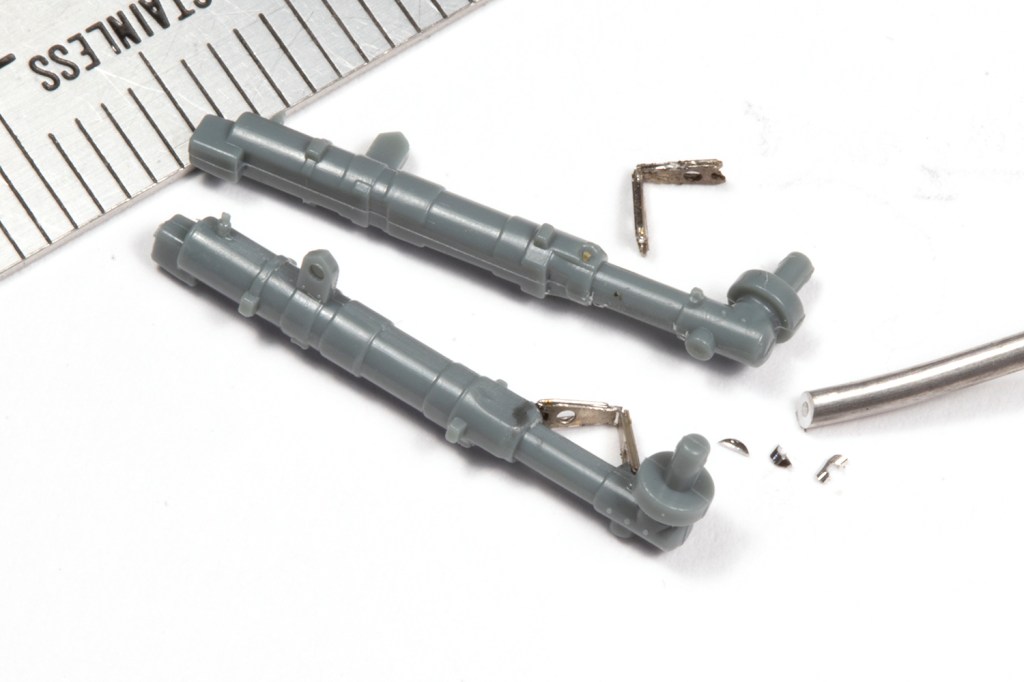
My set up is very simple: a cheap soldering iron from Amazon, a roll of 60/40 tin/lead solder, some Nokorode solder flux paste and a soldering mat, again from Amazon. For me the key is using various implements to hold the items to be soldered, for which reverse tweezers and the mat (combined with heat-resistant Kapton tape) are super-useful. Next is to use tiny fragments of solder – I slice a thin piece from the end of the solder and then cut that into tiny shards. The flux paste can be used as a temporary ‘glue’ to stick the PE parts together and to keep a tiny piece of solder in place when the iron is applied. It takes a bit of practice, but I think it’s tremendous fun and makes PE a much nice material to work with. For this kit I soldered some of the small parts together, the seatbelts and the oleos. Any pre-painted detail is lost, but I don’t mind as I prefer to paint it all anyway.
The cockpit is stock from the kit, and I eschewed the pre-painted PE instrument panel for the injection-moulded part. This is a bit clunky really, but with some dial decals from ANYZ looks okay. It will be completely invisible in the finished model, so it’s all just practice and nice photos for the internet.
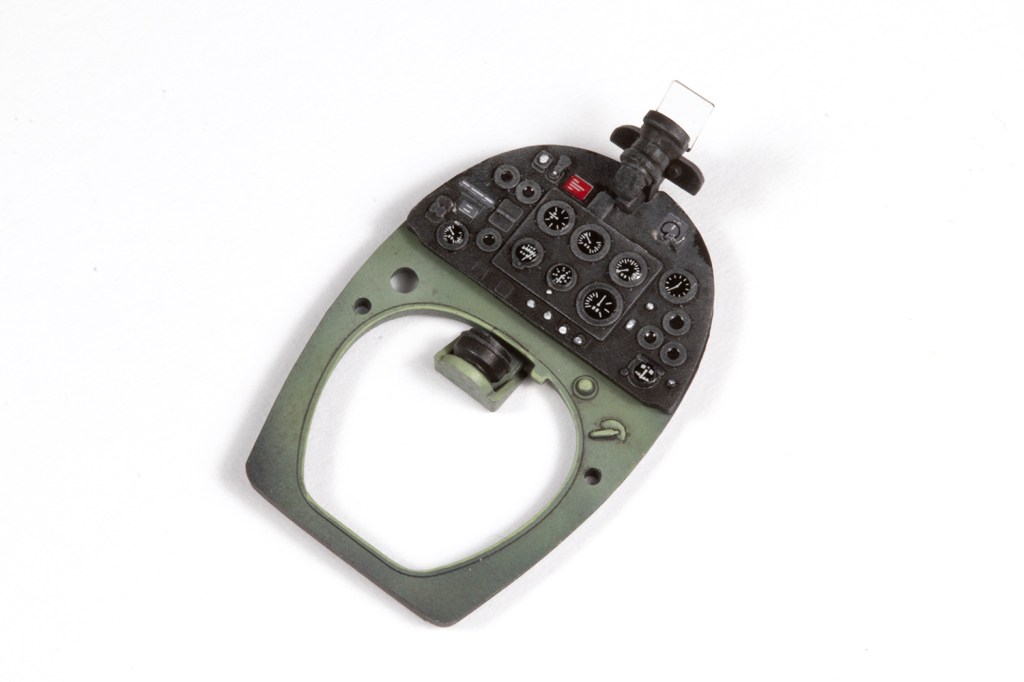
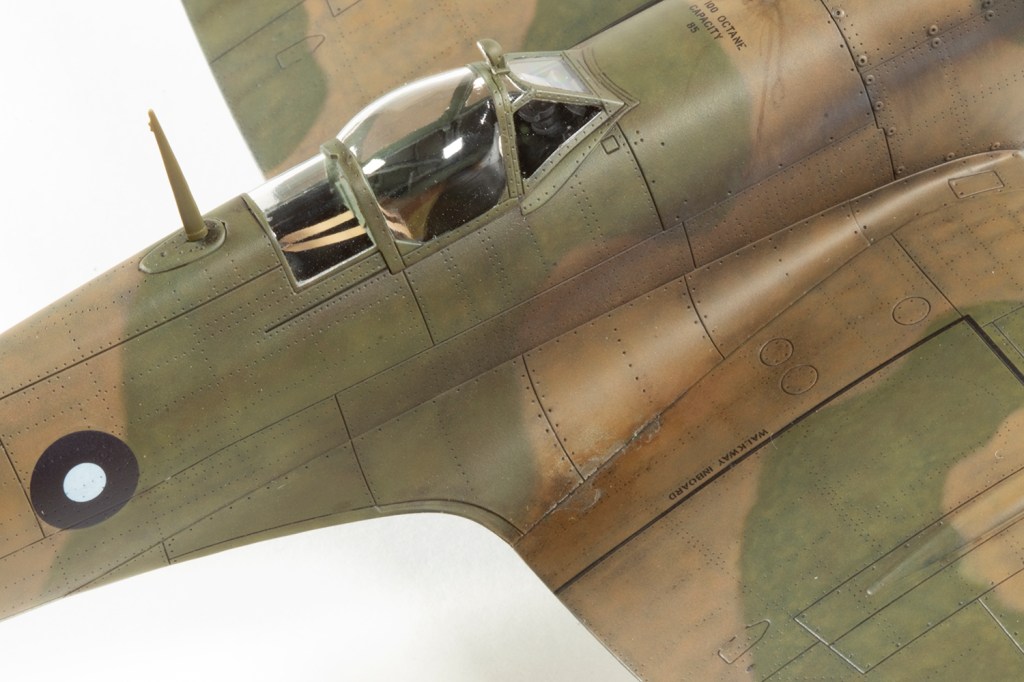
Mr Color 364 Aircraft Grey Green formed the basis for the interior colour, airbrushed over a black base and highlighted with some buff to vary the contrast. Detail painting is all with various acrylic colours and I really like ABT502 Dark Mud oil paint as a wash over the green. The seatbelts have to be added after everything is painted and threaded through the rear bulkheads; they then need to be carefully painted in place with more acrylics.

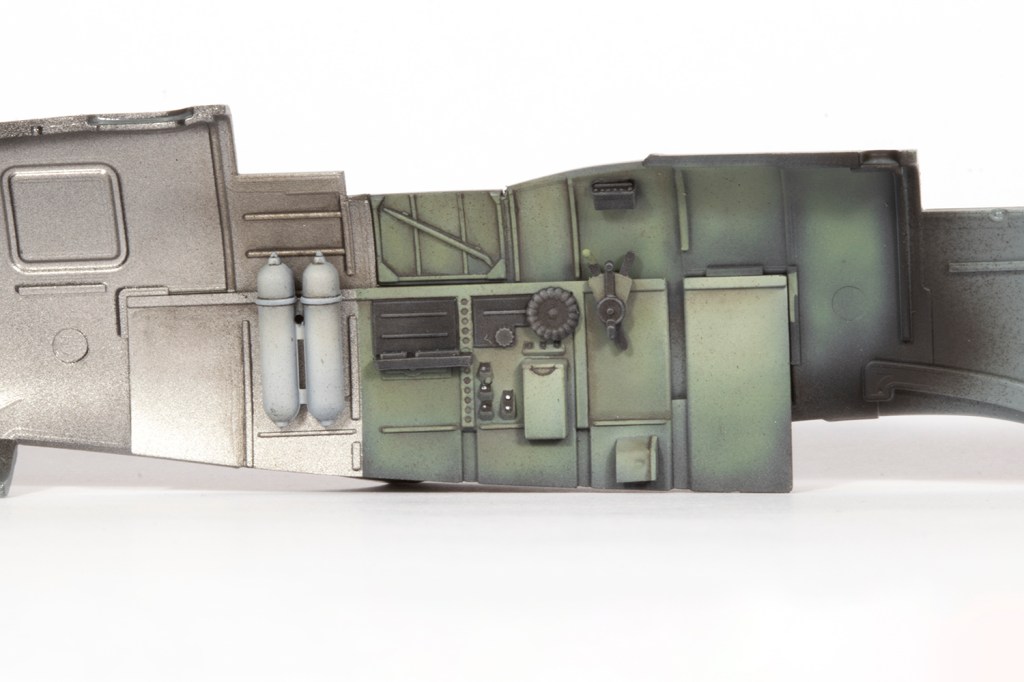
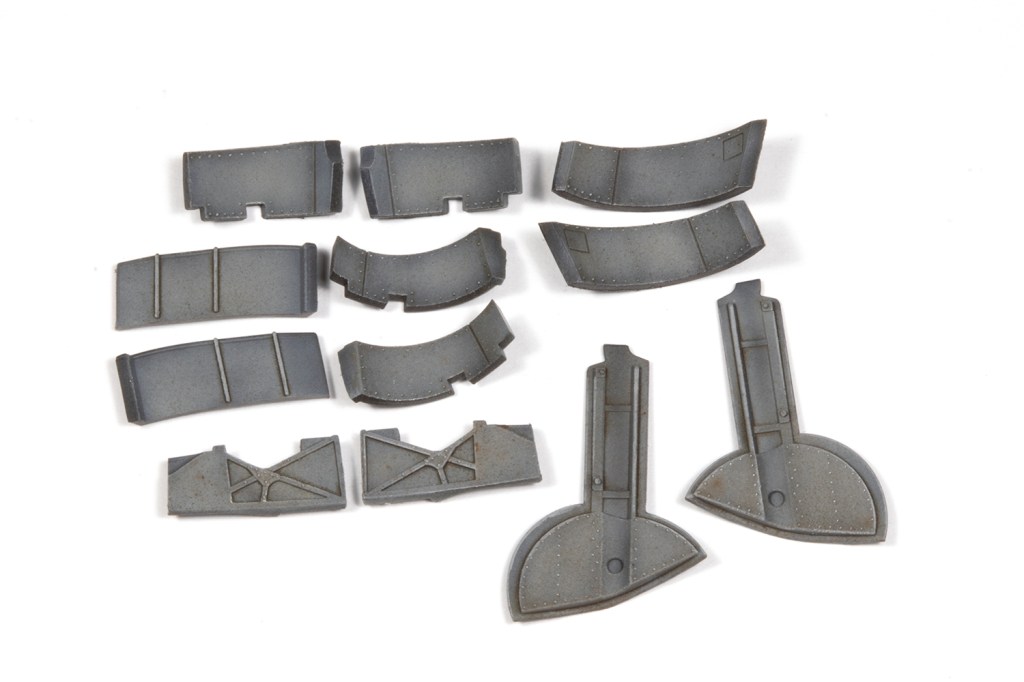
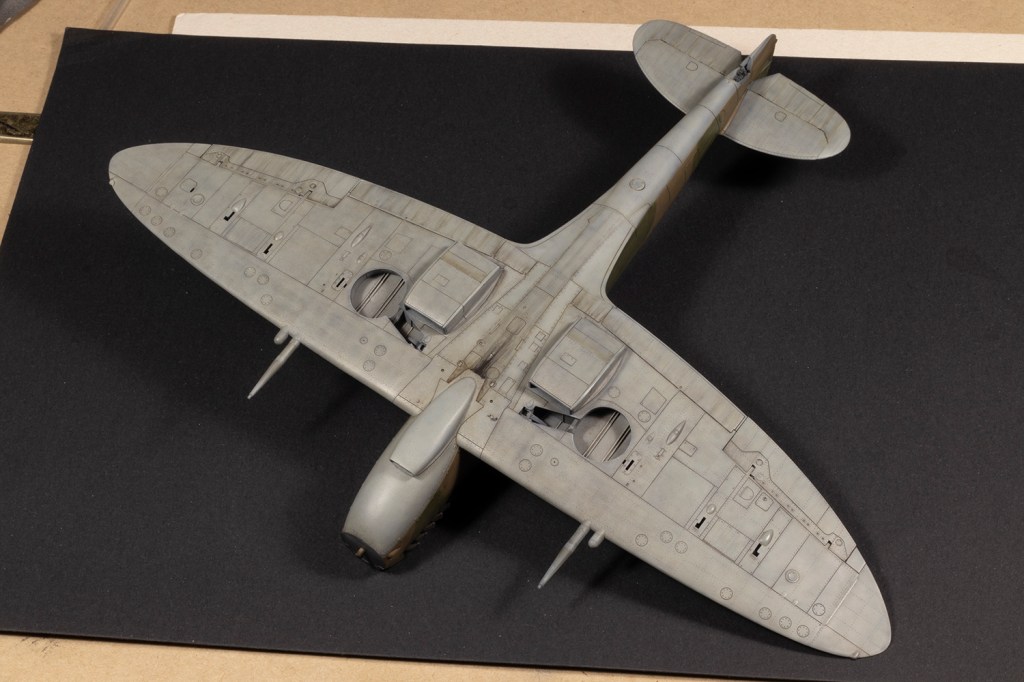
Eduard’s wheel wells are pretty complicated affairs, with multiple parts coming together to box the wells in. I used Mr Color 335 Medium Sea Grey to paint them prior to assembly. Again, Dark Mud provided a nice dark wash, and highlights were carefully painted in lighter shades of grey acrylic using a fine brush. The last step was to ‘splatter’ various shades of oil paint using a very old and worn, but reliable, Tamiya flat paint brush. I lightly load the brush with thinned oil paints and use a brass tooth pick to flick the paint off to unload most of it. Once I’m happy with how much is left on the brush, I can flick the paint on the parts. By varying the amount the oil is thinned, the opacity and size of the splatter can be adjusted. I did a few layers of different patterns and colours, each ‘locked’ in place by airbrushing a thin coat of MRP Matt Clear over the oils.
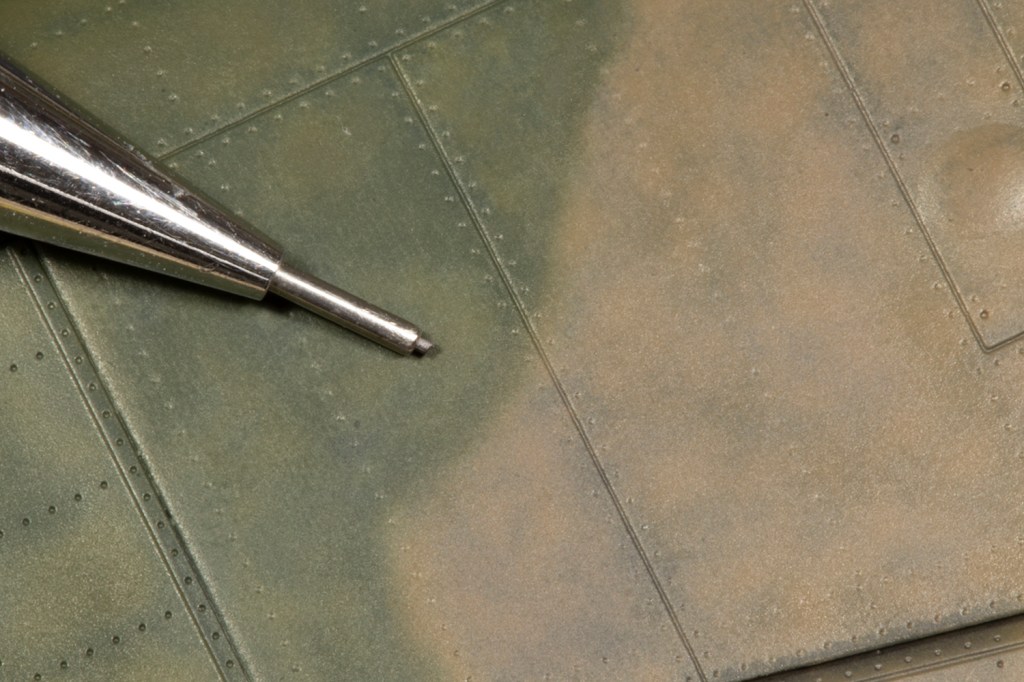
Once the wheel wells and cockpit were done, the fuselage and wings can come together very quickly and easily. The wings are an incredible fit around the roots on the top, but there were some gaps at the rear, under the fuselage. These, along with some small gaps where the horizontal stabilisers join the tail, were filled with black CA mixed with some VMS filler powder. Some was also needed when the carburettor intake was added, but this filler sets so quickly and sands so easily that I find it a pleasure to work with. The only time-consuming element of dealing with the seams was deepening the detail (especially the rivets) so that it’s not lost during sanding.
Before long I had a complete airframe to paint. I’m not that fussy about colour accuracy, so used what I had lying around to try and build a more layered and interesting finish into the paint. Mr Finishing Surfacer 1500 Black formed the primer base, although in retrospect I think using their Mahogany shade would have been better. As I said earlier, I was largely on autopilot during this build and not thinking too much about it.
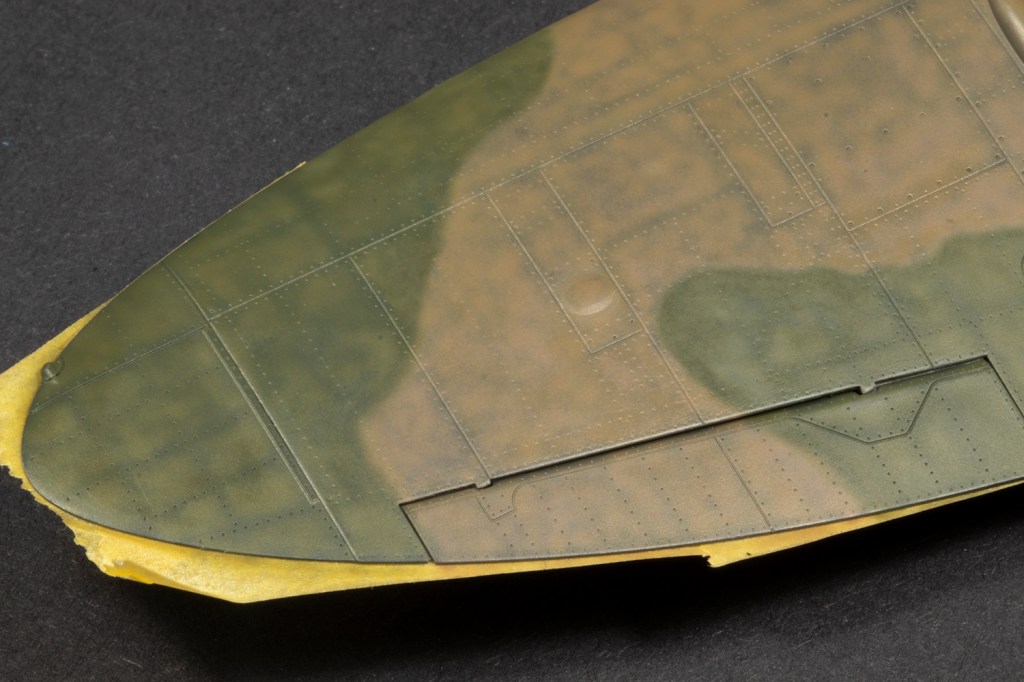
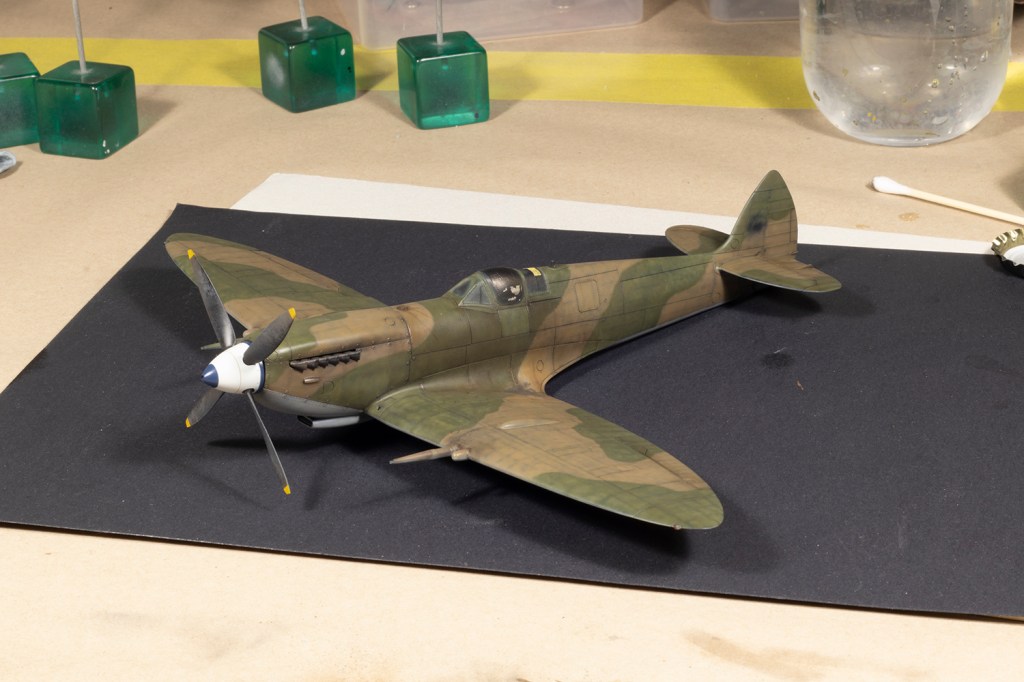
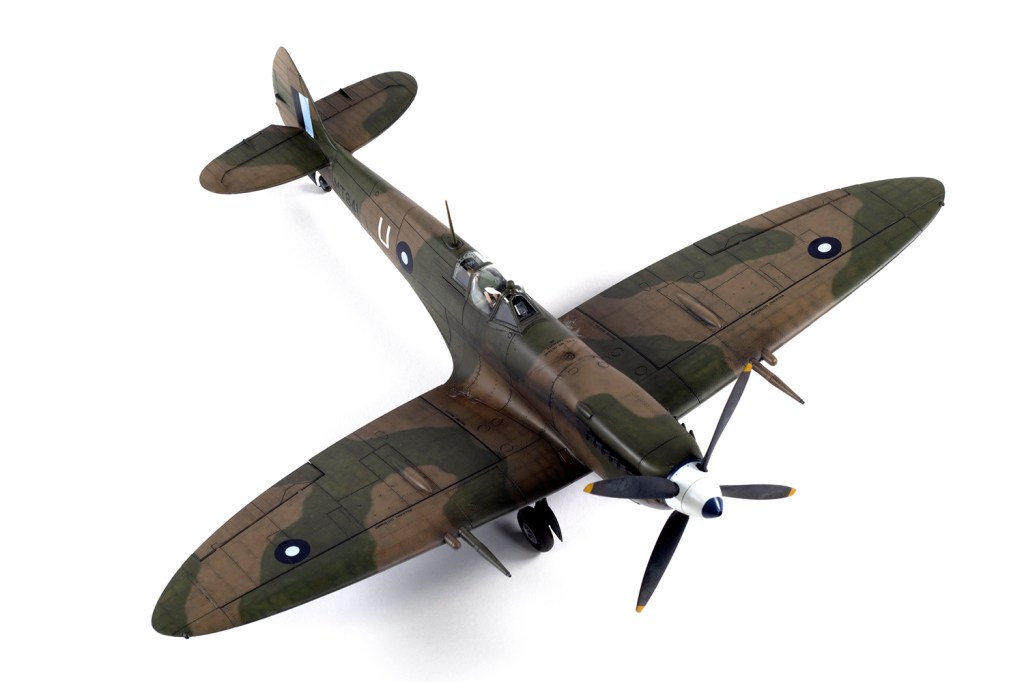
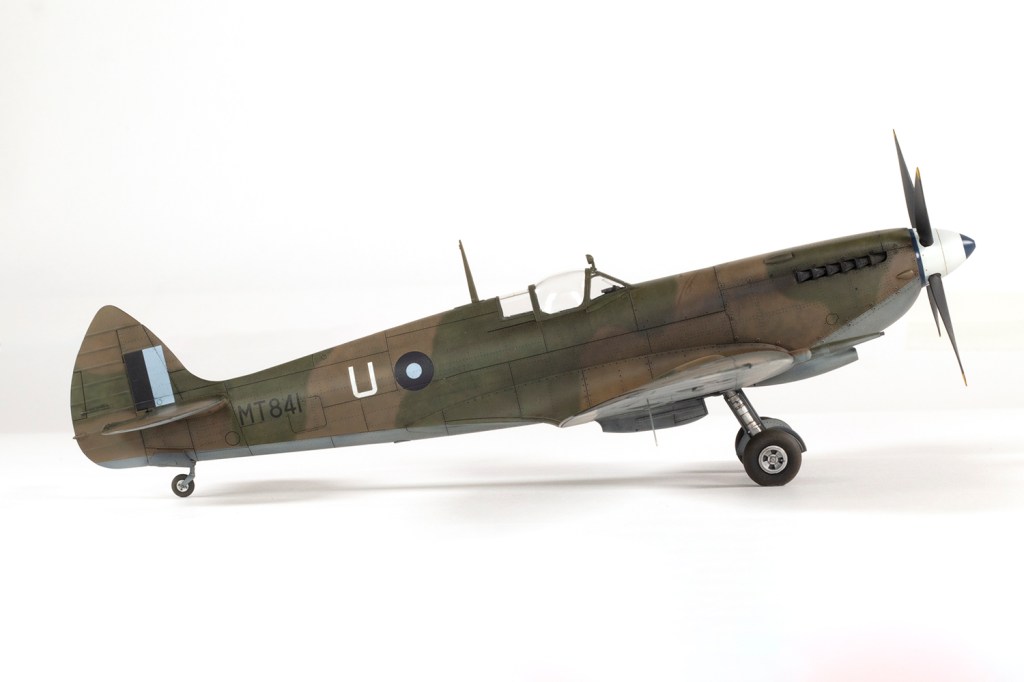
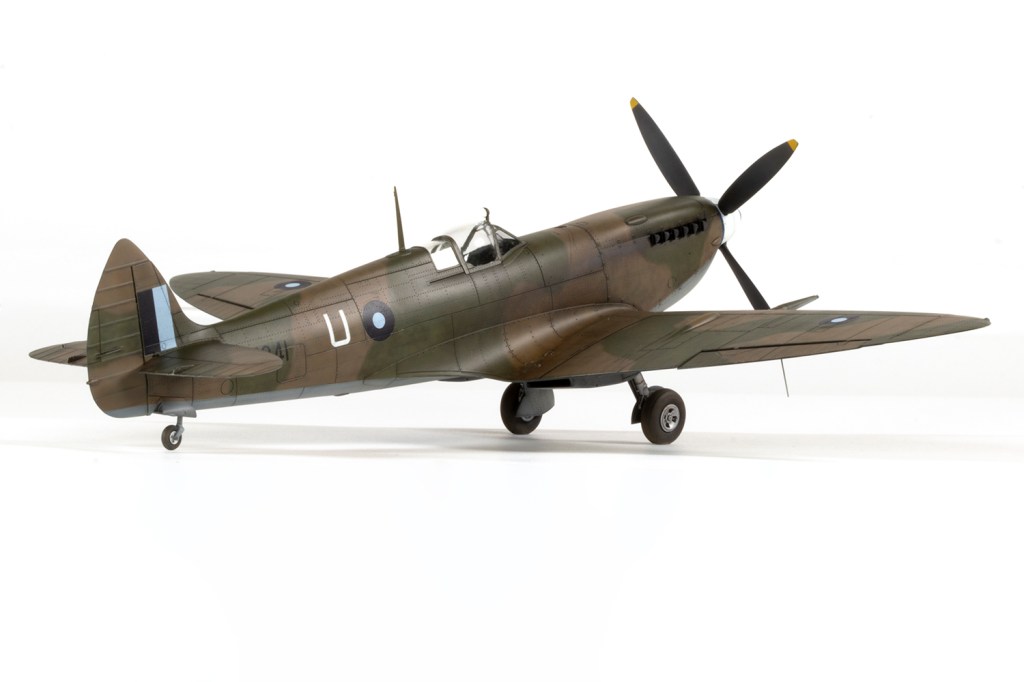
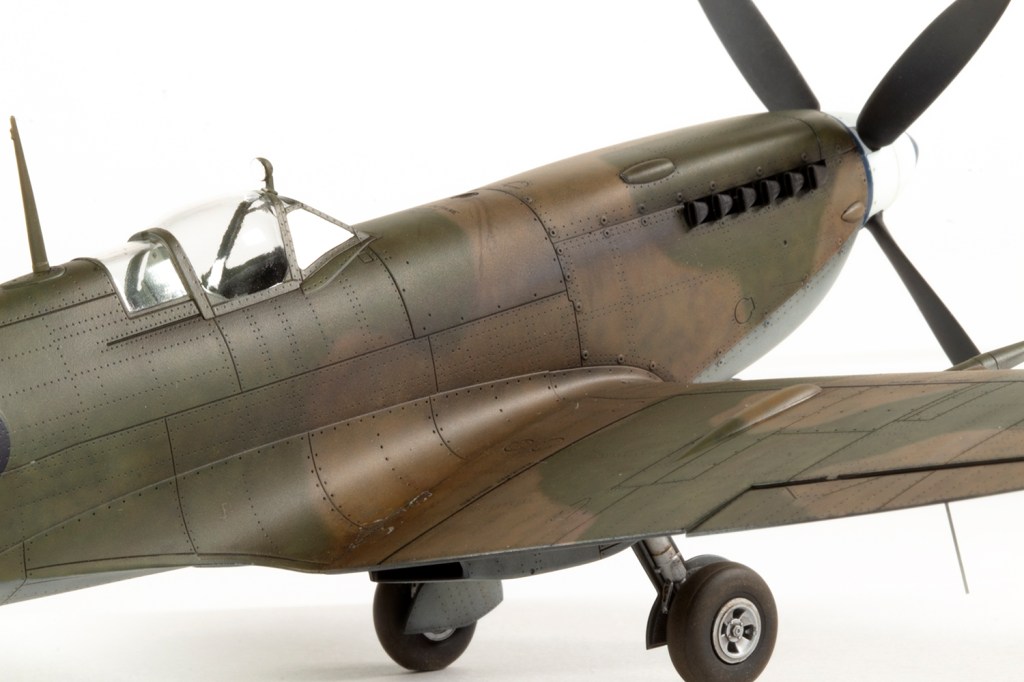
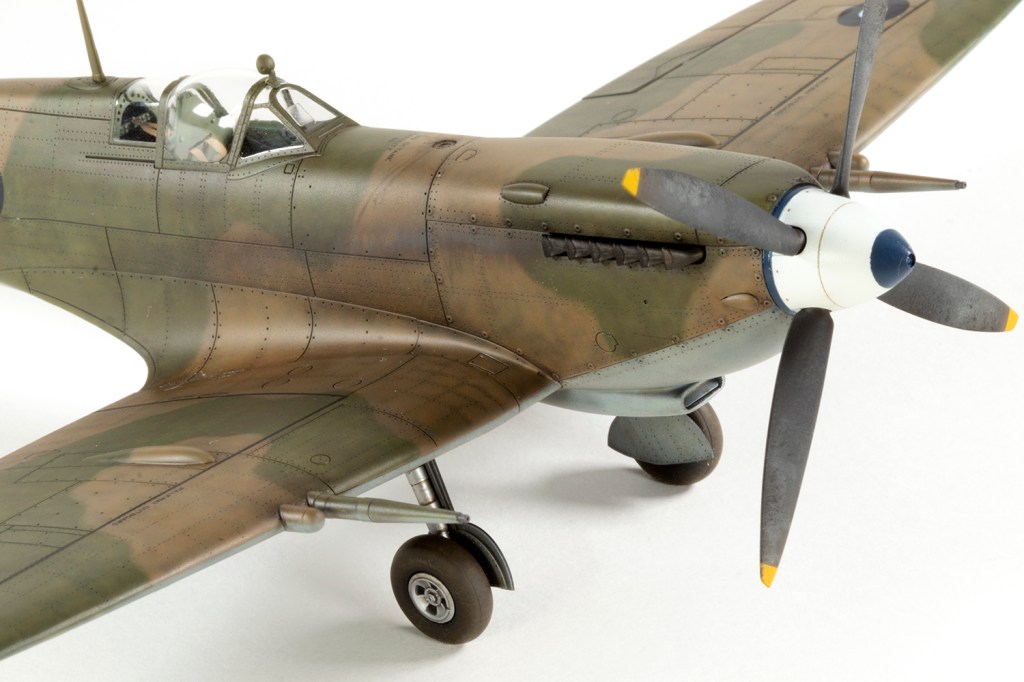
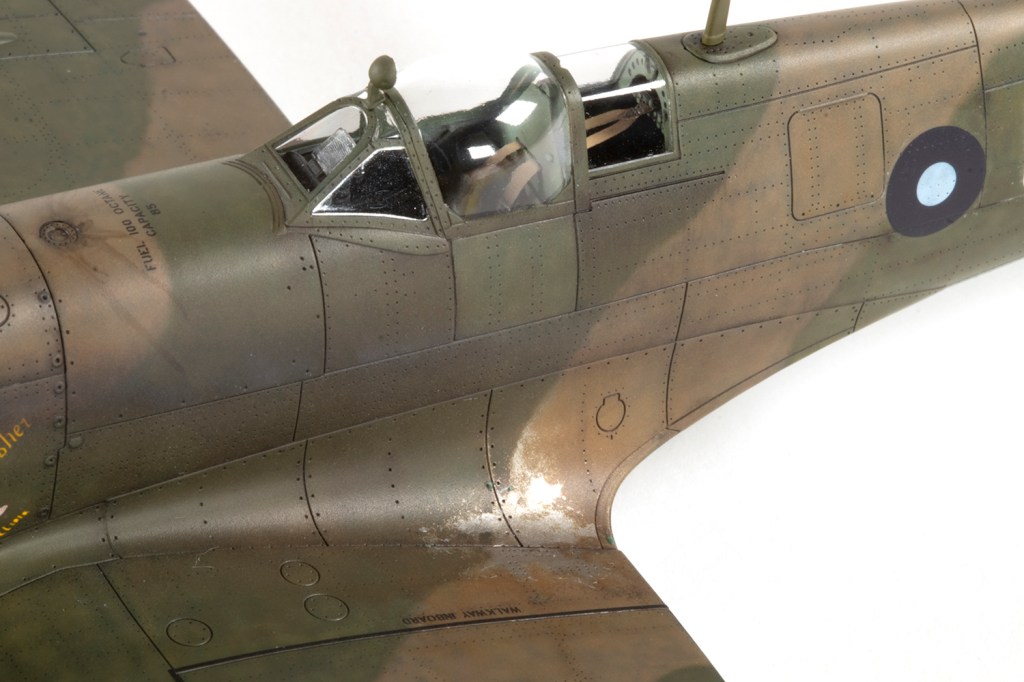
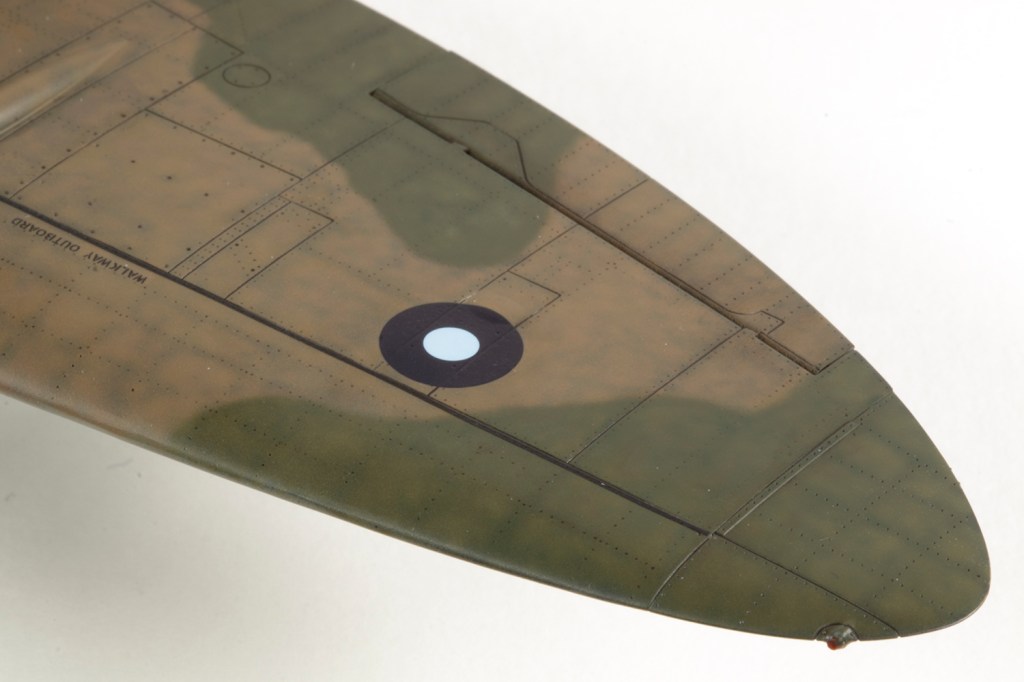
I used Mr Color 335 Medium Sea Grey for the undersides and masked this off to give a hard edge against the brown and green on the top, which was a pain around the guns, but I got there in the end with thin strips of Tamiya tape. Camouflage then started with Mr Color 22 Dark Earth, which seems pretty pale and quite pink, but I thought it would make a good base for Mr Color 369 Dark Earth to go over the top. The initial layer of green was Mr Color 23 Dark Green, noodled over the primer with an airbrush in a squiggle pattern.
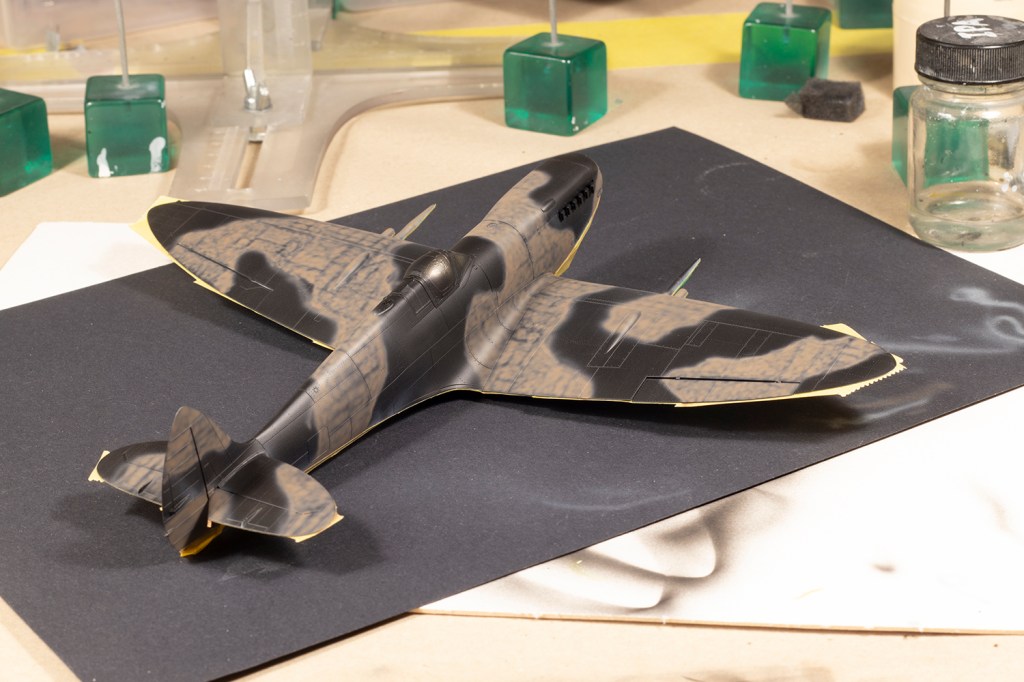
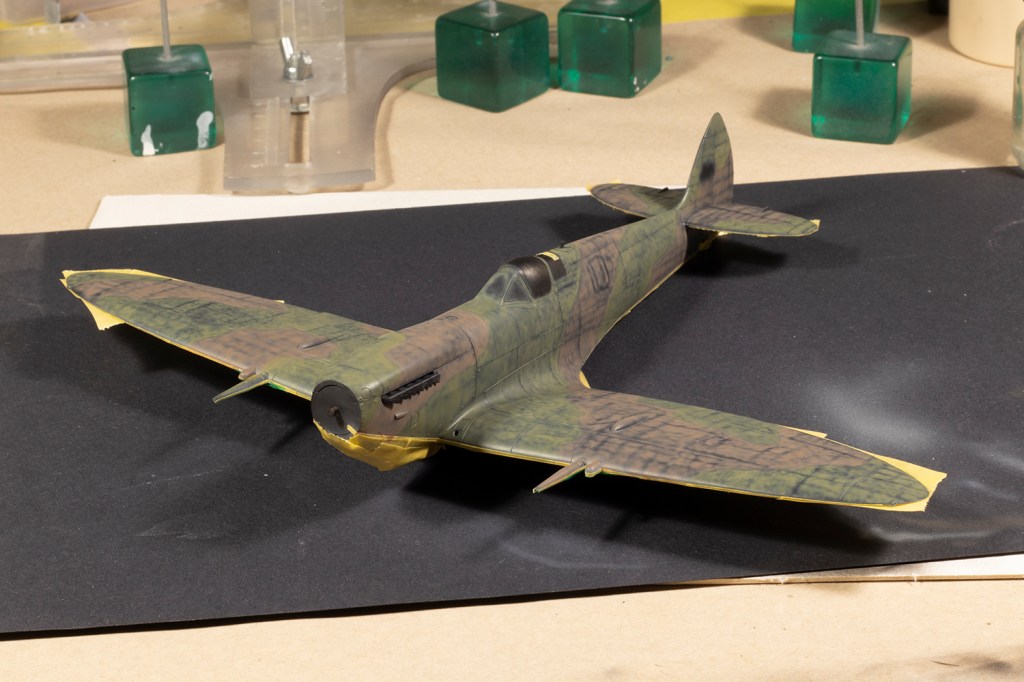
These two shades established the basic pattern, which was then overpainted with thin squiggled coats of Mr Color 369 Dark Earth and 330 Dark Green. The latter sprays much finer than the former (apparently this is a thing, where paints with brown pigments are generally harder to spray very fine), so the green went on over the brown. I used an Iwata Custom Micron-B airbrush, which with properly thinned paint produced what I think is a pretty tight freehand demarcation.
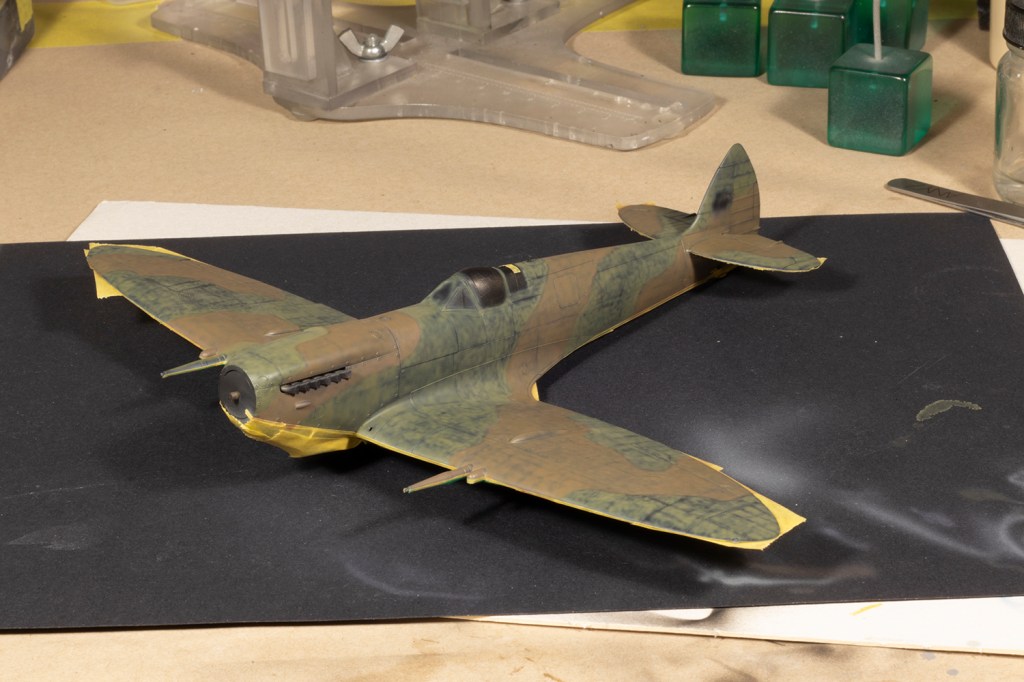
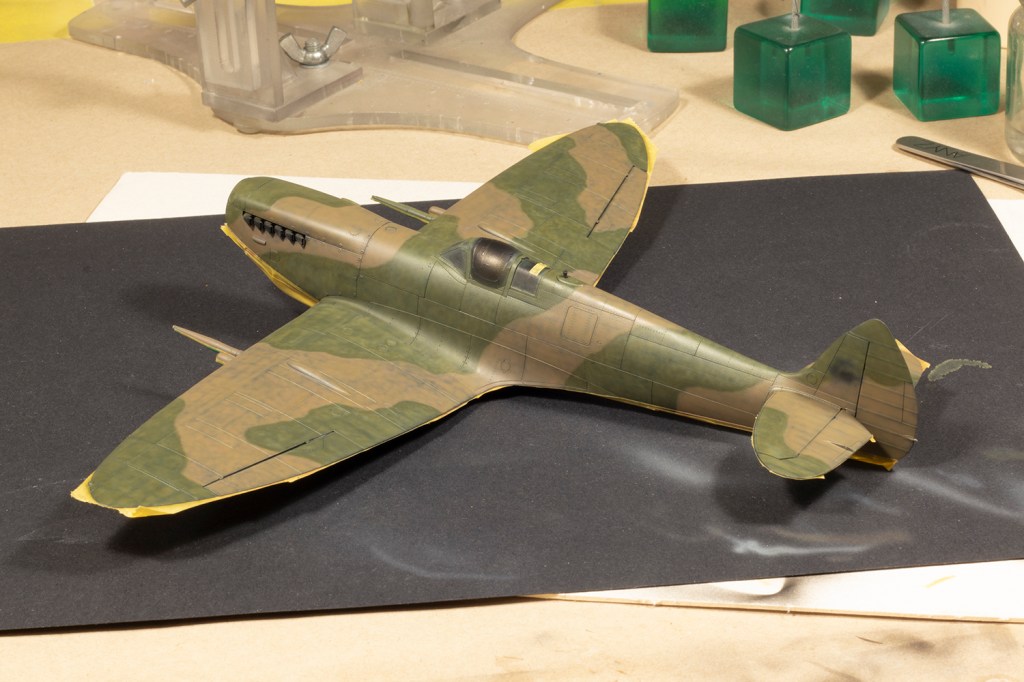
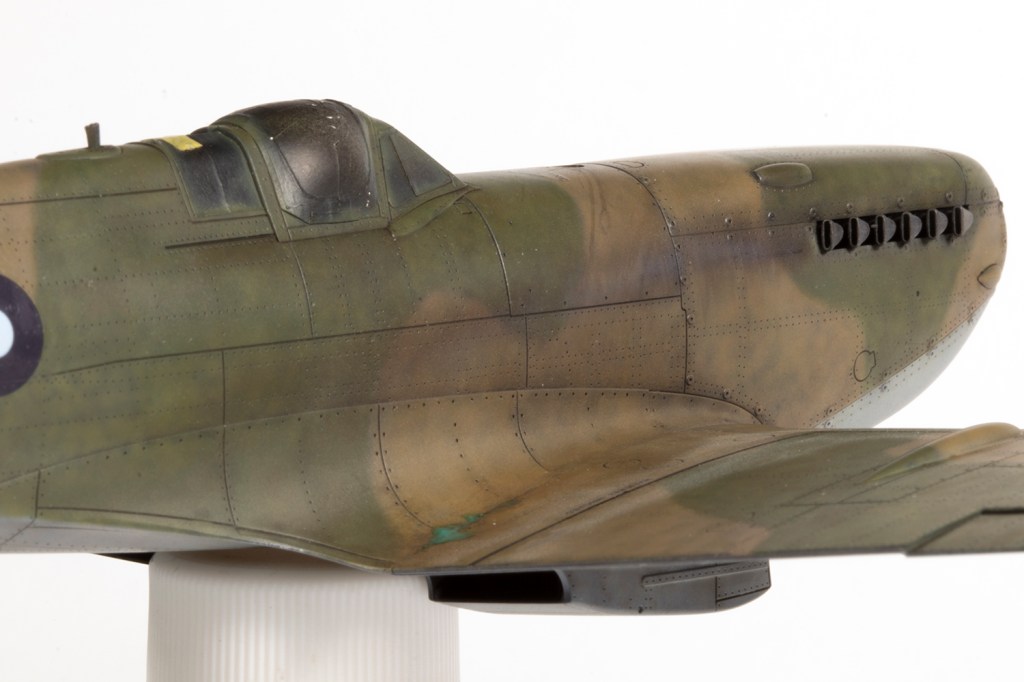
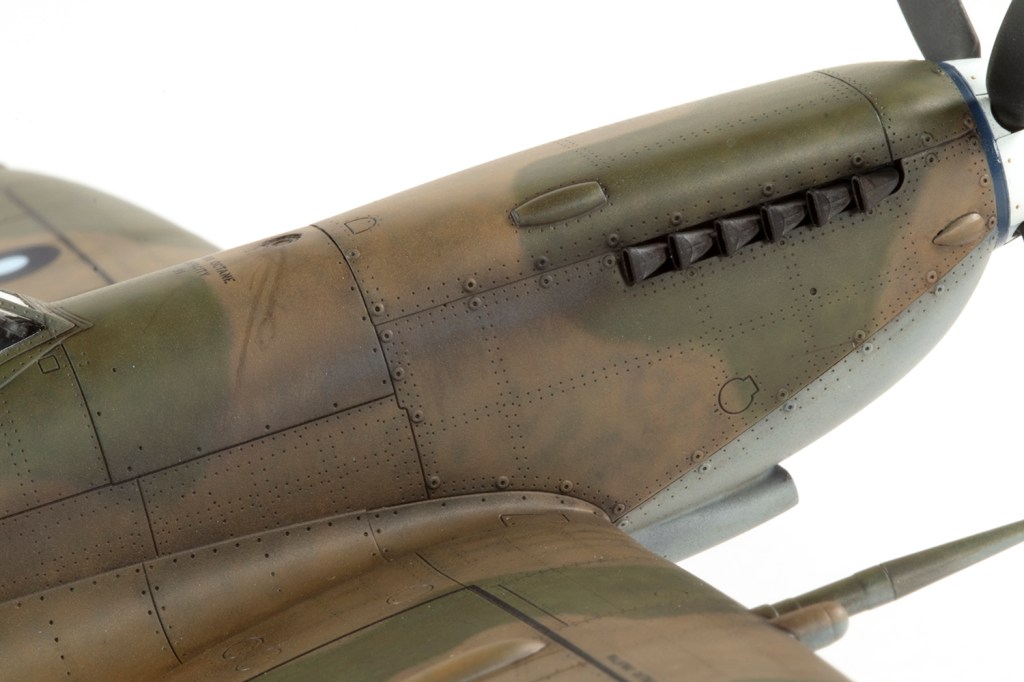
The intent of building a kit that goes together so simply was to spend a bit more time on weathering, which is a stage I usually rush and do not enjoy. This time I took it slower, starting with the underneath of the airframe and a pin wash of the Dark Mud oil wash. I developed this further around the centre of the fuselage, behind the carburettor intake, and used several other brown and black shades of oil paint to create some streaking. I know it could be much more extensive, but I wanted to keep it fairly tight. No one will ever see it on the finished model anyway!
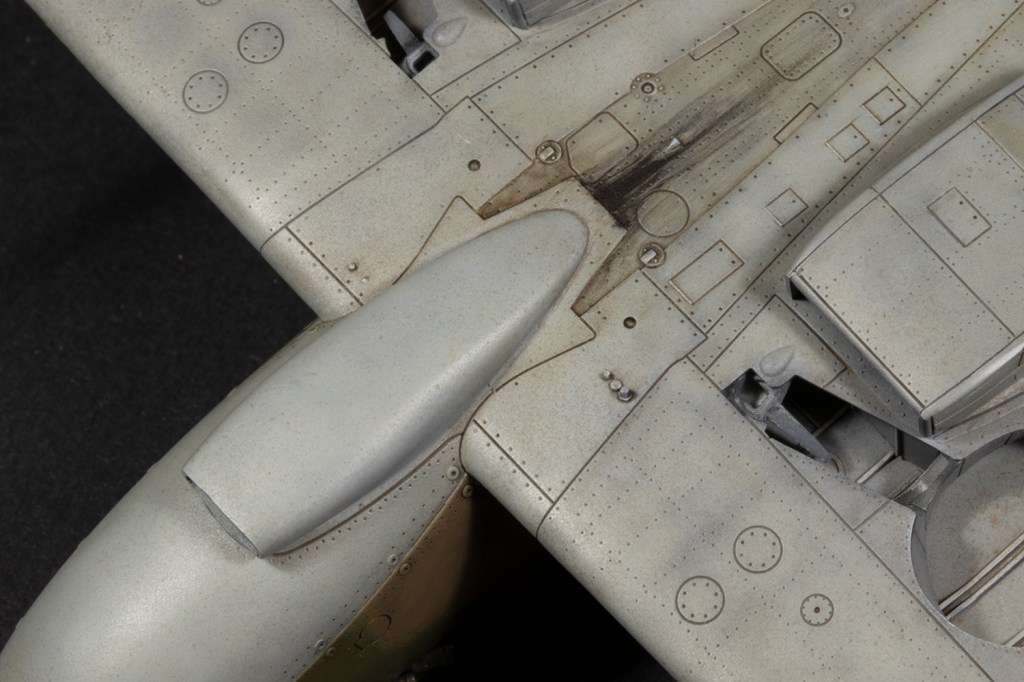
As with the wheel wells, I did quite a lot of splattering with oil paint as well as some oil paint rendering around certain areas, like the flaps, ailerons and the moving parts of the radiator housings. This involved painted a small amount of neat oil paint along the section to be coloured and then blending it in with a soft, dry brush. Along the control surfaces I also used a fan brush lightly dampened with thinners to create some faint streaking.
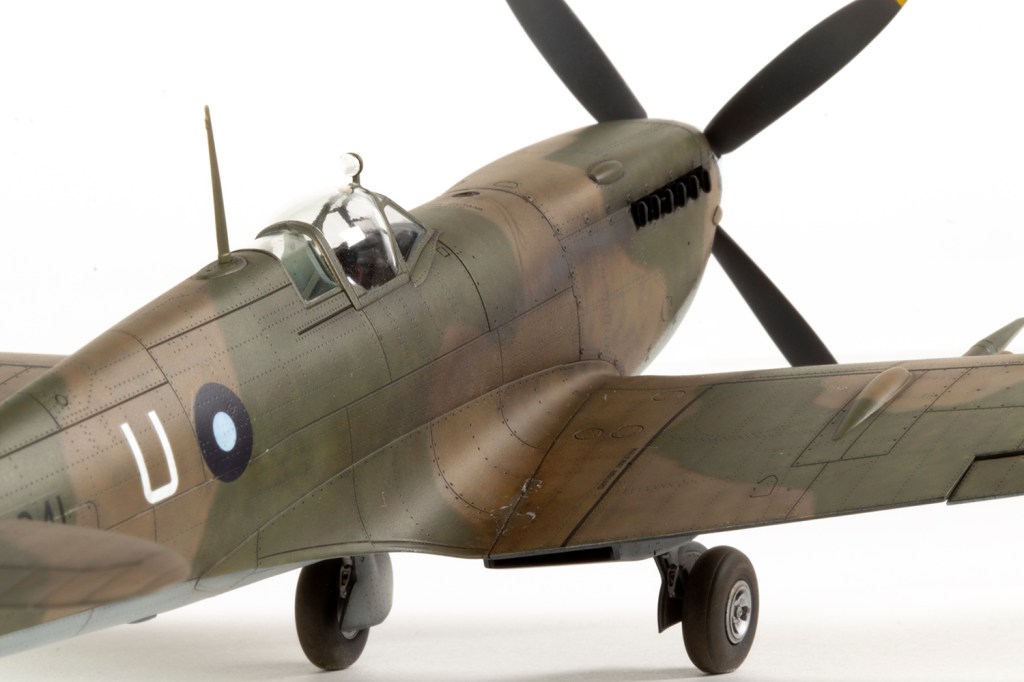
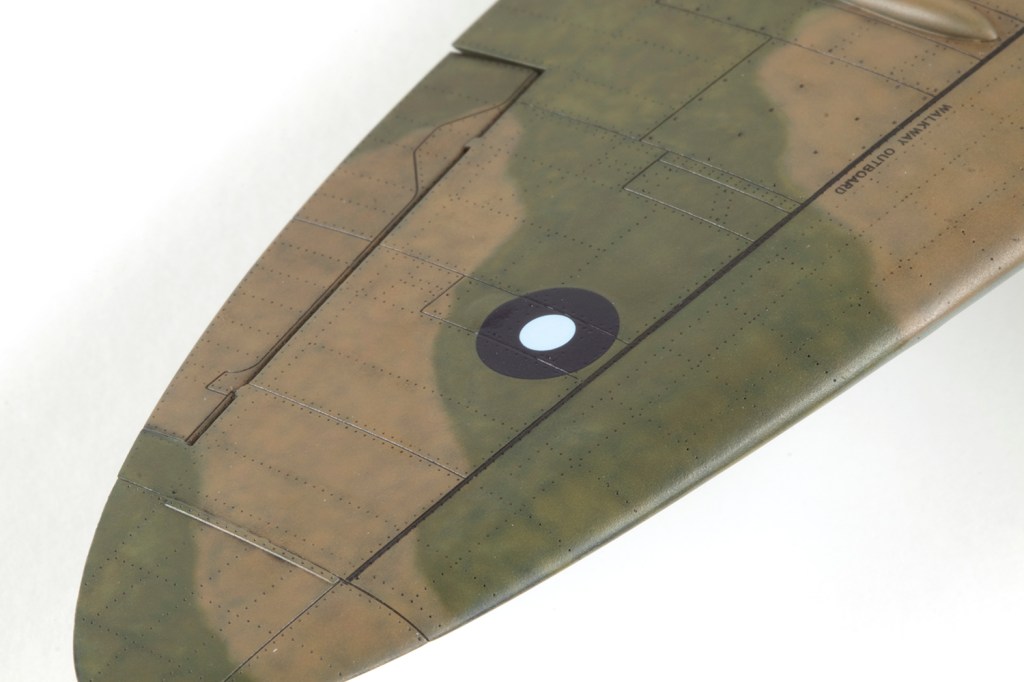
Once I decided I’d had enough of this, and I’d sealed the oils in with some MRP Semimatte varnish, I added the Exito roundels under the wings. These are meant to go over some quite big bumps, so I fell back on an old technique of floating the decals in place over a large puddle of Mr Mark Setter. I then just left it for a few hours, followed by a thin coat of Microsol. After 12 hours or so the decals had perfectly conformed – amazing! I just needed to open up the ejection ports with a sharp knife.

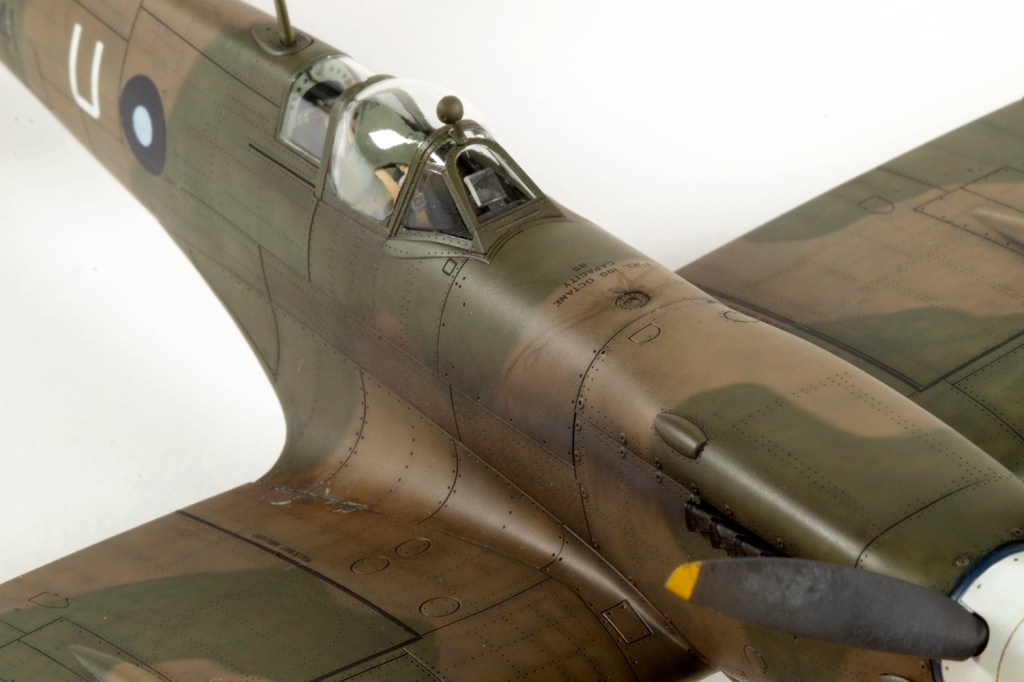
On the top side my preferred oil colour was ABT502 Sepia, but other shades were mixed in as I went along. Again, this was primarily a pin wash followed by some oil paint rendering in certain places, especially around the canopy area and upper engine cowling. Some fuel spillage leaks were recreated by putting a small drop of thinned oil paint around the filler cap and then using an empty airbrush to streak the drops backwards. Any stray streaks can easily be removed with thinner before the final pattern was locked in place with clear varnish.
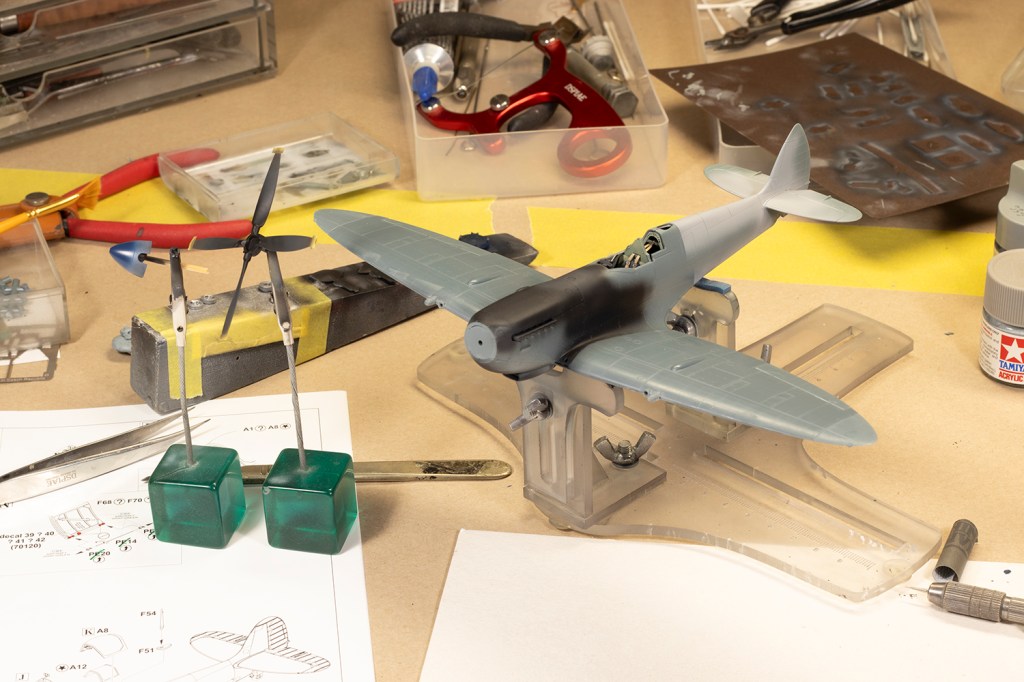
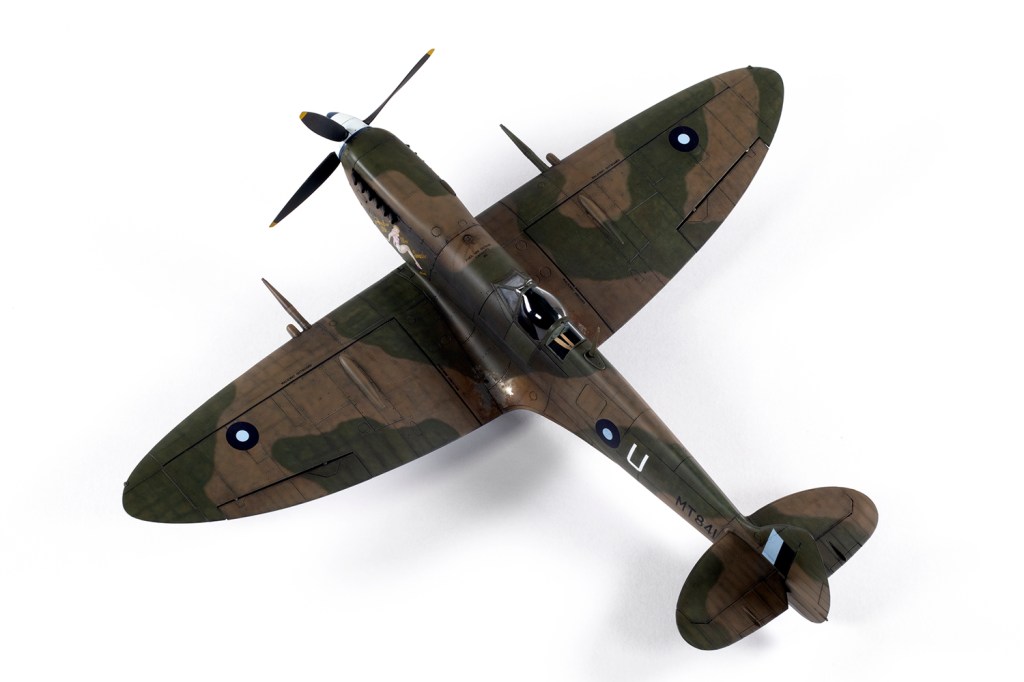
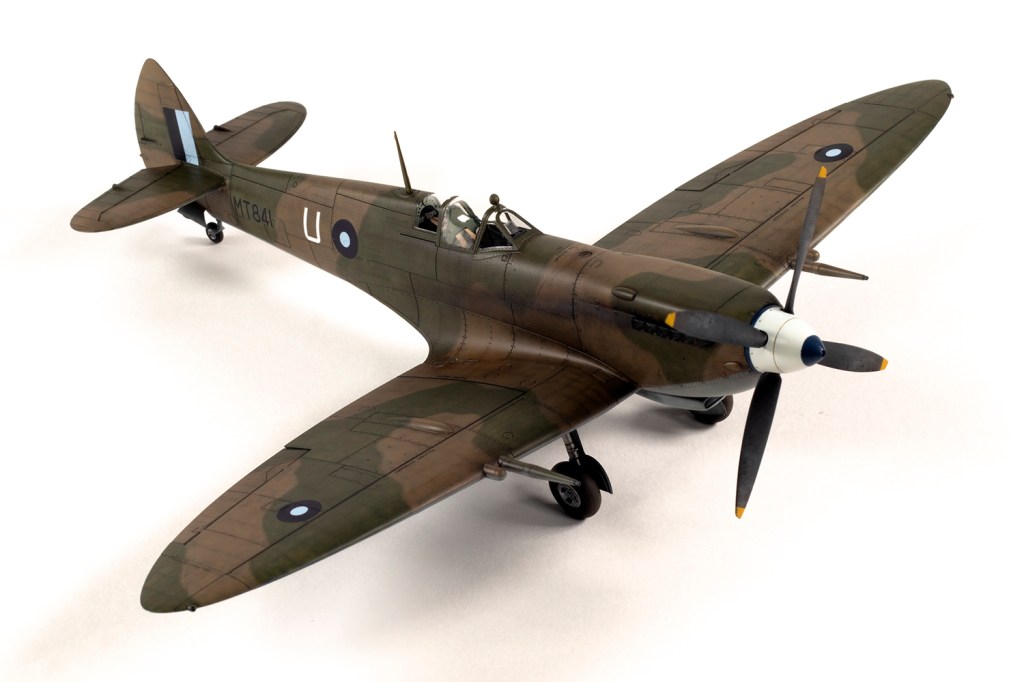
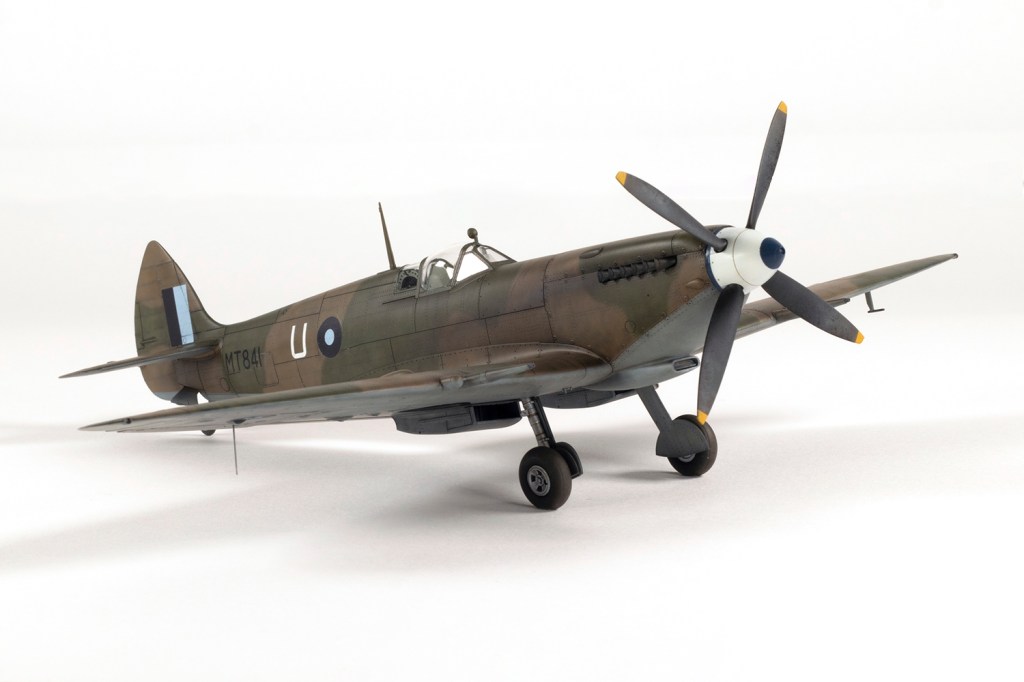
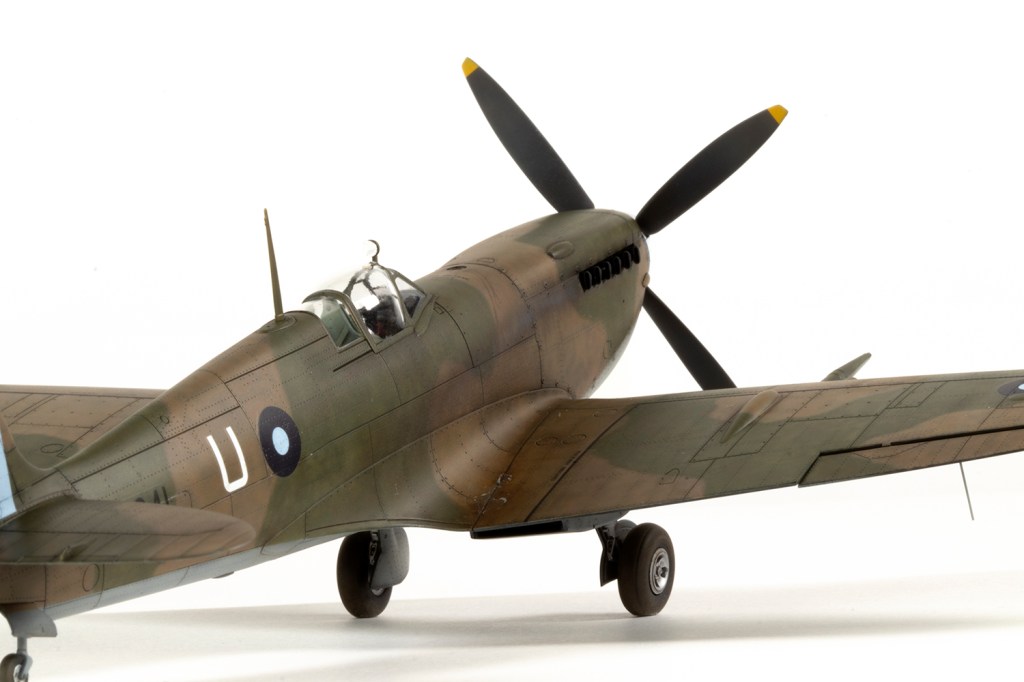
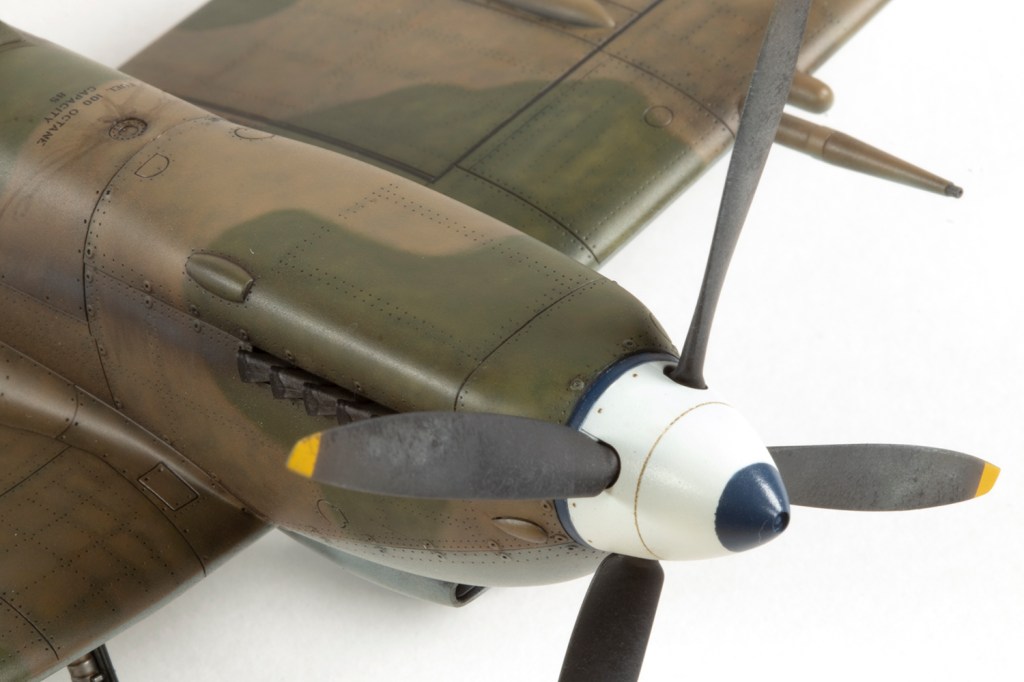
Alongside all this I had been modelling some of the other parts, like the prop. The spinner was white with apparently a dark blue tip and back plate. In reality, as per the photo, the blue tip was applied very unevenly, but I preferred it to look a bit neater. The blue was Mr Color 328, which is what I started with to make masking easier. On the spinner, this was masked off with a cylinder of masking tape rolled to the correct diameter (that took a while!) which was then popped on the end. The white (Mr Color 69 Off White) could then be sprayed. The base plate was slightly more involved to mask to ensure the blue was accurately placed. When it came to joining everything together, Eduard’s superb engineering meant no further work was required.
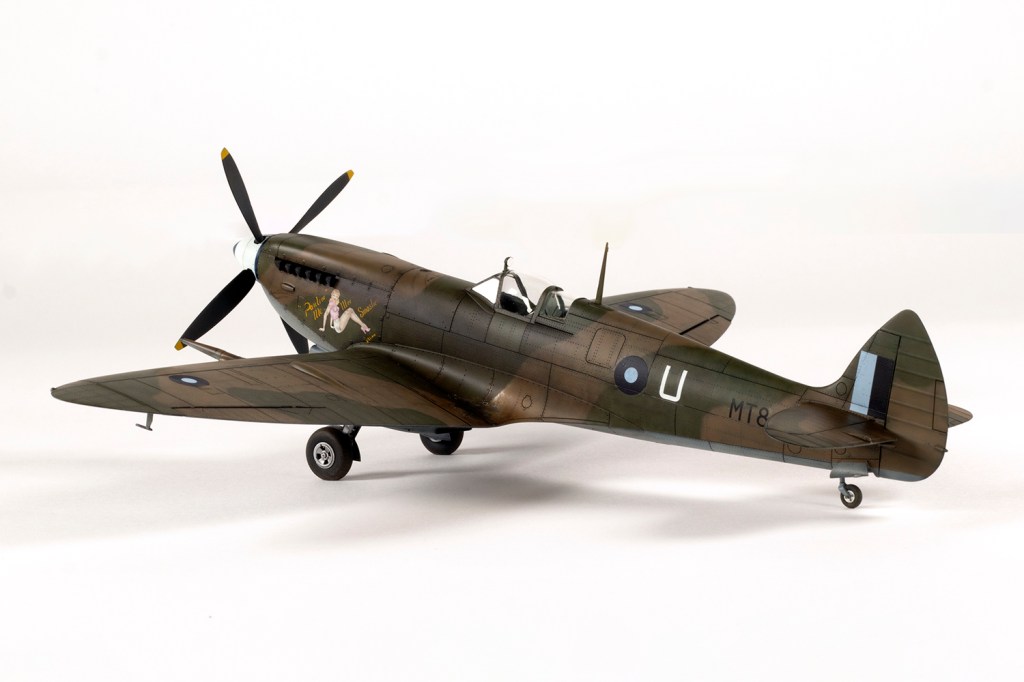
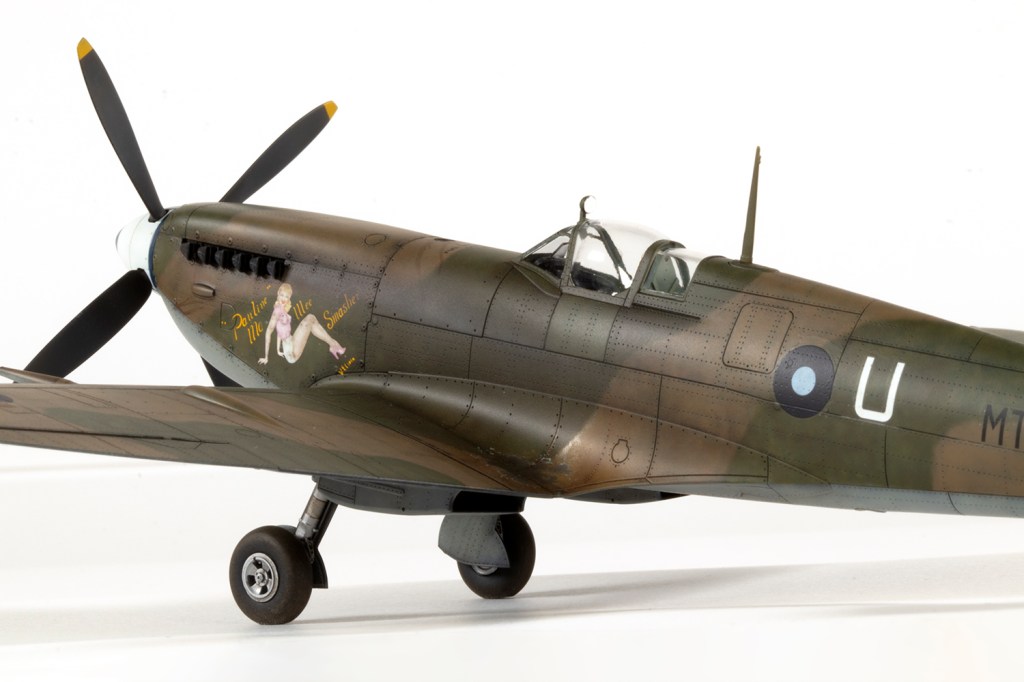
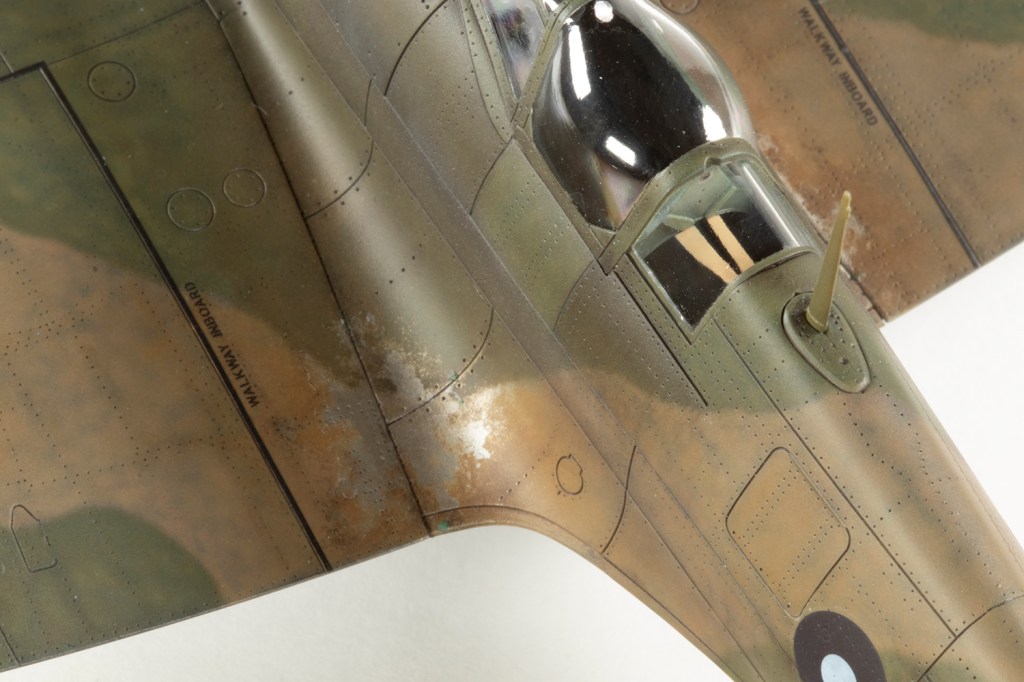
Typical of Spitfires (well, Spitfire models, anyway!) is some chipping around the wing roots, especially on the port side where the pilot gets in. I like to use a hairspray chipping method for this, but don’t like doing that with lacquer paints. Because I like to make my life complicated, I therefore masked around the wing root area, sprayed some Mr Super Metallic II SM08 Duralumin followed by a layer of decanted hairspray (Tresemme number 3 for those who care).With the masking removed I recreated the camouflage pattern over the duralumin with Tamiya XF-81 Dark Green and a 2:2:1 mix of XF-49 Khaki, XF-52 Flat Earth and XF-3 Yellow. I found this mix recommended on Britmodeller, but it didn’t blend brilliantly with the Mr Color 369. In any case, after a short while I set about stabbing the Tamiya paint with some wet stubby brushes. I probably didn’t wait long enough for the Tamiya paint to harden as the result was a bit mushier than I would have liked, but I did end up with some exposed silver paint and I was happy enough about that.
At this stage I decided to add the decals, straight onto the paint rather than bothering with a gloss coat. As per the underside roundels, the Exito decals were brilliant. I was unsure what stencils would be appropriate, and Eduard provide a rather complete set, so went with the illustrations in the instructions. Everything bedded down very nicely.
After decals came more weathering, especially the exhaust stains. I get very stressed about adding these as my hand is pretty wobbly and the wings get in the way. To lower my blood pressure I used Liquitex inks. These can be heavily thinned with Tamiya X-20A and removed with the same if there are mistakes. I started with a darker mix of black and burnt umber, and then applied other mixes of these with white. Using heavily thinned inks I could built the opacity up really slowly and make sure I was happy with the shape. In between some shades I would lightly moisten a fan brush with X-20A and streak up and down across the exhaust stains before adding more layers on top. In the end I had some stains I was very happy with, although they are quite subtle and disappear into the paint under certain lighting conditions and from certain angles.

I protected the shiny chipping in the wing roots with some masking fluid and then coated everything with a thick layer of neat VMS Satin Varnish applied with an H&S Evolution with a 0.4mm needle. I love this finish.
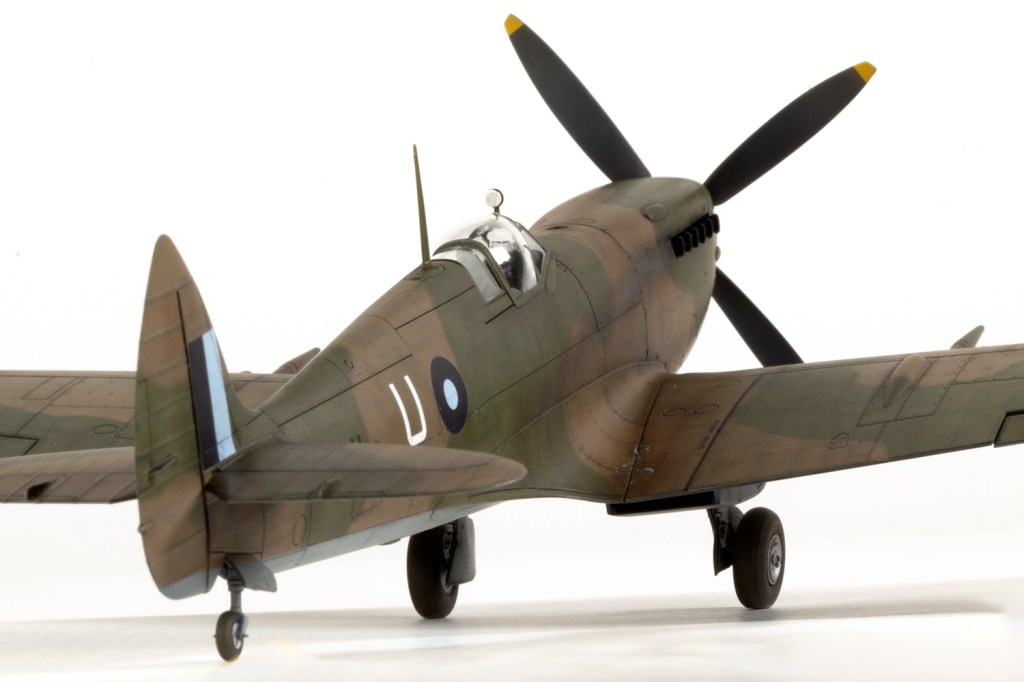
Final assembly was straightforward. I replaced the PE IFF aerial under the starboard wing with a length of 0.3mm silver nickel tube and added a disc of Bare Metal Foil to the rear view mirror. If there is a weak point with Eduard’s Spitfire models, it is the main undercarriage joints. Despite my best efforts, I could not get the legs symmetrical and so unfortunately, from a head-on view, they are a bit wonky. The other modification to make life easier was to remove the raised section of the rear of the spinner back plate, as I like it to be nice and flush with the nose.
And then it was done. Just over three weeks from start to finish is pretty good, and testifies to the essential quality of Eduard’s kit. I’ve another in the stash to convert to a PR.XI in India, and very much look forward to getting around to that one day.


Year bought: 2019 (MJW Models)
Year built: 2026 (New Addington, Croydon)
Back to home.
