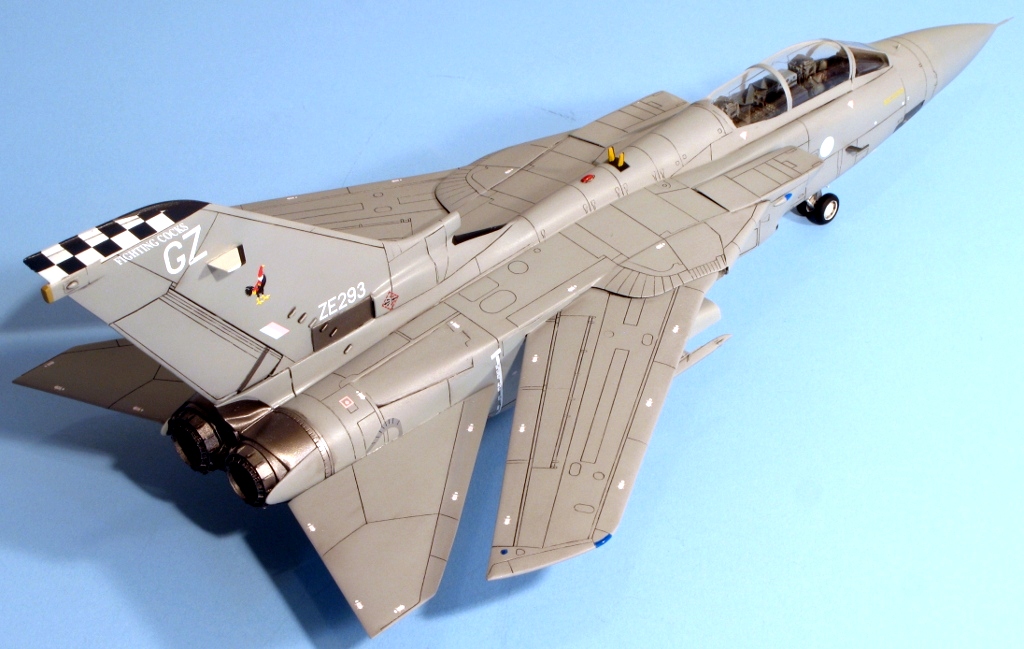
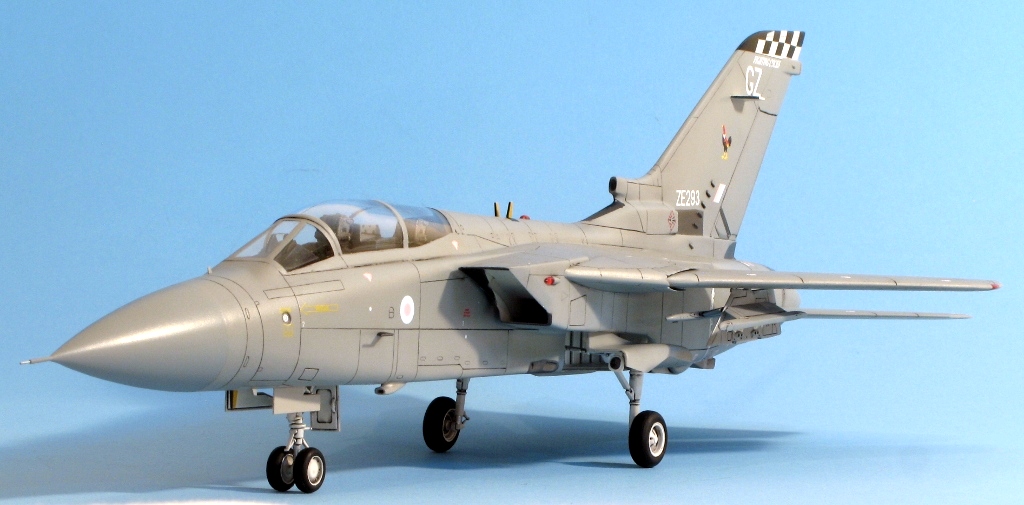
with Paragon resin seats, exhausts, pylons and fin correction
43 Squadron, Royal Air Force, UK 2003

This is a much maligned kit! Italeri’s Tornado is a bargain kit (I paid less than £10 for this one in 2001) that is a basic, but good starting point. I used Peter Looper’s articles in Scale Models International from Spring 1995 to make some small modifications and find out which bits and pieces I needed to make the essential corrections. In the end I used Paragon resin seats, pylons, fin correction and engine cans (with chaff dispensers). I closed the cockpit and thought the kit interior was perfectly adequate for this. Peter points out that the Italeri interior is for the trainer version of the ADV, so I sourced some Model Alliance decals which had an F.3(T) on the sheet.
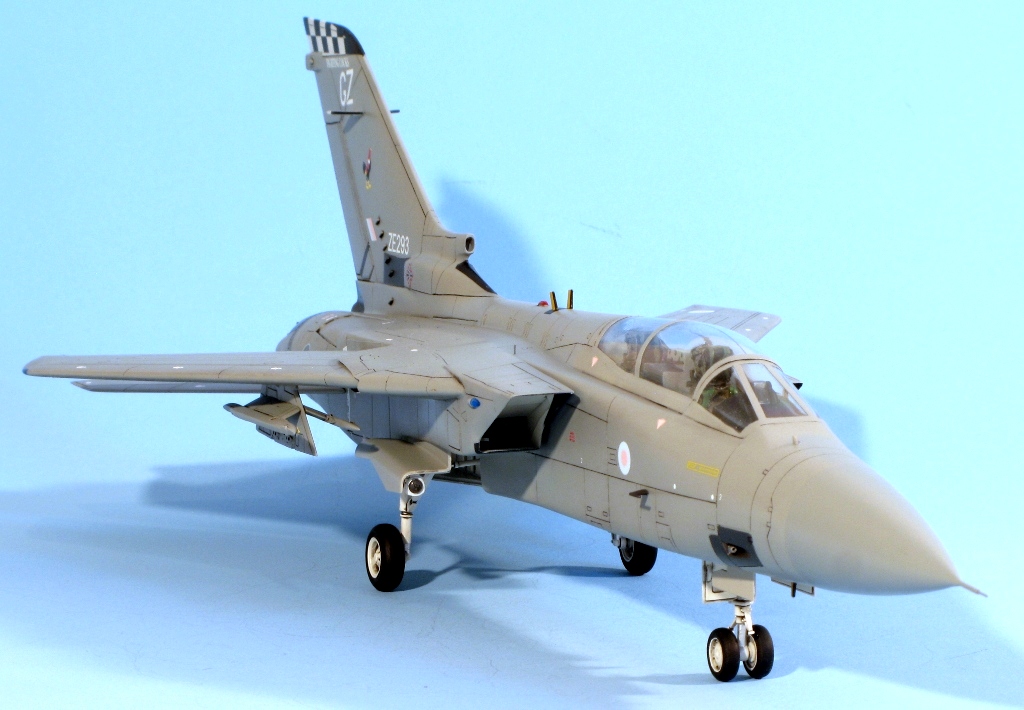
The plastic generally goes together very well. I joined the upper rear fuselage to the completed forward fuselage, and then added the lower rear section last of all. The fit of all these parts was very good (especially across the upper join), and the intakes fitted very well also. More work was required (meaning Milliput!) with the fin base, but that was my fault as I only decided to add the Paragon correction at a late stage. The only really poor areas, fit-wise, were the wing gloves. The gaps were enormous and required lots of super-glue and sanding. It was my fault also that the lower front fuselage insert did not fit very well, and I needed a little sheet styrene to make the joins invisible here. The plastic Italeri use is great, making it much easier to eliminate seams than the hard, brittle plastic that Hasegawa, for example, mould their kits in. I think the Paragon resin thrust reverser mechanism must be sized for the IDS kit, as it fits that version very well, but not the ADV tail (which is obviously a bit different). Filler and some trimming of the rudder rectified this problem. I also made a small modification to the rear underside where there are a couple of metallic ‘lugs’, one of which Italeri moulded in the wrong place, and I eliminated a couple of incorrect fuselage and tailplane panel lines. The nose pitot is brass tube and wire; I scribed a refuelling door on the nose as well, but spot the deliberate mistake! One final error is that the antennae on the fuselage spine should be vertical, whereas I fitted them canted out.
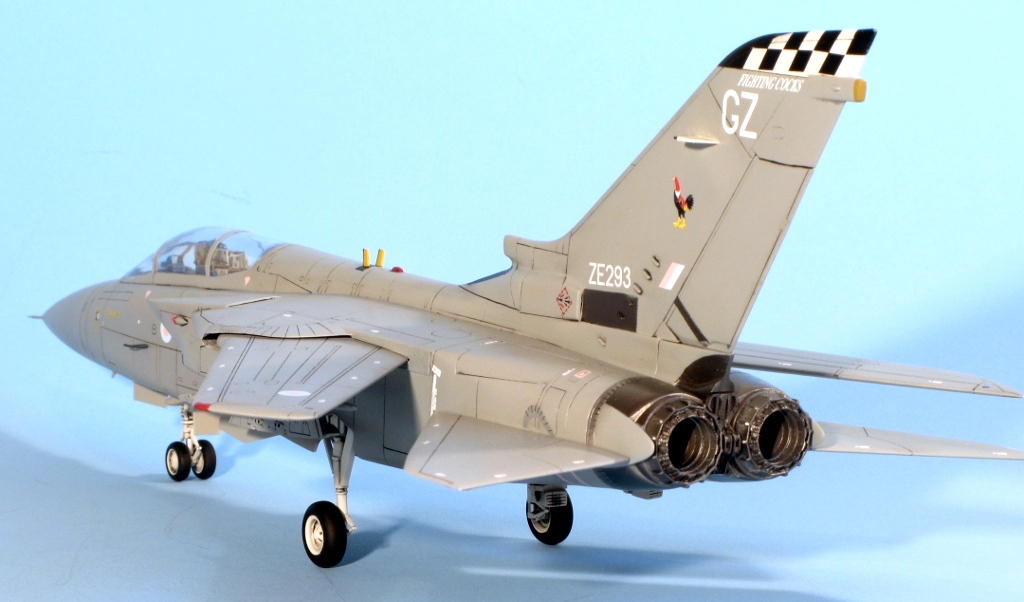
Once the plastic was all together, I primed with Halfords primer and used Alclad II for the metallic areas. I experimented here to see what it looks like without polishing the undercoat. In future I will polish it! The greys were painted on using Humbrol enamels and then a coat of Johnson’s Klear and an oil wash. Having done it, the panel lines are somewhat overstated. The decals were beautiful, with no silvering and invisible carrier film — why can’t all decal manufacturers use this printer? Maybe it’s very expensive — the decals cost a fortune (about £13 I think!). The instructions are not great: mis-numbered items and no info at all on what types of stencil should be used for the ‘no step’ markings (I used the ‘foot’ ones; I’ve no idea if that’s correct or not). I miss-applied the tailcode on one side; I can’t believe I still make errors like this…
All in all, a good build — certainly better than my last Tornado. The fit is better than a lot of people think, providing you dry-fit and try different construction sequences. Of course, there are further refinements I could have made (Eduard etch and Paragon wheels spring to mind), but the parts I used made a big difference for relatively little outlay. I look forward to getting around the Luftwaffe Tornado ECR I’ve got in the stash.


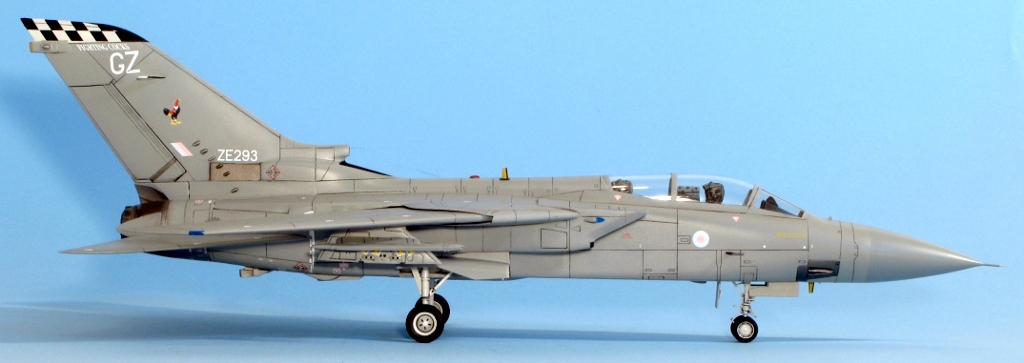

Year bought: 2001 (Antics, Guildford)
Year built: 2005 (St Ives, Cambridgeshire)
Back to home.
