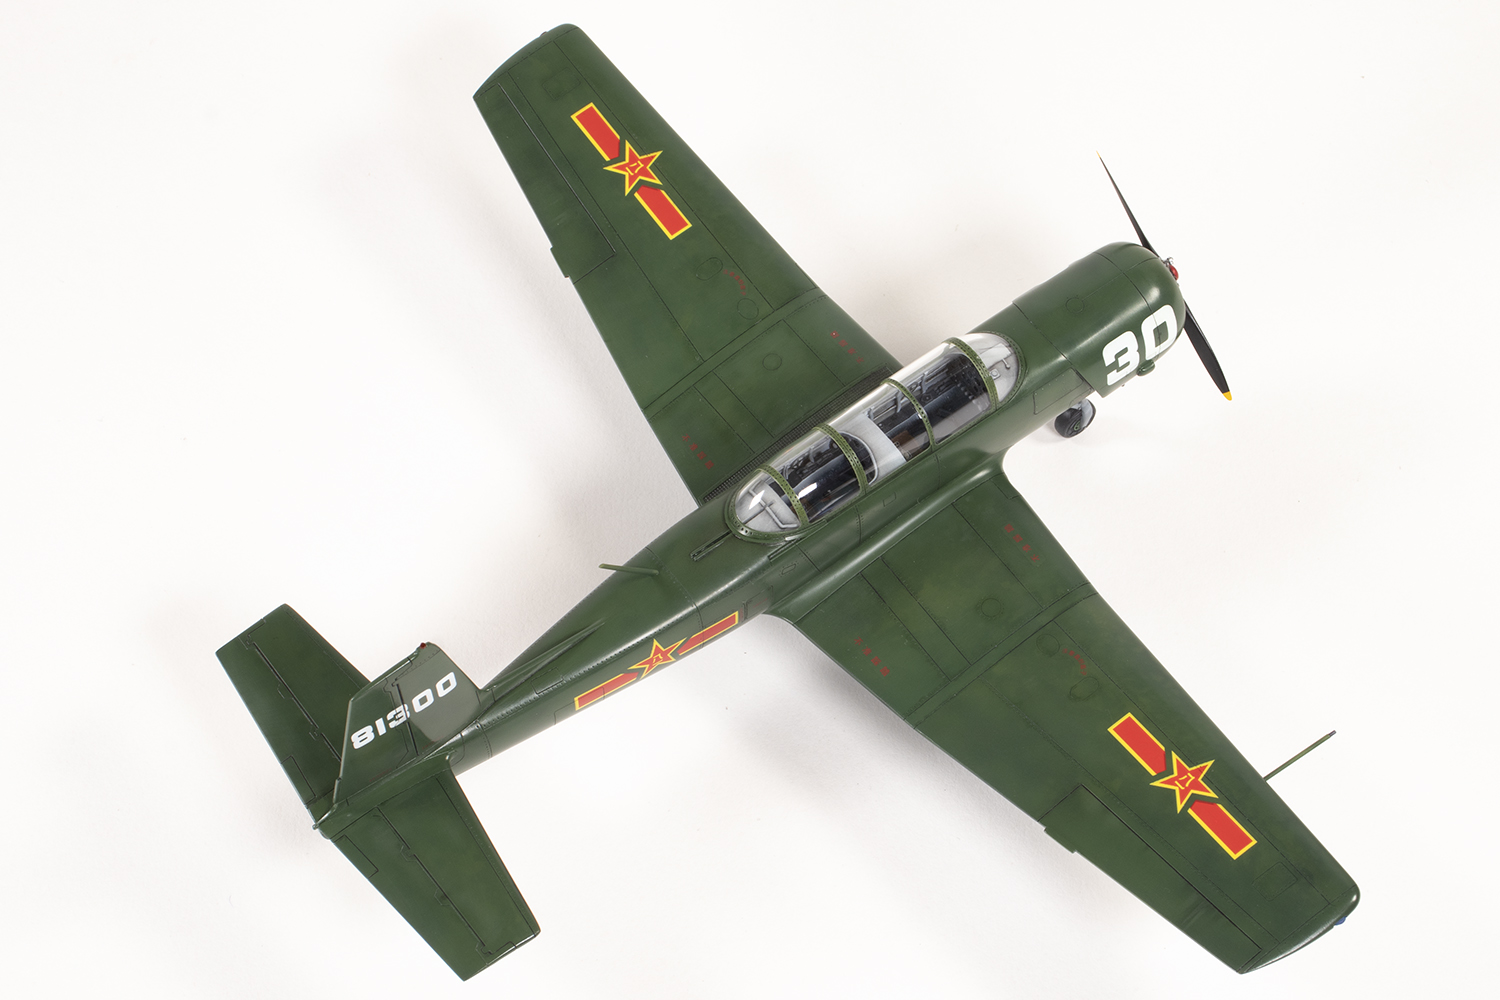
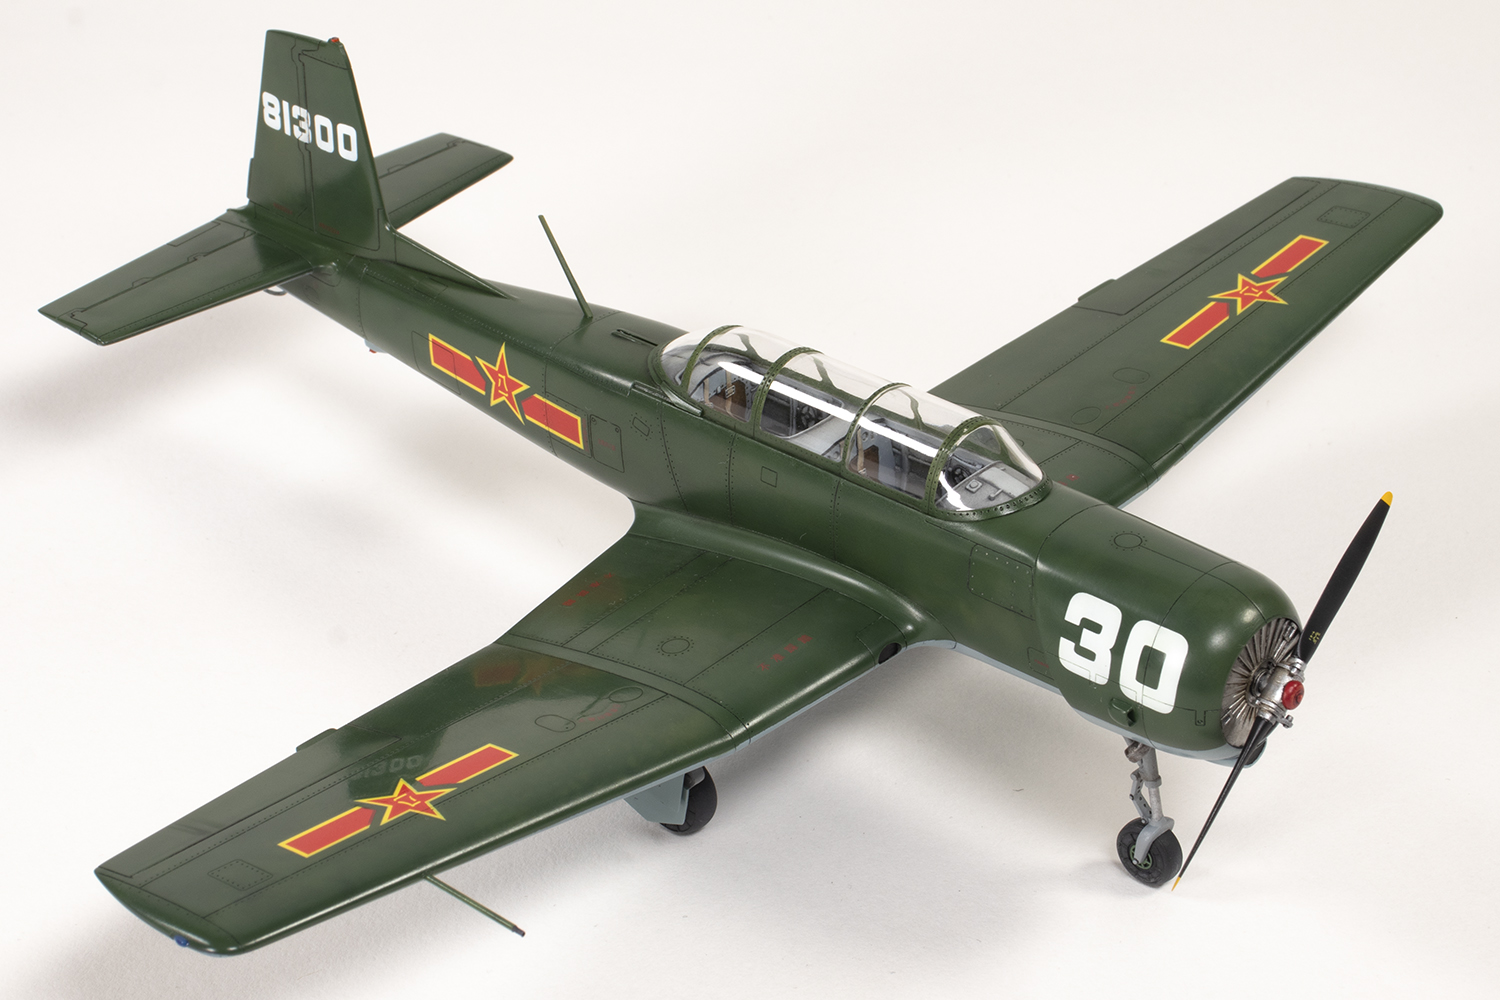
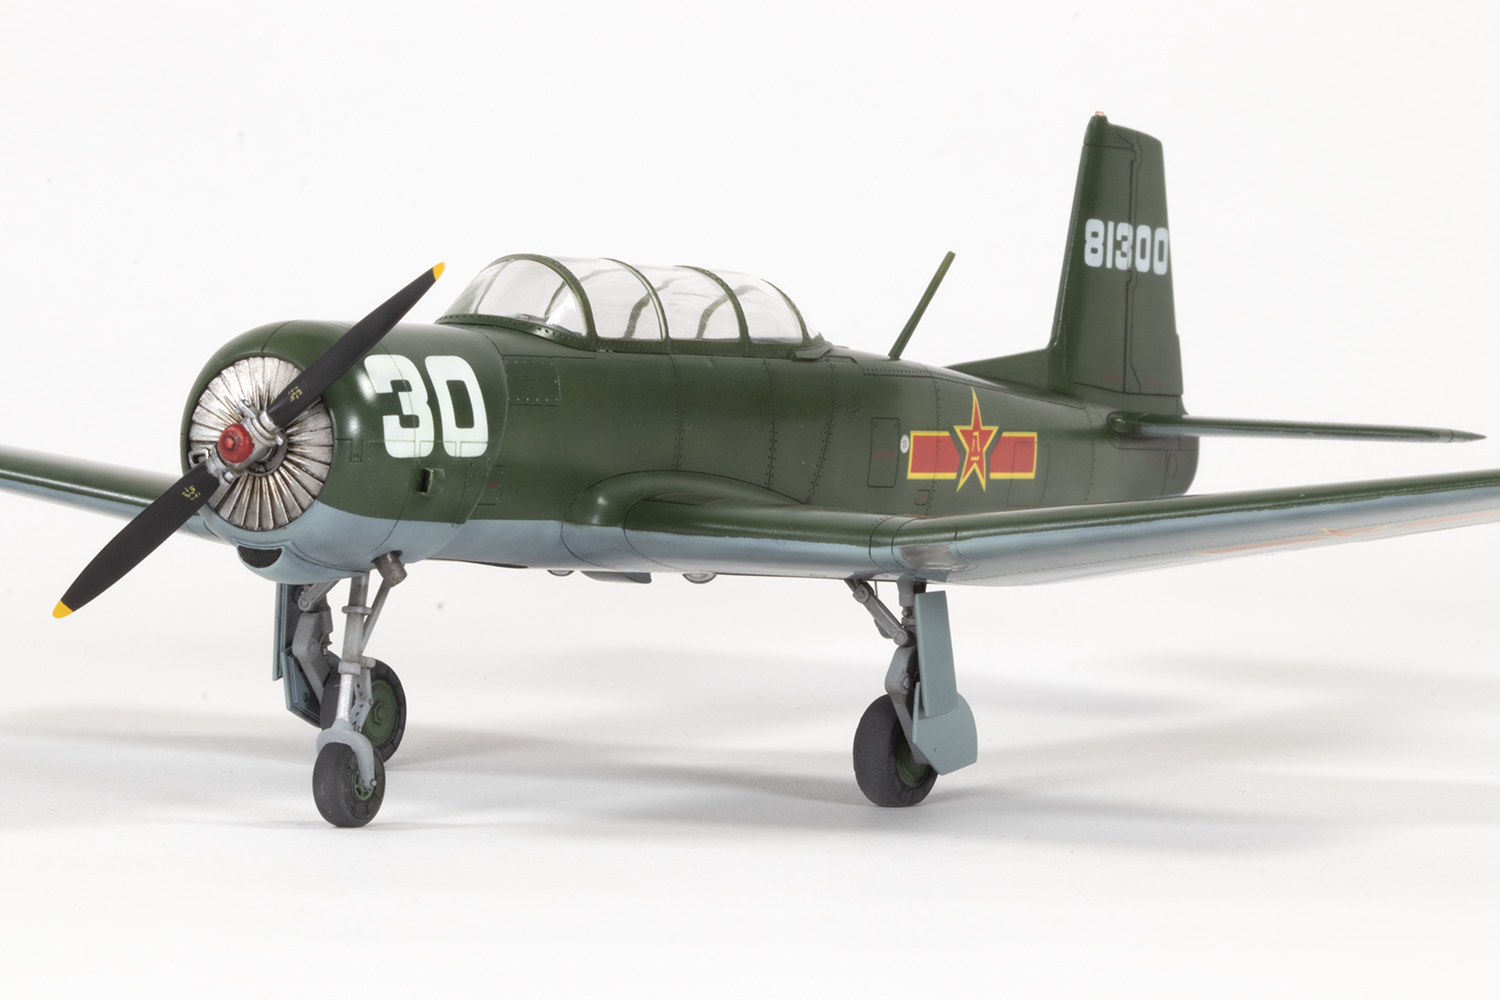
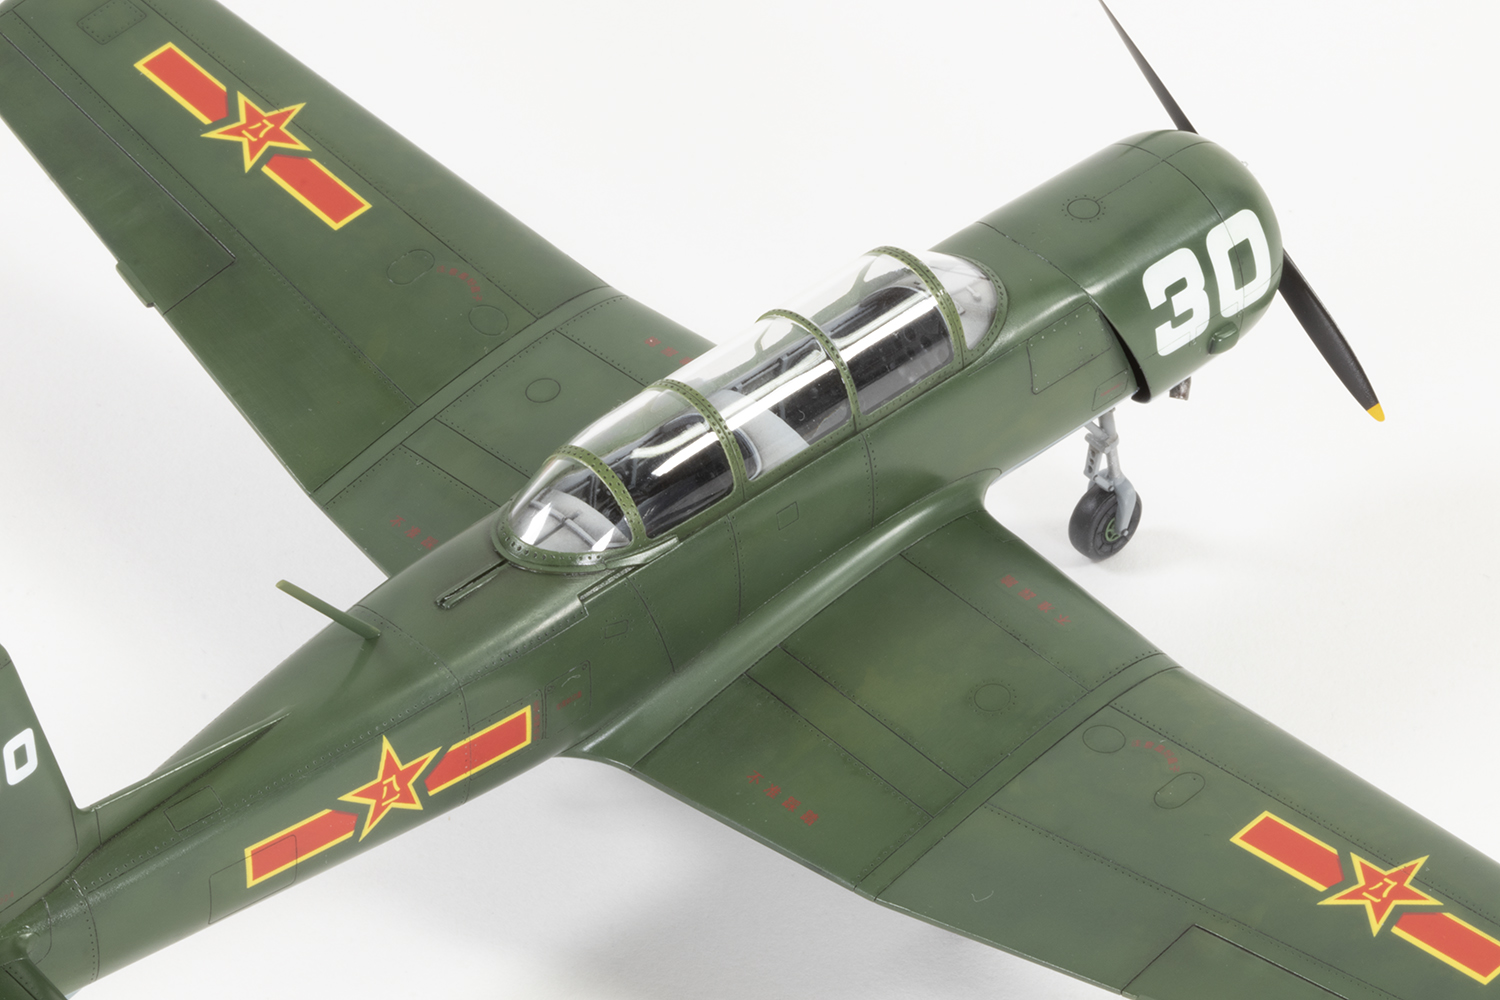
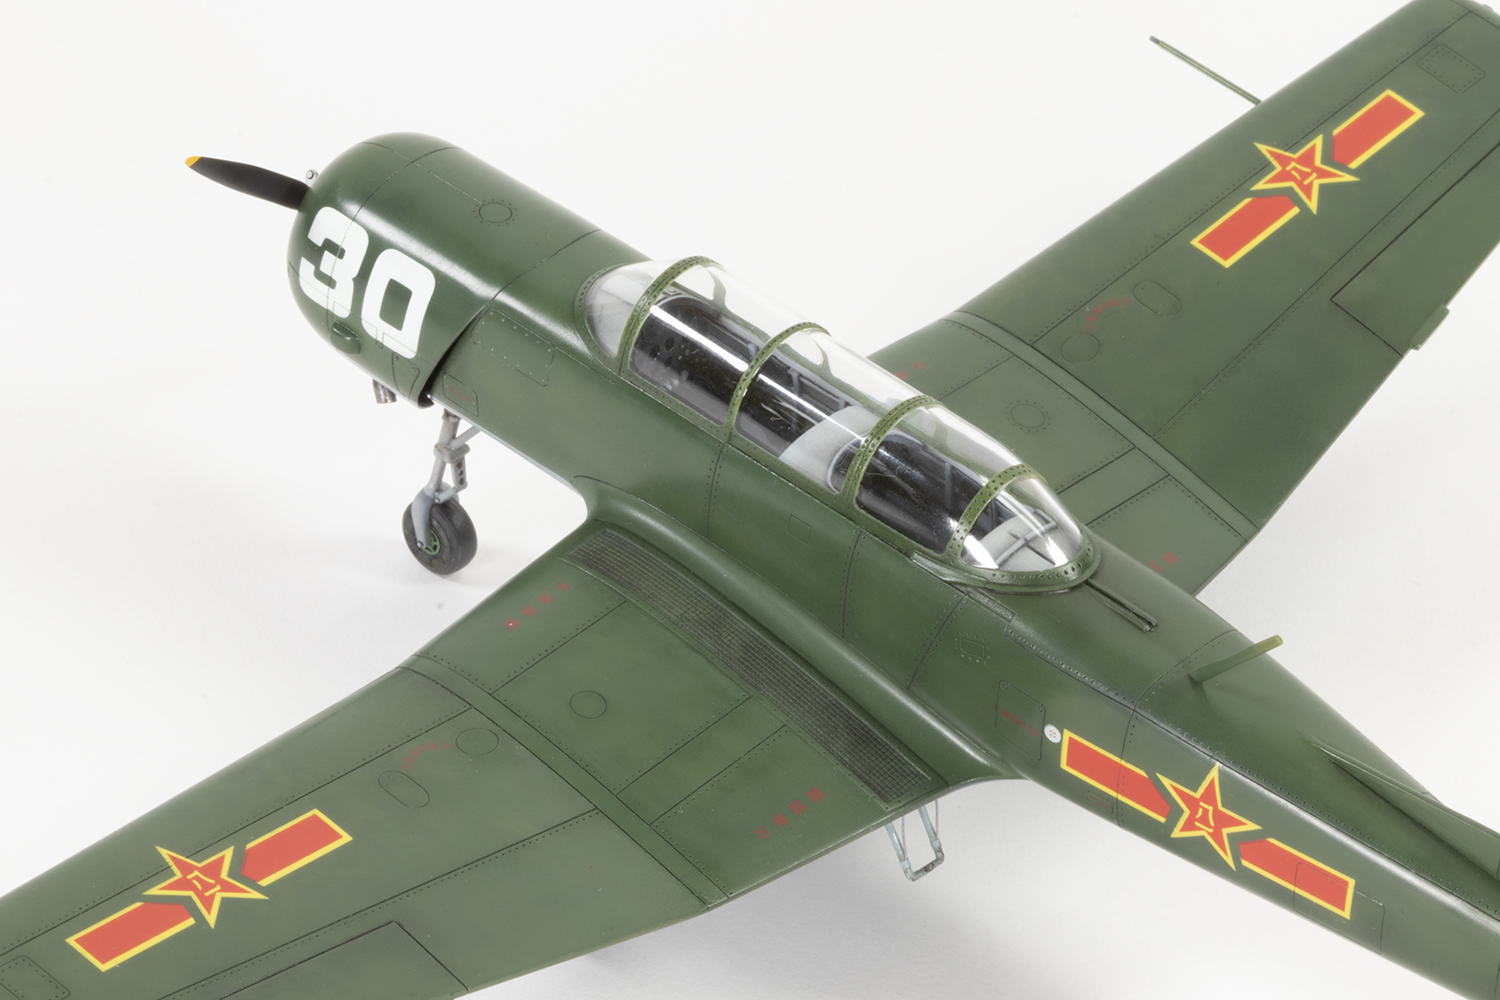
1st Training Regiment, PLANAF, China

The mind boggles that an aircraft designed in 1958 is still the primary trainer used by the armed forces of a superpower, the People’s Republic of China. Derived from the elderly Yak-18, the Nanchang CJ-6 is superficially similar to the much later Yak-52 but easily distinguishable by having a completely different tail. The CJ-6A is a variant with a different engine dating from 1965, but I could not find any information on how to visually differentiate the two, and so I assume I have modelled a CJ-6A since it’s been photographed in service quite recently.
Trumpeter released their kit of this aircraft in 2013 and it’s noteworthy to me for two reasons. First, it has not engendered a single item of aftermarket, not even a mask set. I think that might be unique for a 21st century 1/48 mainstream injection moulded aircraft. And on a personal level, I lived in the PRC for seven years and this is the first aircraft in Chinese markings I’ve ever made.
The kit is wonderfully simple, comprising a couple of sprues of fairly well-moulded parts with very fine surface detail and a clear runner with the one-piece canopy. You cannot model the canopy open. Options are limited to alternative propellers, with no explanation as to which should be used, and the kit provides two boring schemes for the PLAAF which appear to be museum display pieces. To be fair, operational schemes for this aircraft are boring; if you want something more interesting, there are plenty of privately operated CJ-6s in all kinds of different markings.
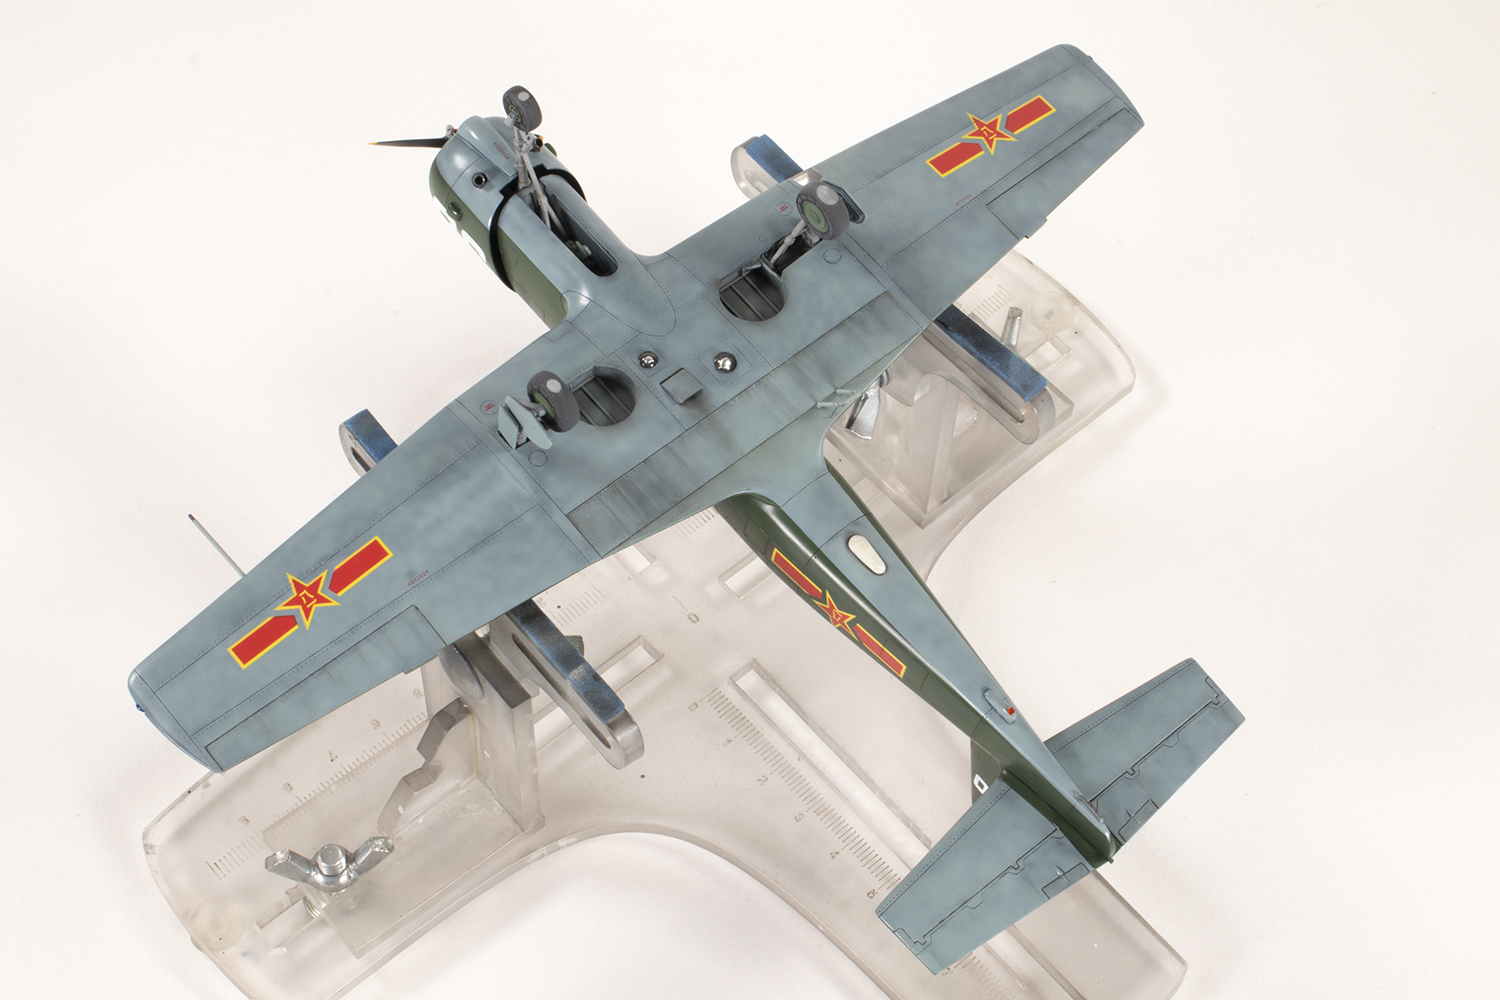
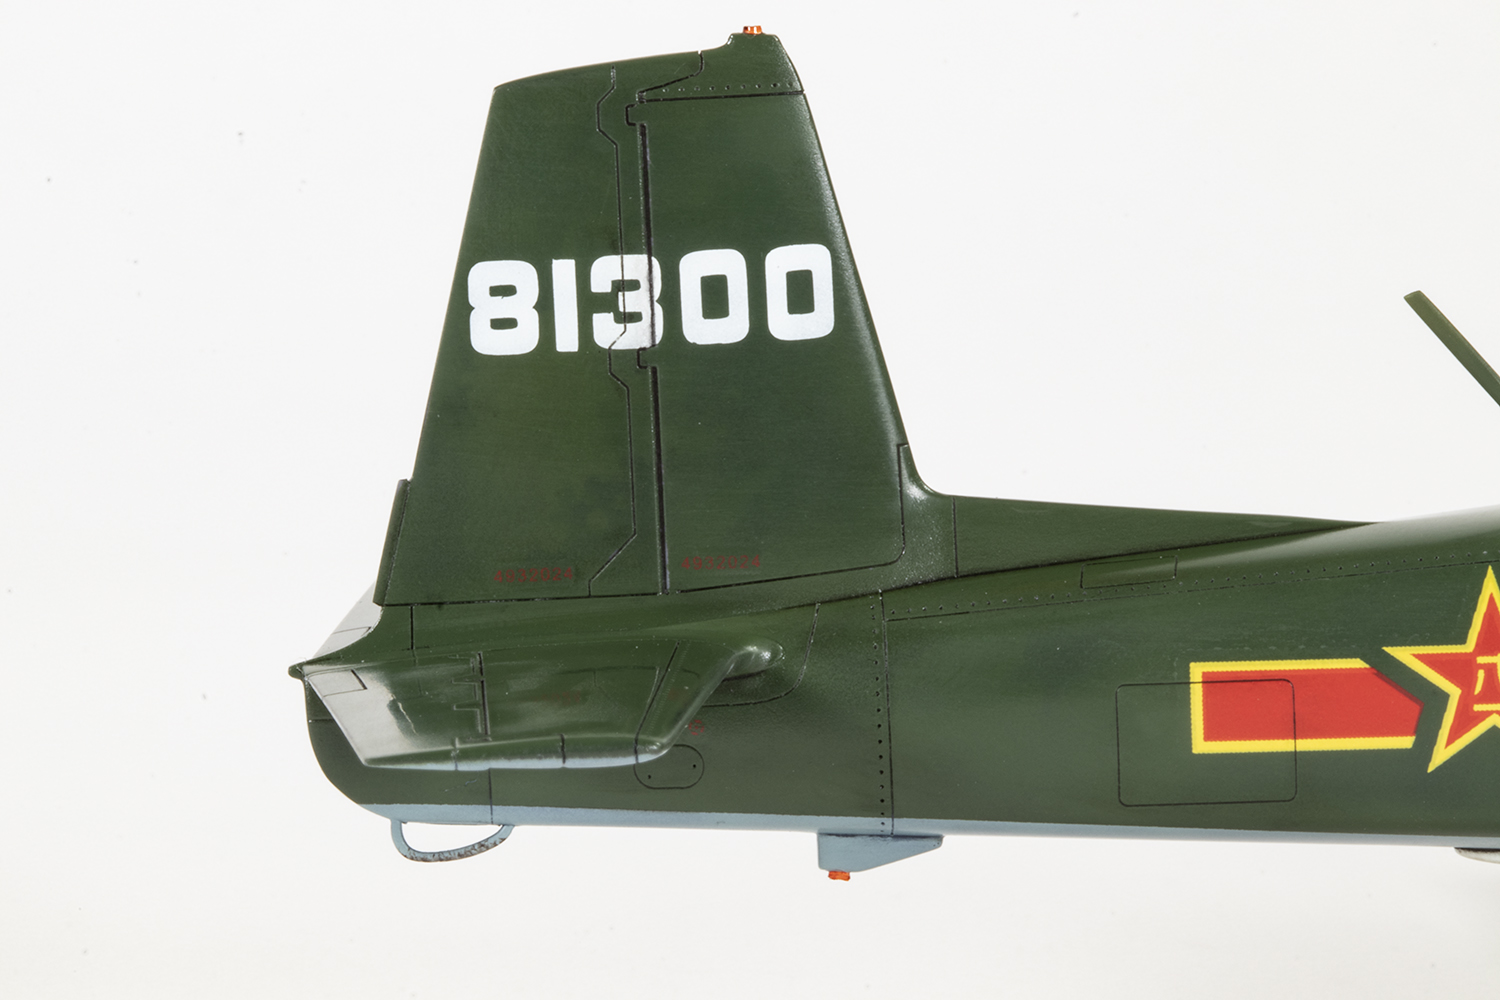
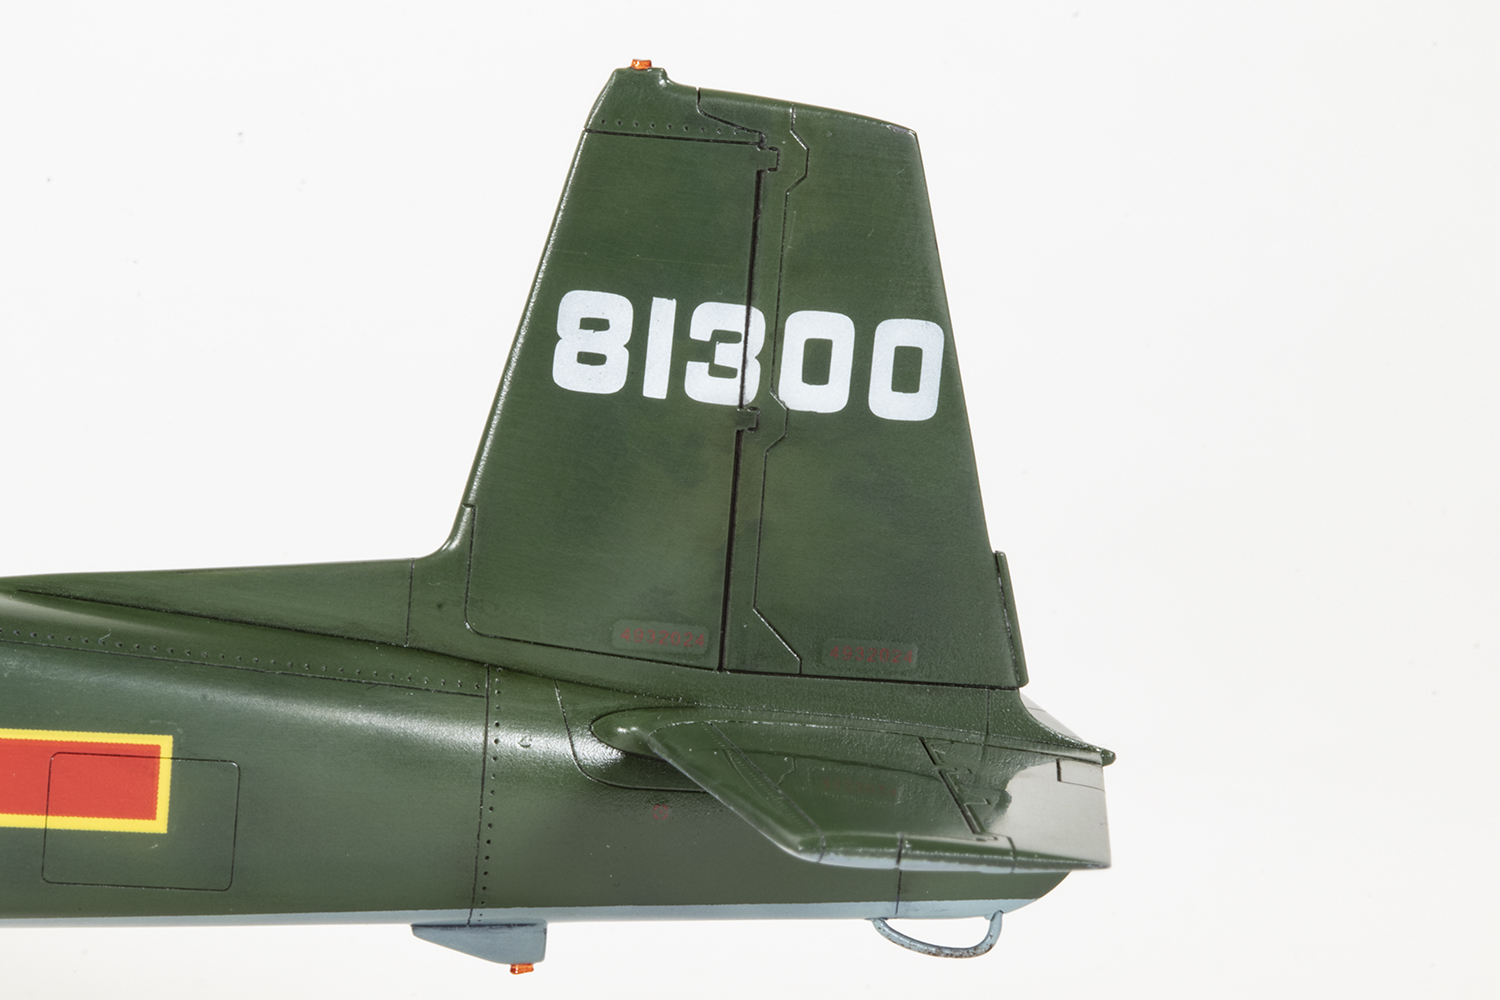
This fact makes finding photographs of operational CJ-6s difficult as Google will throw up images that are almost entirely of private aircraft. The only way I could get some decent images was to Google in Chinese, which is most easily done by copying and pasting the Chinese name of the aircraft from the English Wikipedia page. This will provide plenty of photos of PLAAF and PLANAF aircraft, although still not nearly as many as one would like. This led me to a PLANAF aircraft of the 1st Training Regiment that would be easy enough to replicate with some homemade masks for the chunky serial numbers.
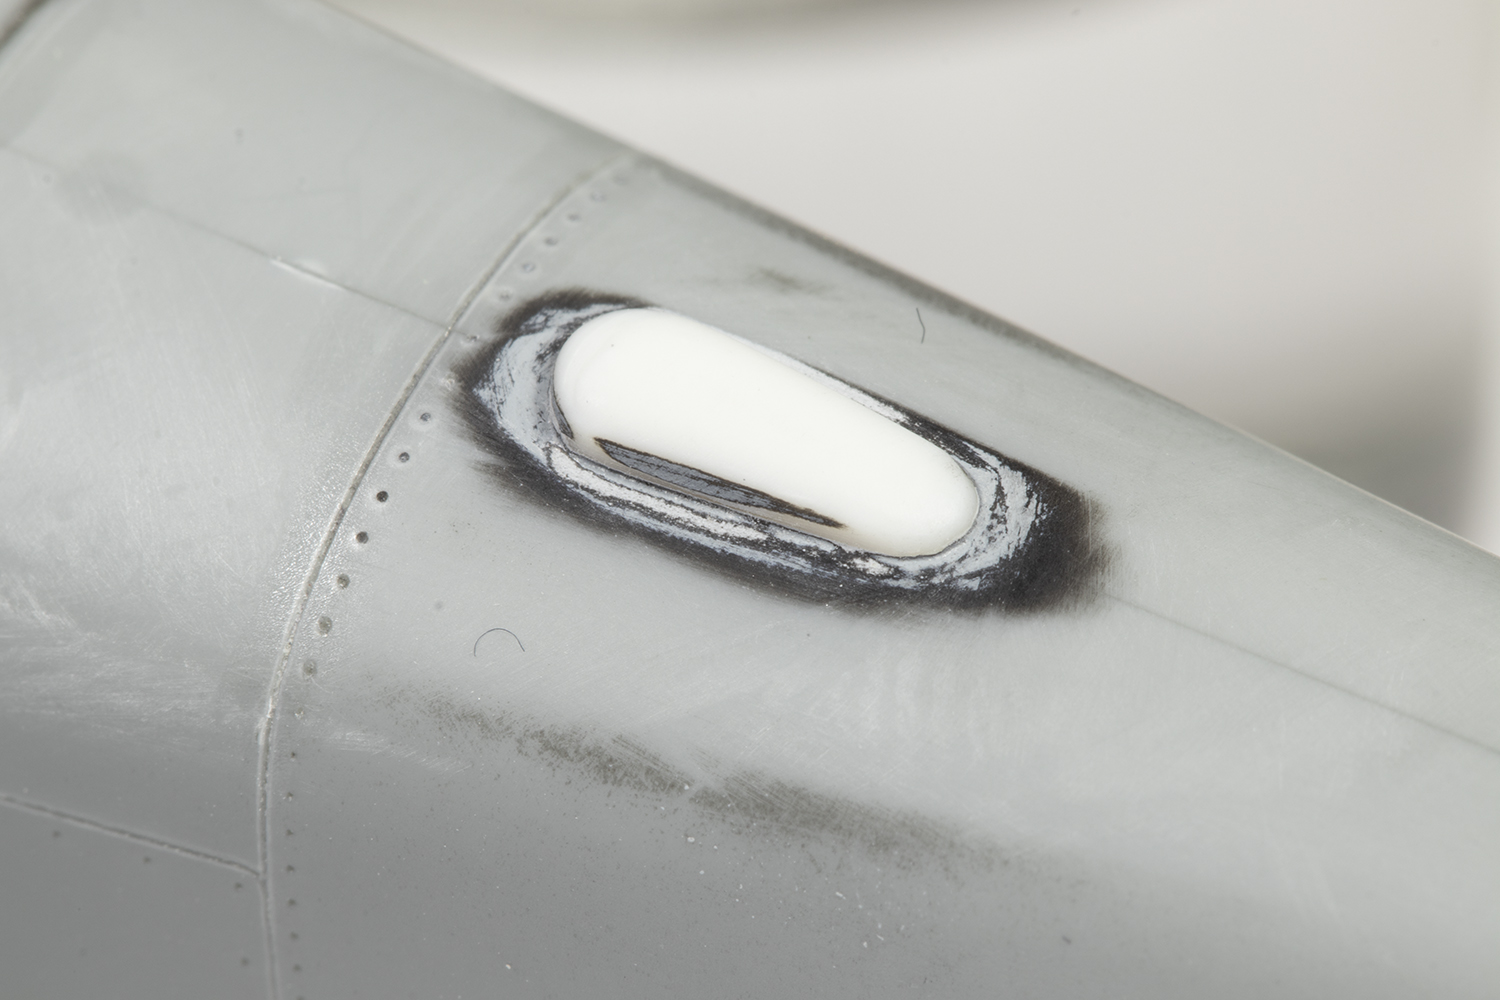
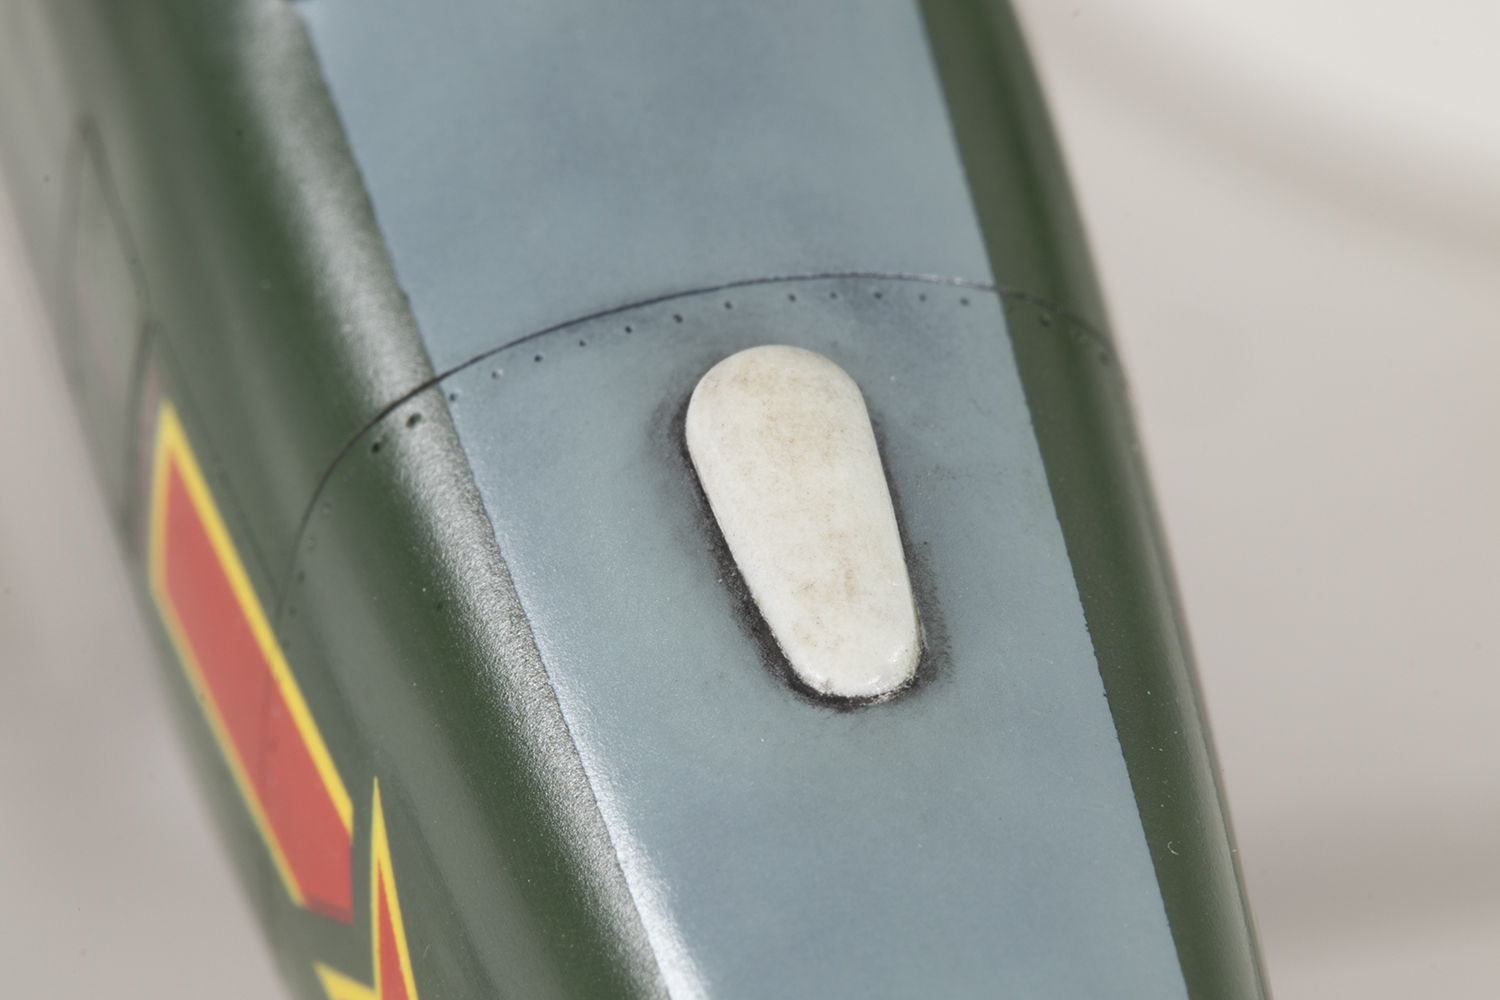
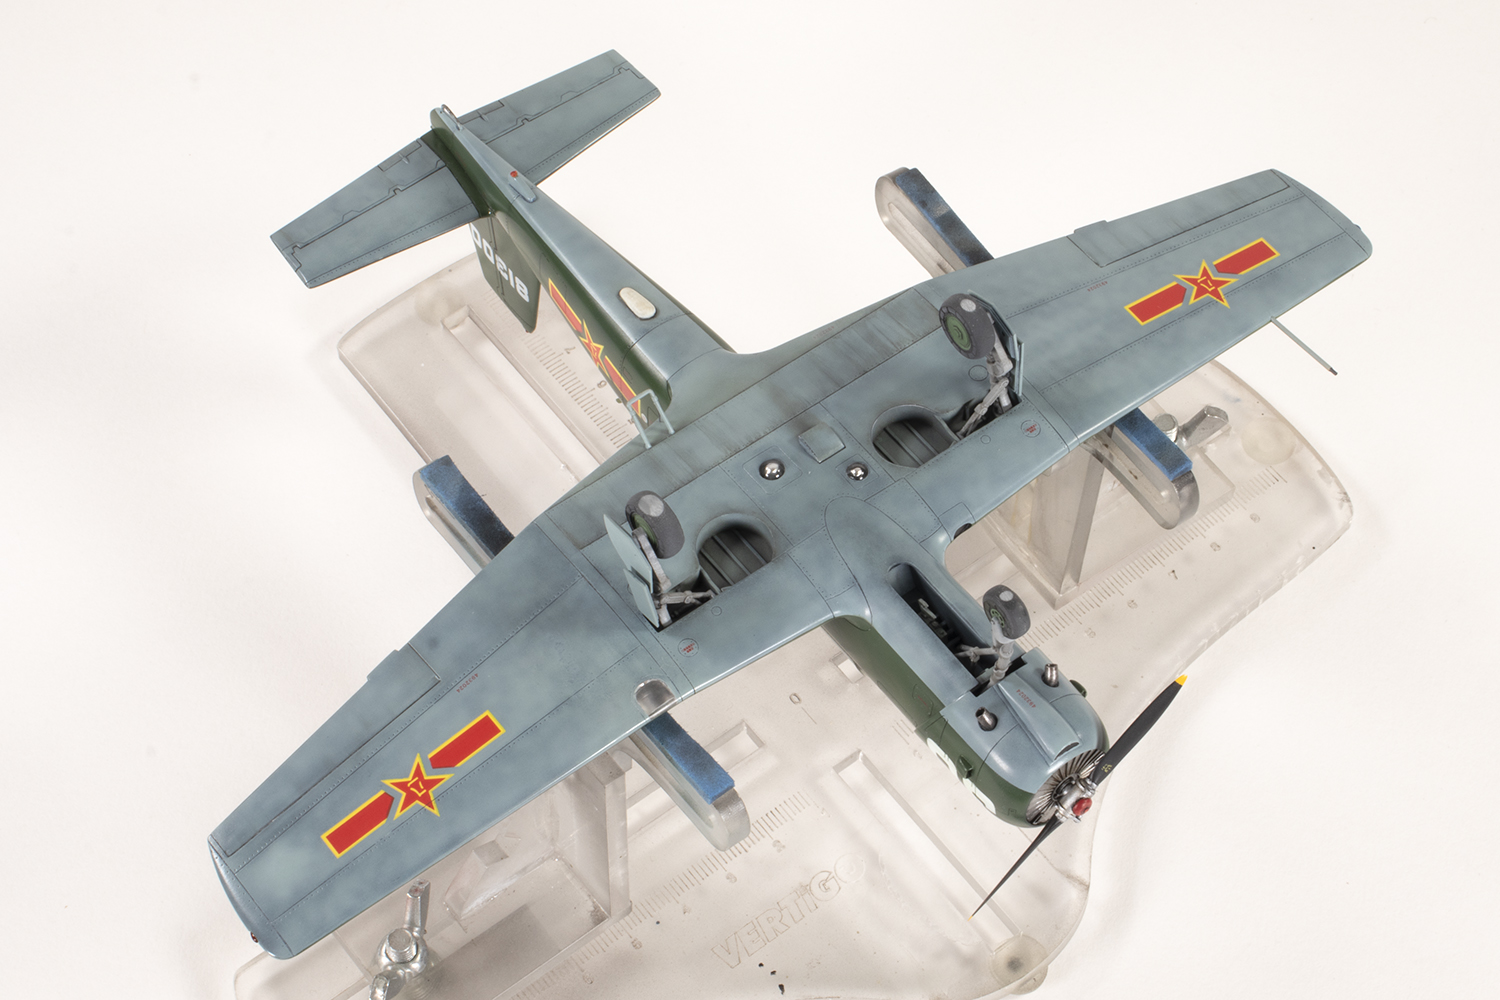
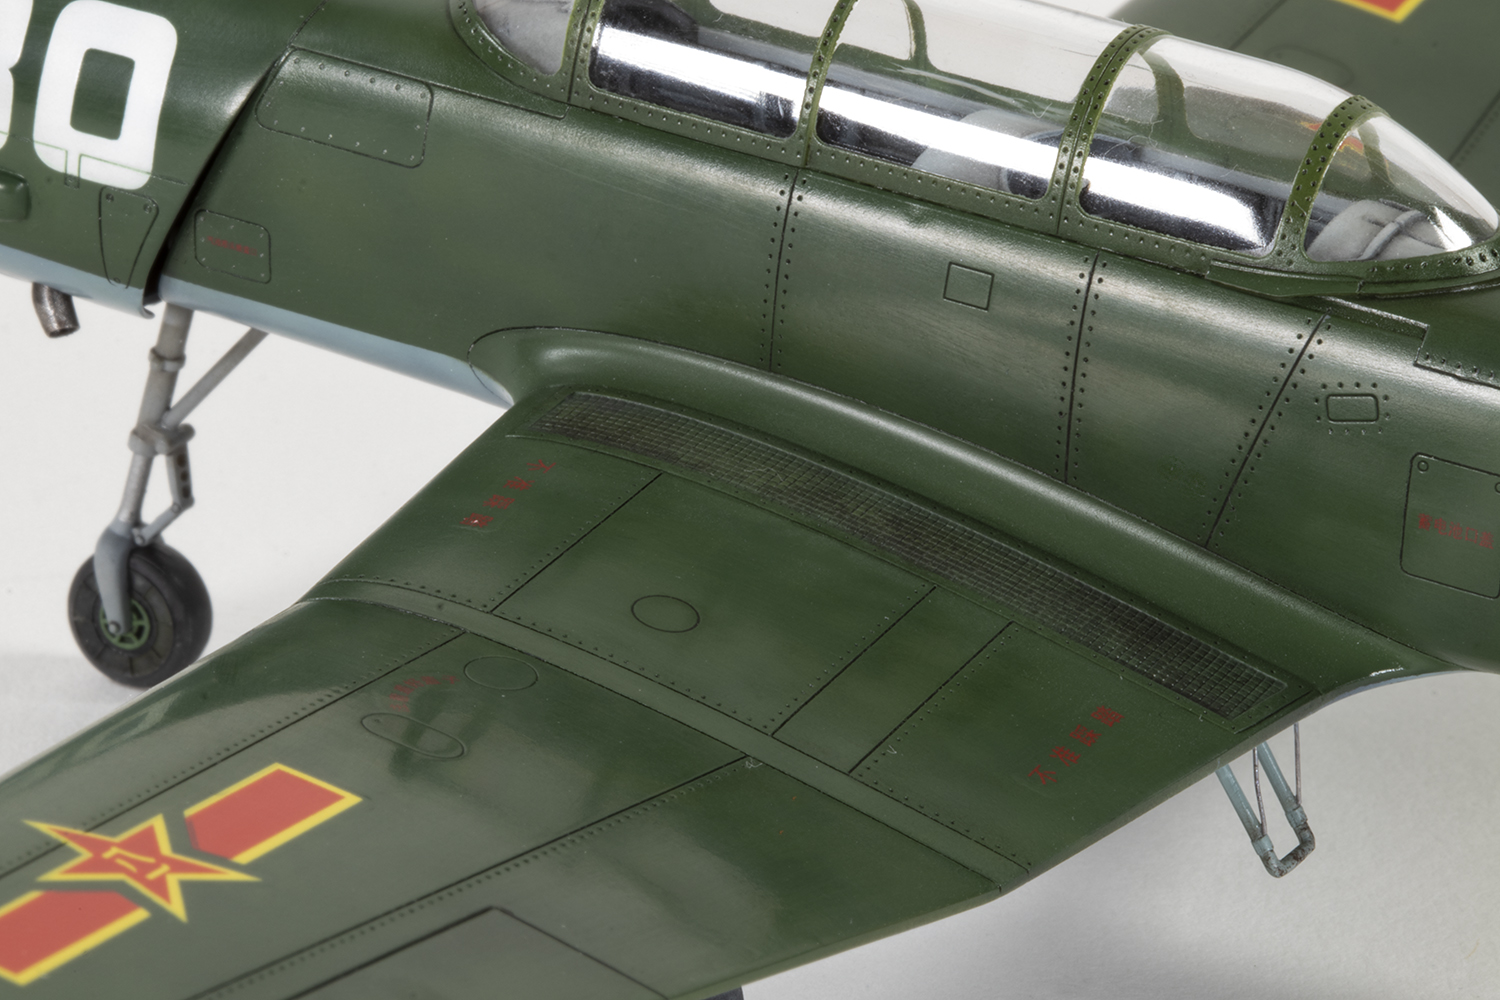
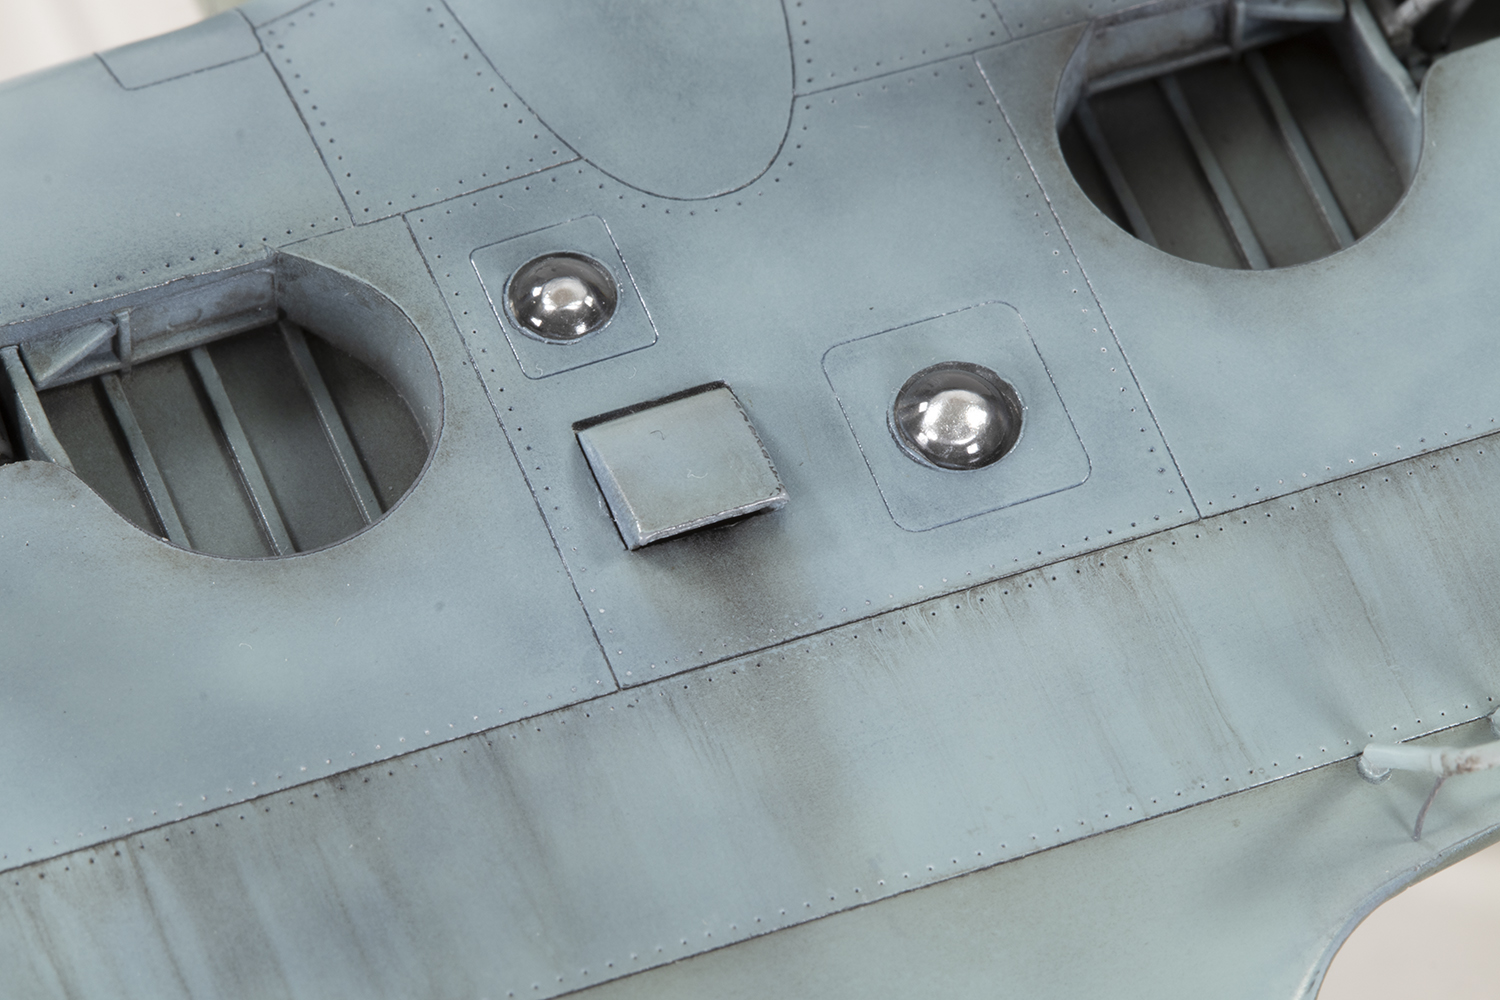
Perusing the images I downloaded revealed that what Trumpeter provide is subtly different from what I wanted to model. It’s not that Trumpeter are wrong, just that they haven’t catered for some detail differences between airframes. Thankfully, the first items to go were the underside aerials. These are moulded with the fuselage halves, and split down the centre, making removal of the fuselage seam difficult. I could just chop them off. In their place I would need to add some kind of bulge which I assume houses an aerial. A modified part from the spares box would provide this item.
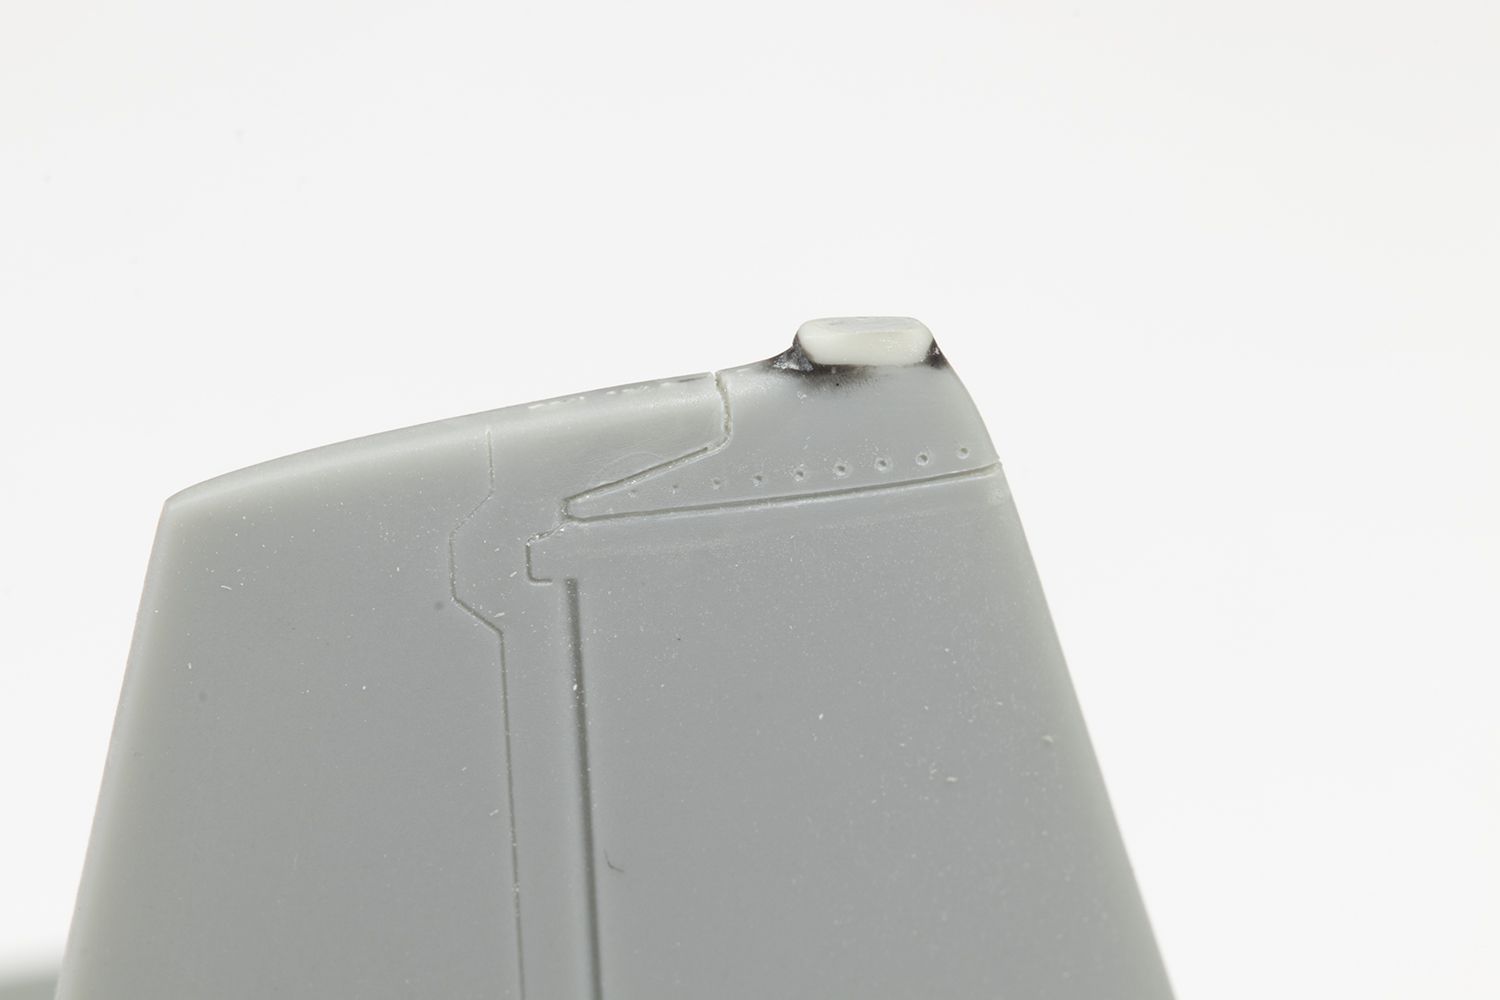
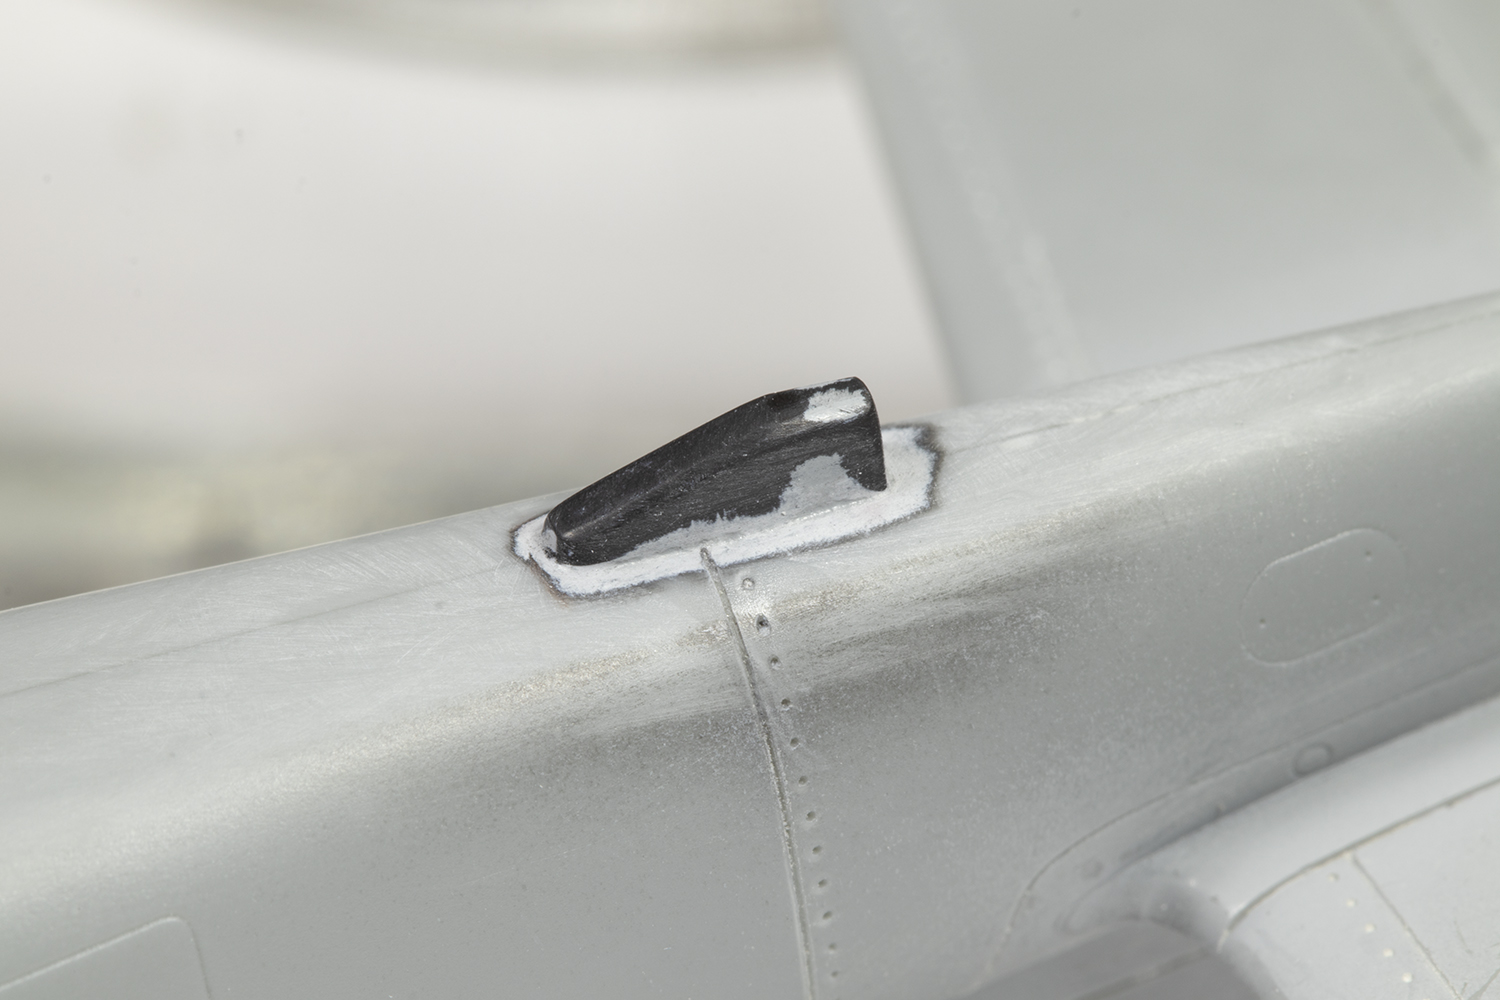
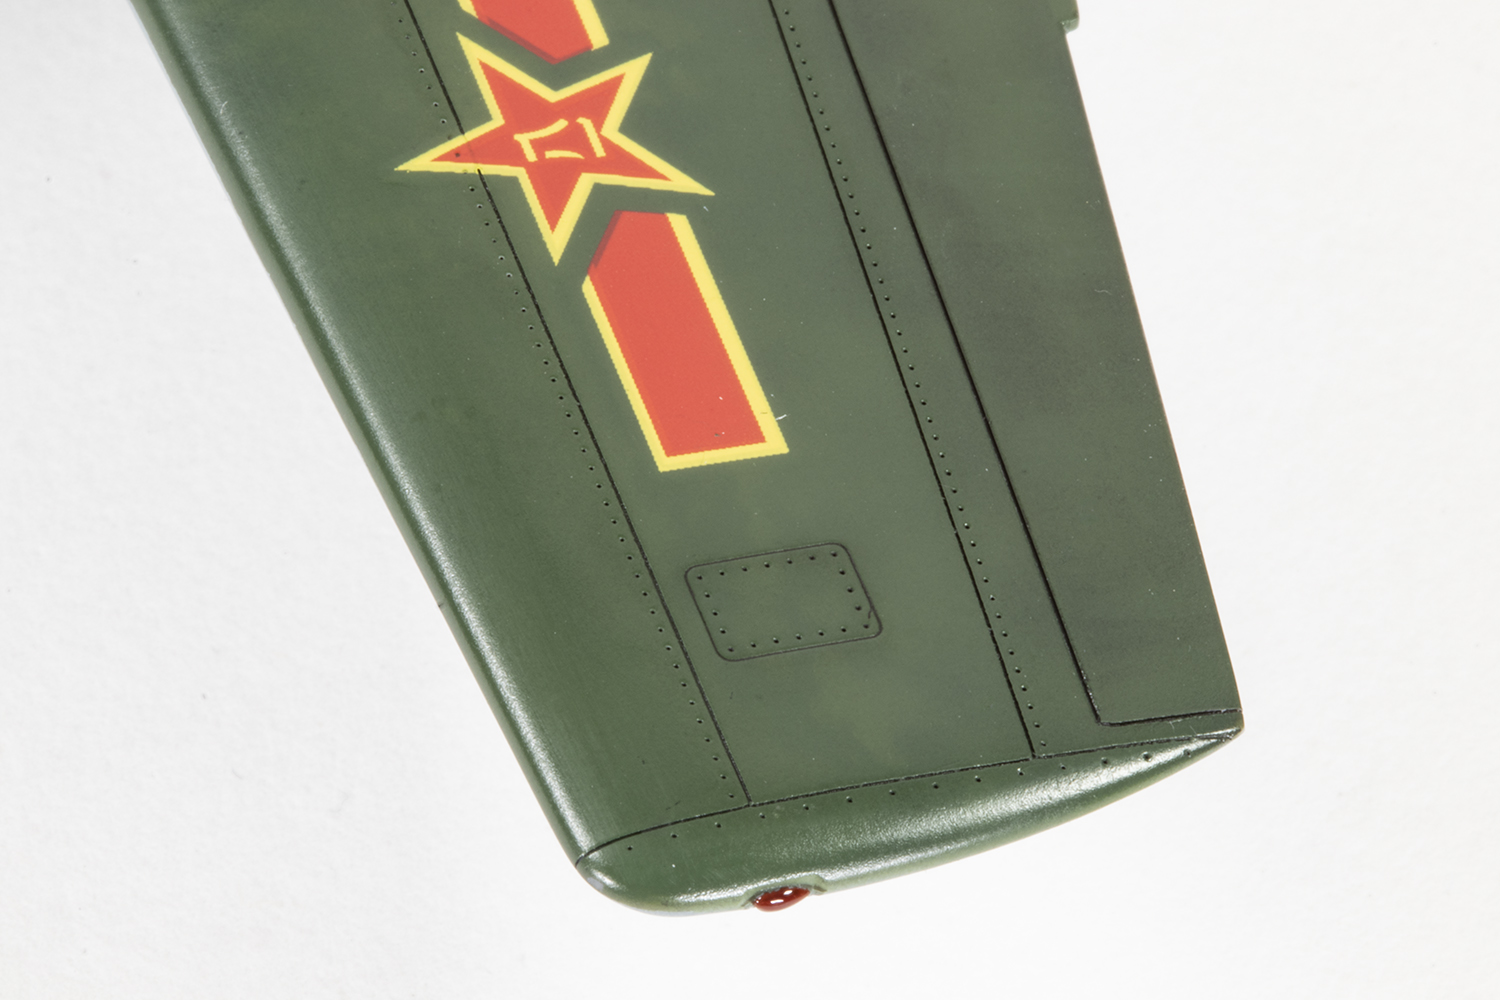
Behind this was a tail light mounted on a base, not provided by Trumpeter, and another tail light would be required at the top of the tail fin. These varied widely in shape between airframes, even in the same regiment. Again, the spares boxes were raided for suitable parts to work with for these pieces.
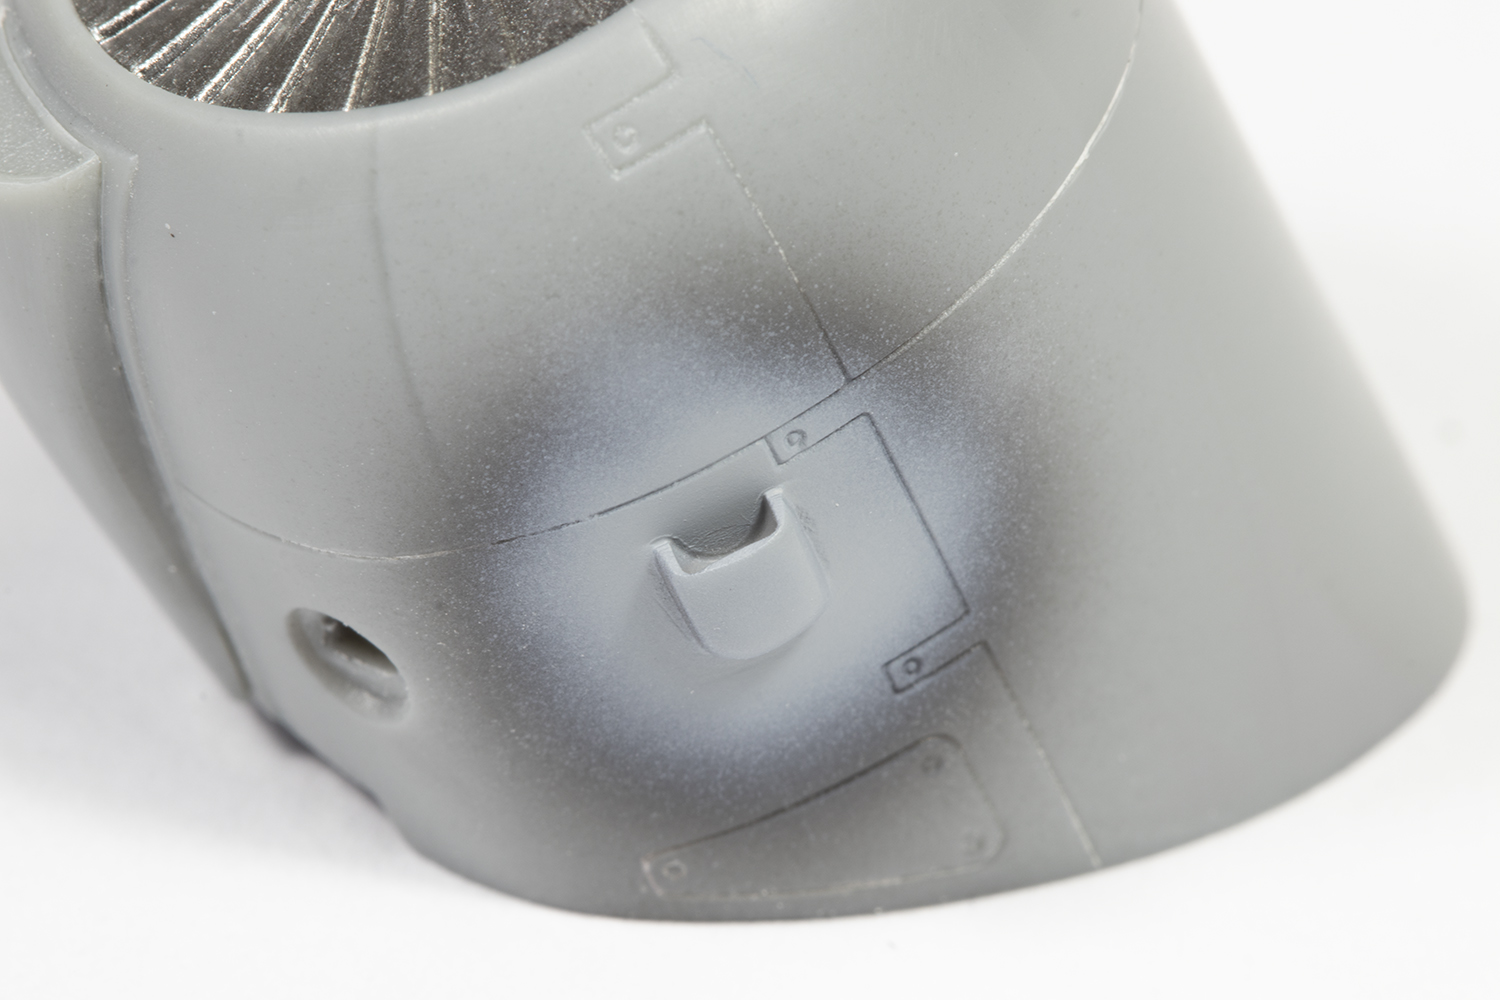
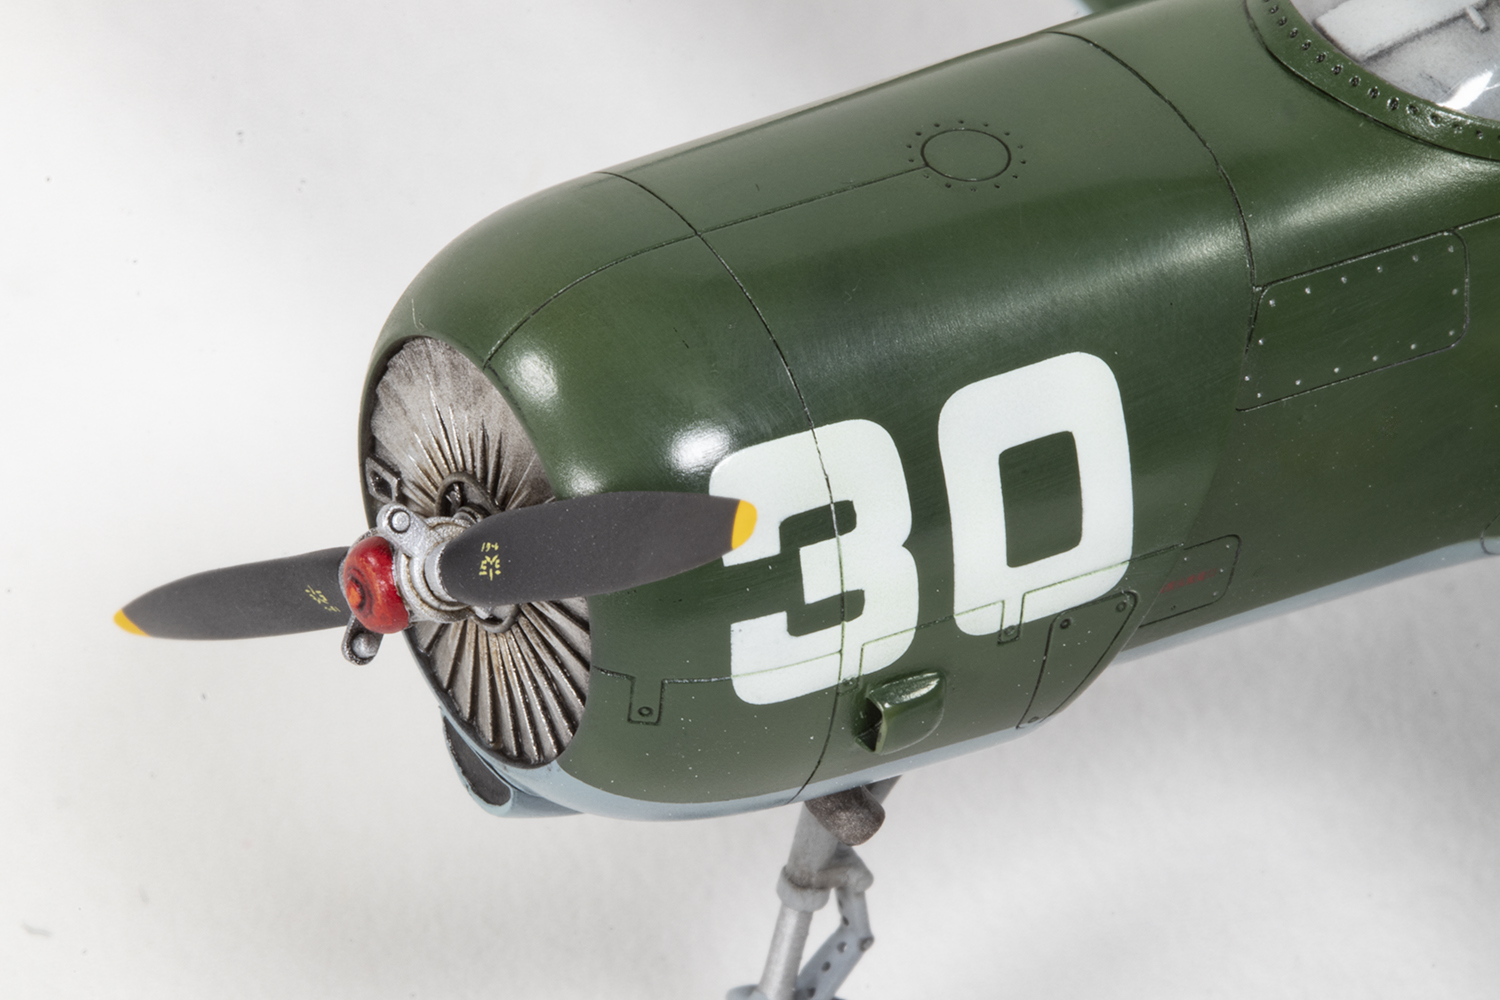
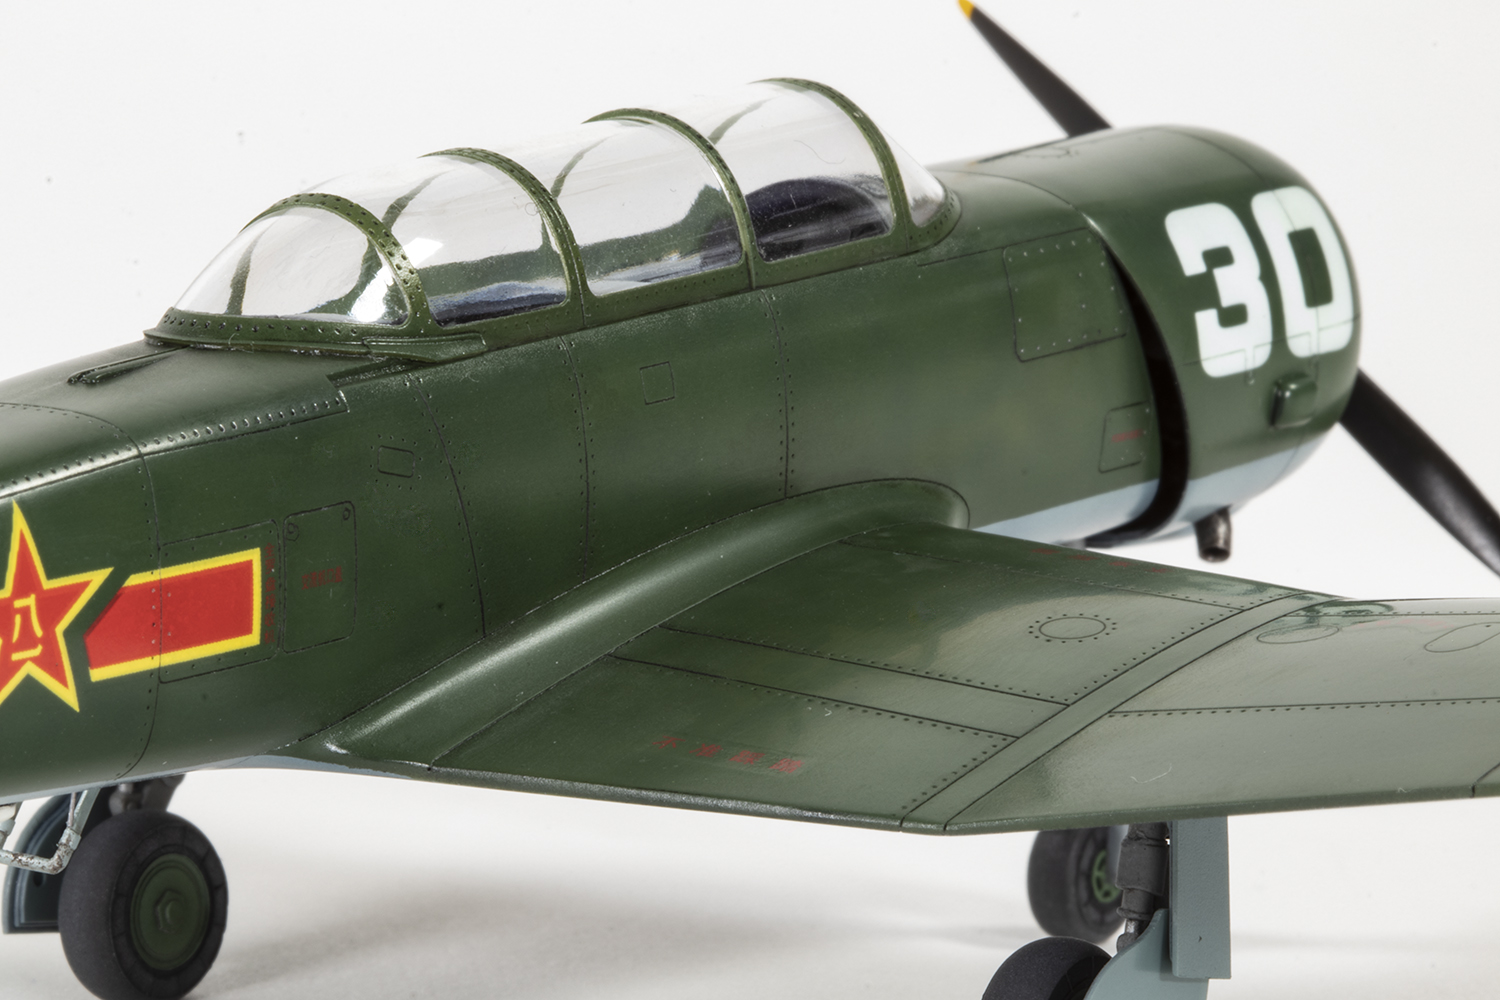
The last modification would be some extra intakes on the sides of the cowling, present on a lot of CJ-6s. Mine are cut down from some Hasegawa A-4 intakes that were surplus to requirements. In short, my spares boxes were rather important for this build.
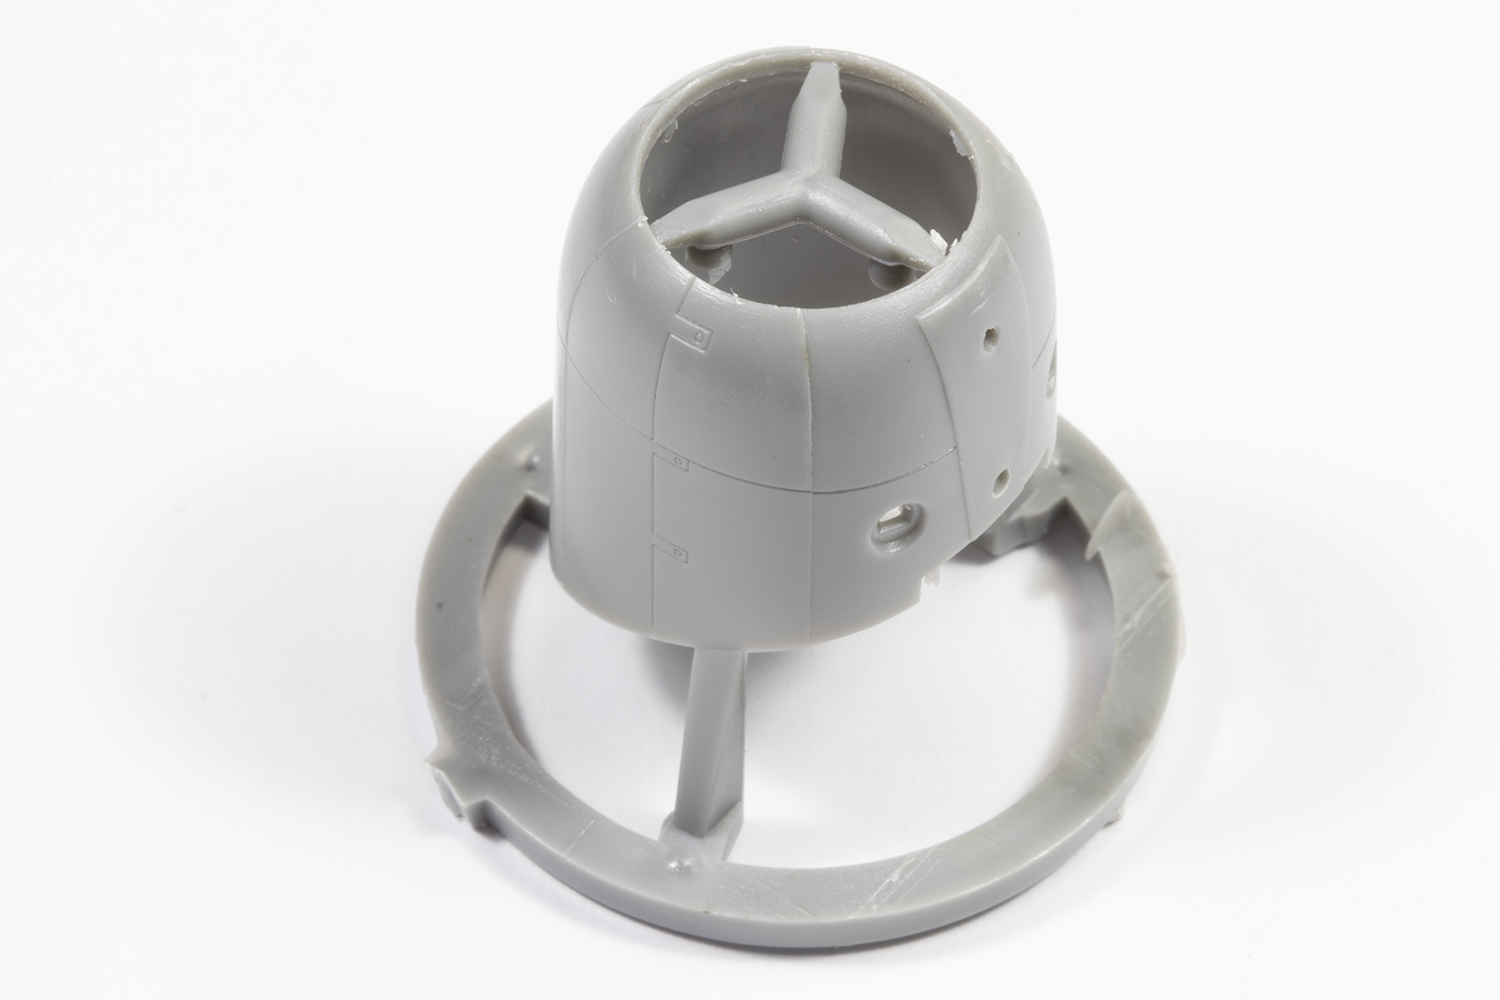
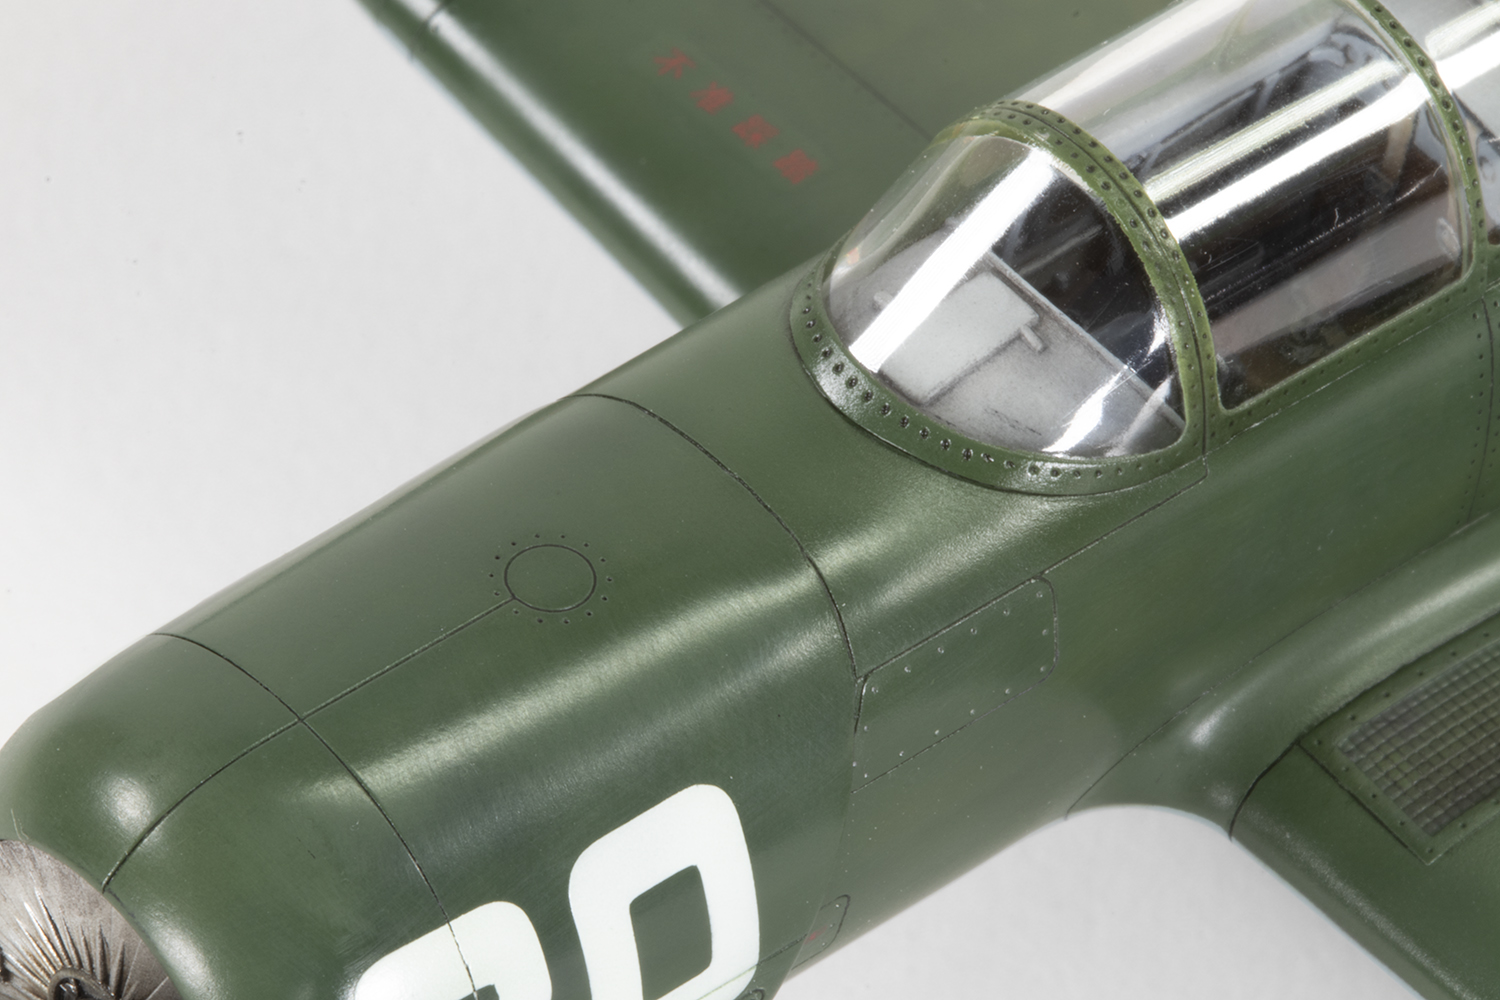
Closer examination of the parts is a little disappointing. The cowl is a single-piece, which would be impressive were it not for the significant mould parting lines. Cleaning these up was not much less effort than if they were joins. Towards the edges of the major parts the plastic becomes gritty and the surface detail fades, which would require polishing and rescribing later on, but overall it’s not too bad.


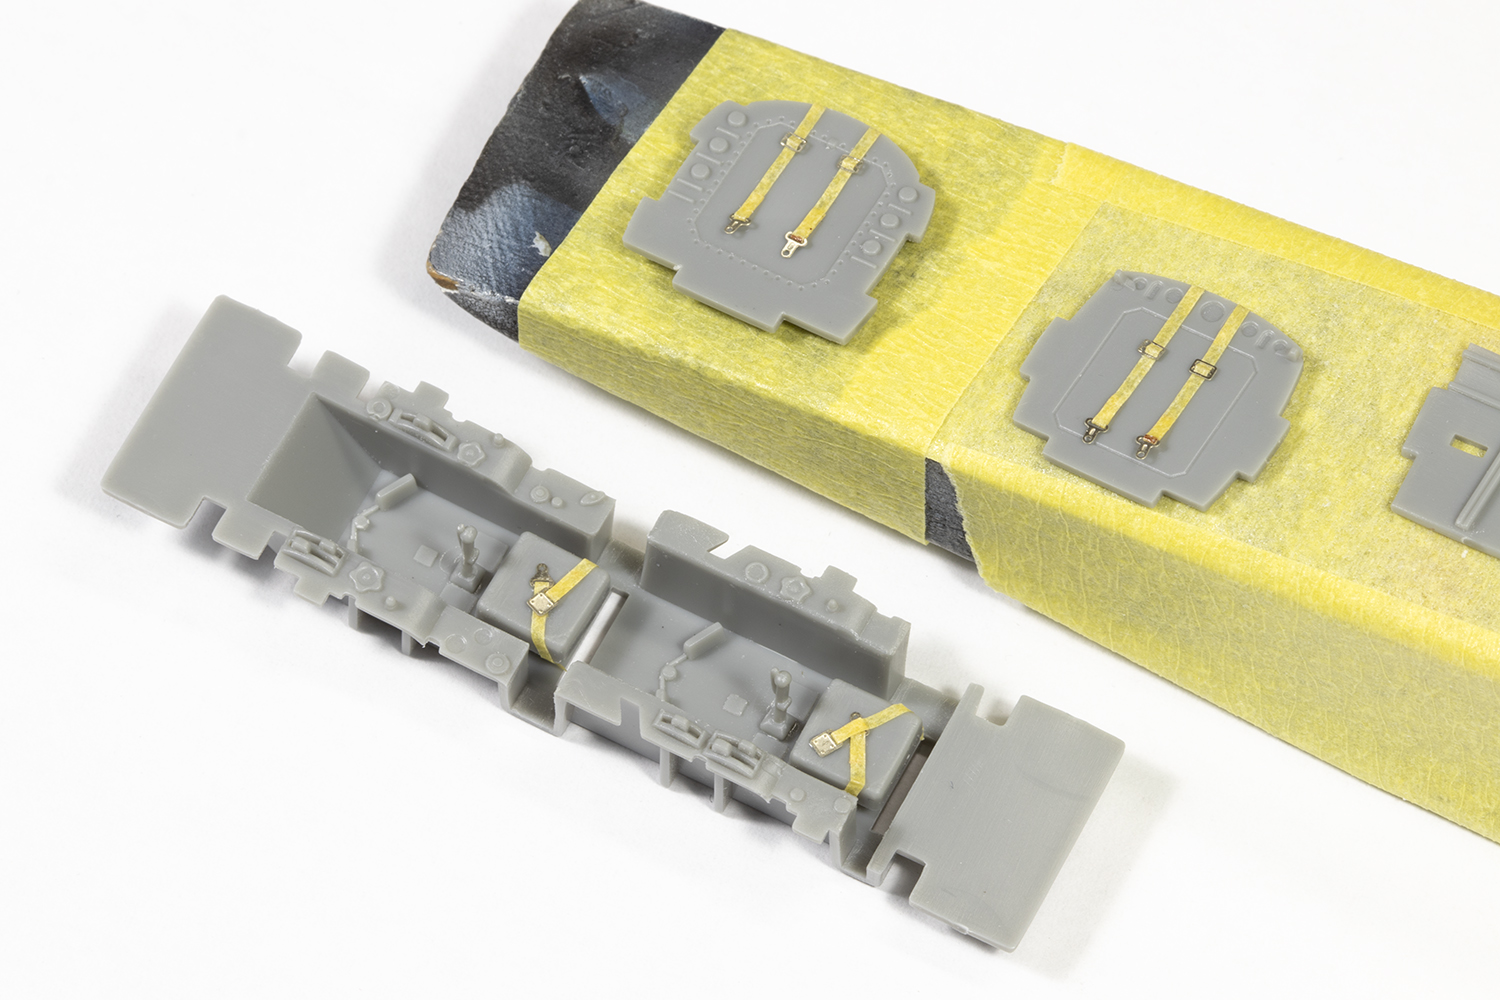
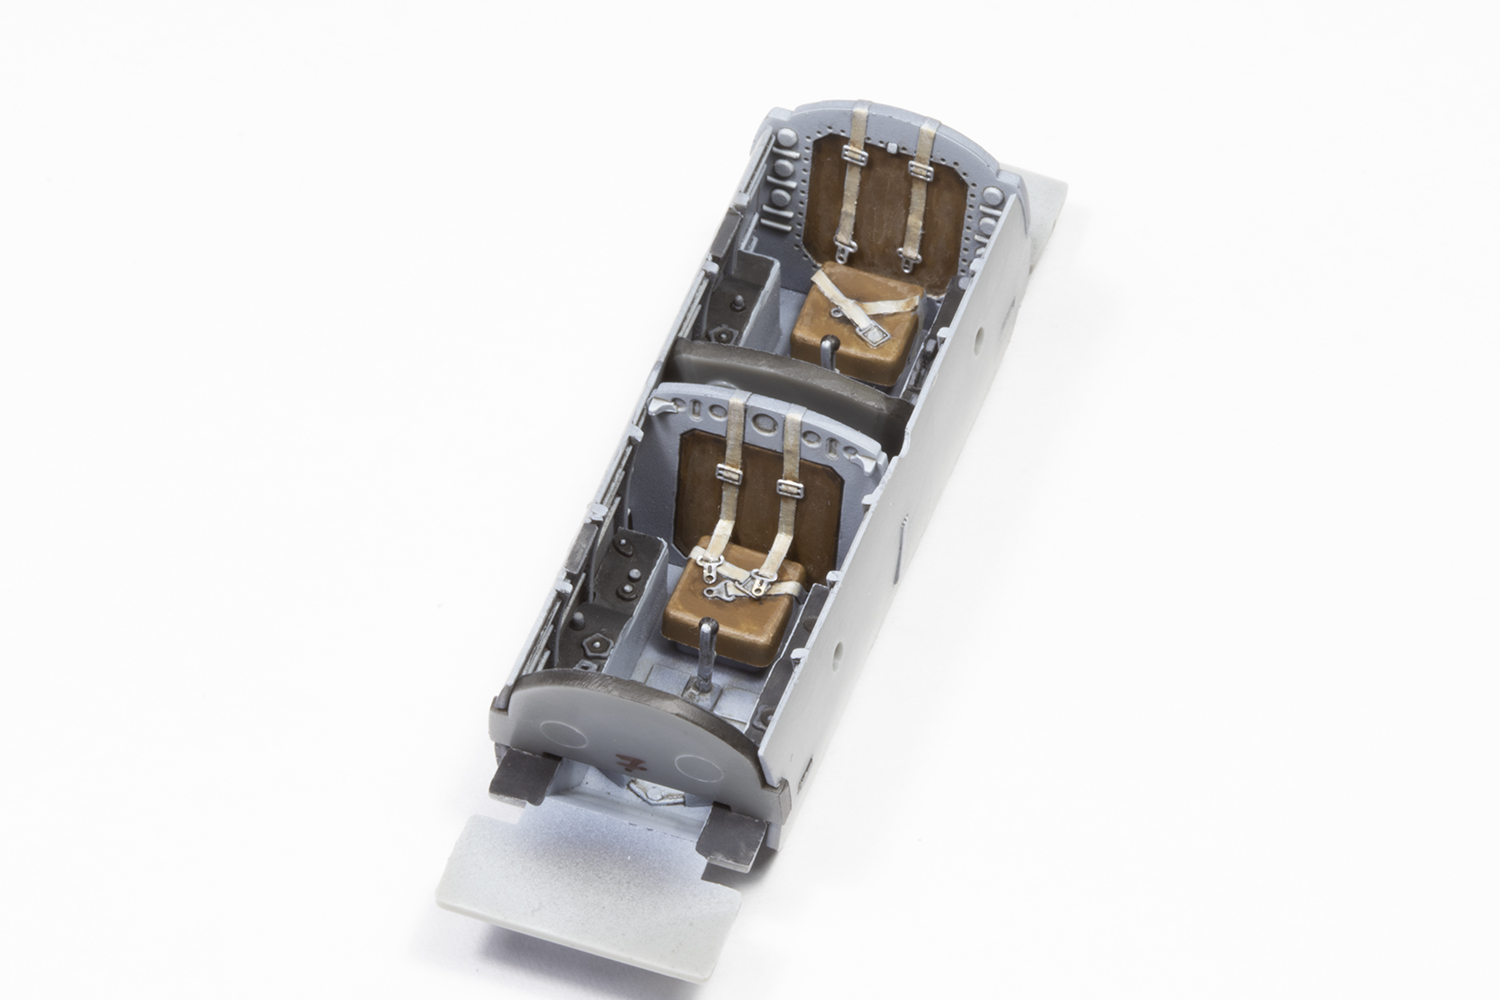
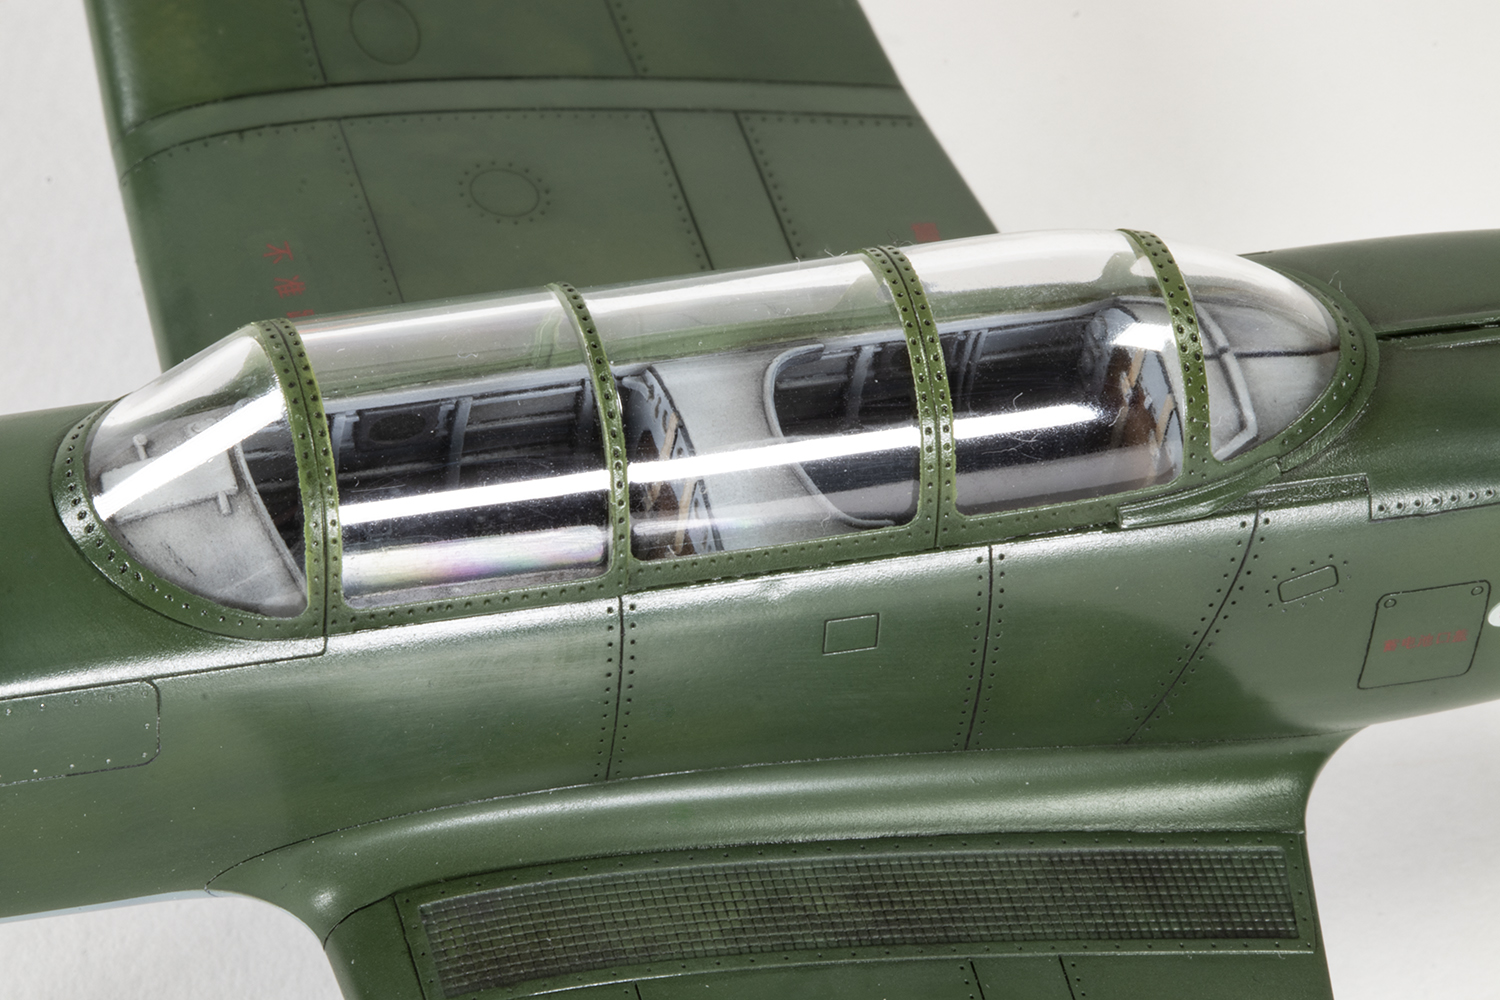
Build reviews I consulted all lamented the lack of seat backs provided by Trumpeter in the cockpit. I found it impossible to locate any photos of the interior of an operational CJ-6, and made the decision to trust the kit designer and leave the seats alone. The only addition I made was to fabricate some seatbelts from Tamiya tape and PE buckles by ANYZ. Whilst it’s more fiddly, I infinitely prefer fitting tape belts to etched belts as they are easier to place. What colour the cockpit should be is anyone’s guess. I concluded it was a pale grey and used Mr Color 338 Light Gray (sic). It’s actually all rather visible through the very clear canopy and I probably should have paid more attention to it; in the end it was merely shaded with some Dark Mud ABT oil paint and gently drybrushed. A decal is provided, but it’s awfully simplistic, and were I a more conscientious modeller I would have added some individual dial decals, but I’m not, so I didn’t. The need for me to acquire some, however, is growing…

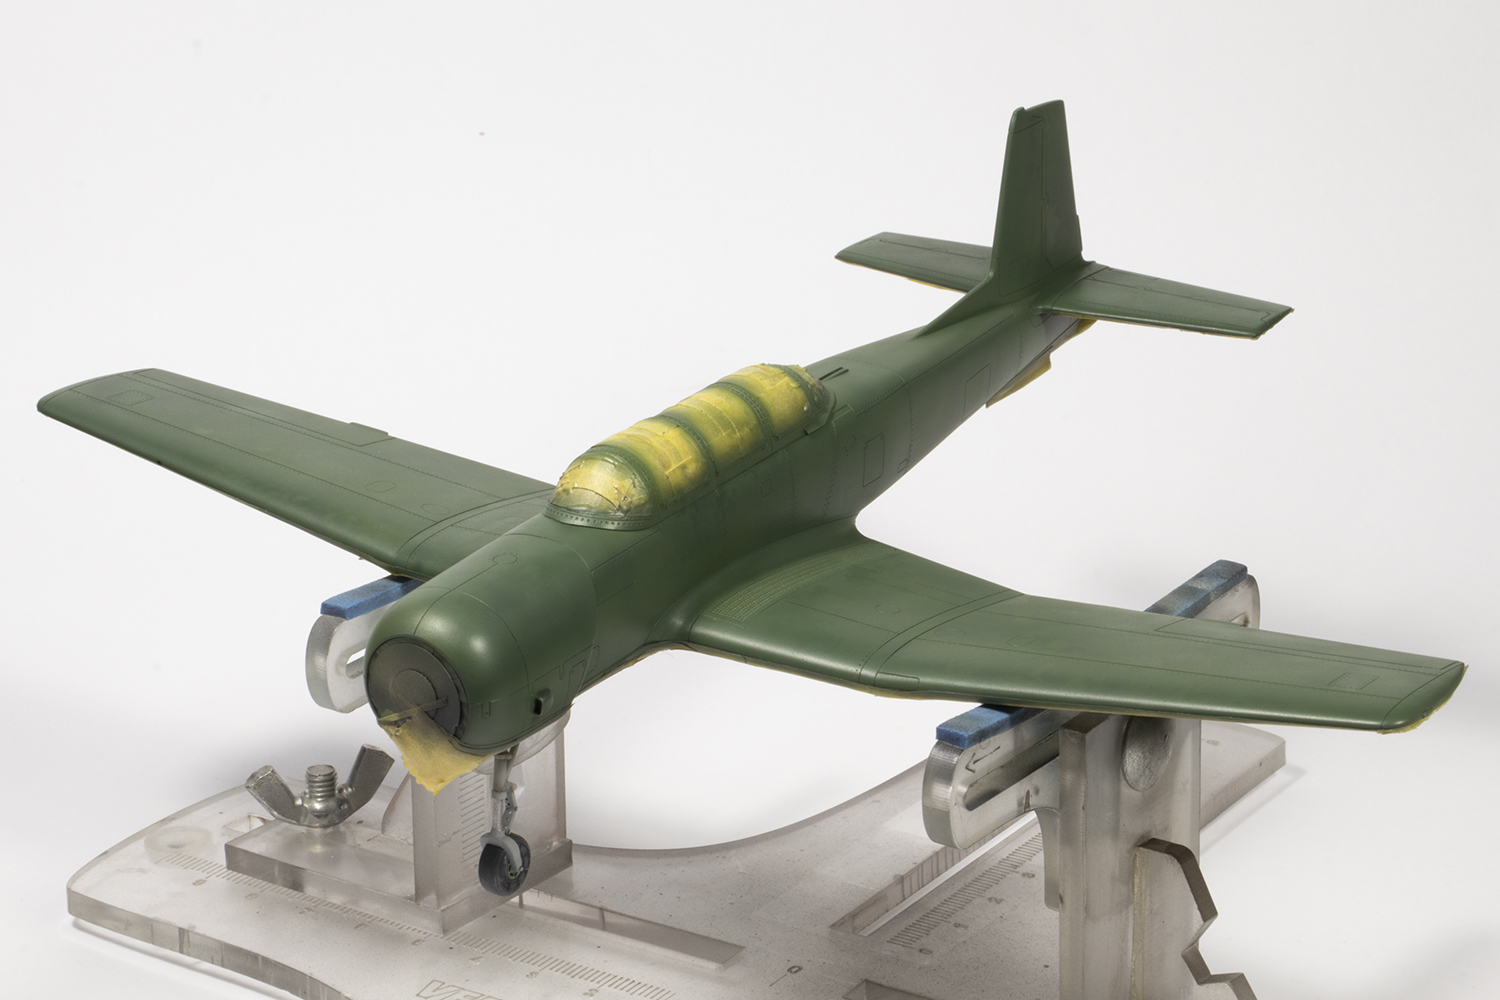
With the interior installed, rapid progress was made with general construction. A lot of dry-fitting was required, not least to establish the amount of nose weight needed. The cowling can just plug on and off the front of the nose, so with the undercarriage temporarily push-fitted in place, I kept adding little lead balls until it stayed level. I’ve no idea how heavy it was in the end.


In general, the fit of all the major components was very good, and I used superglue as is my wont, in order to avoid ghost seams. Some careful rescribing was required and I took the opportunity to deepen all of it a little to hold a wash better later on. My favourite tool for this is the Shimomura ALEC Holly Line Engraver, which was rather expensive and is now difficult to find, but has a magical ability to avoid wandering off track. A needle in a pin vise re-emphasised some of the rivet detail.

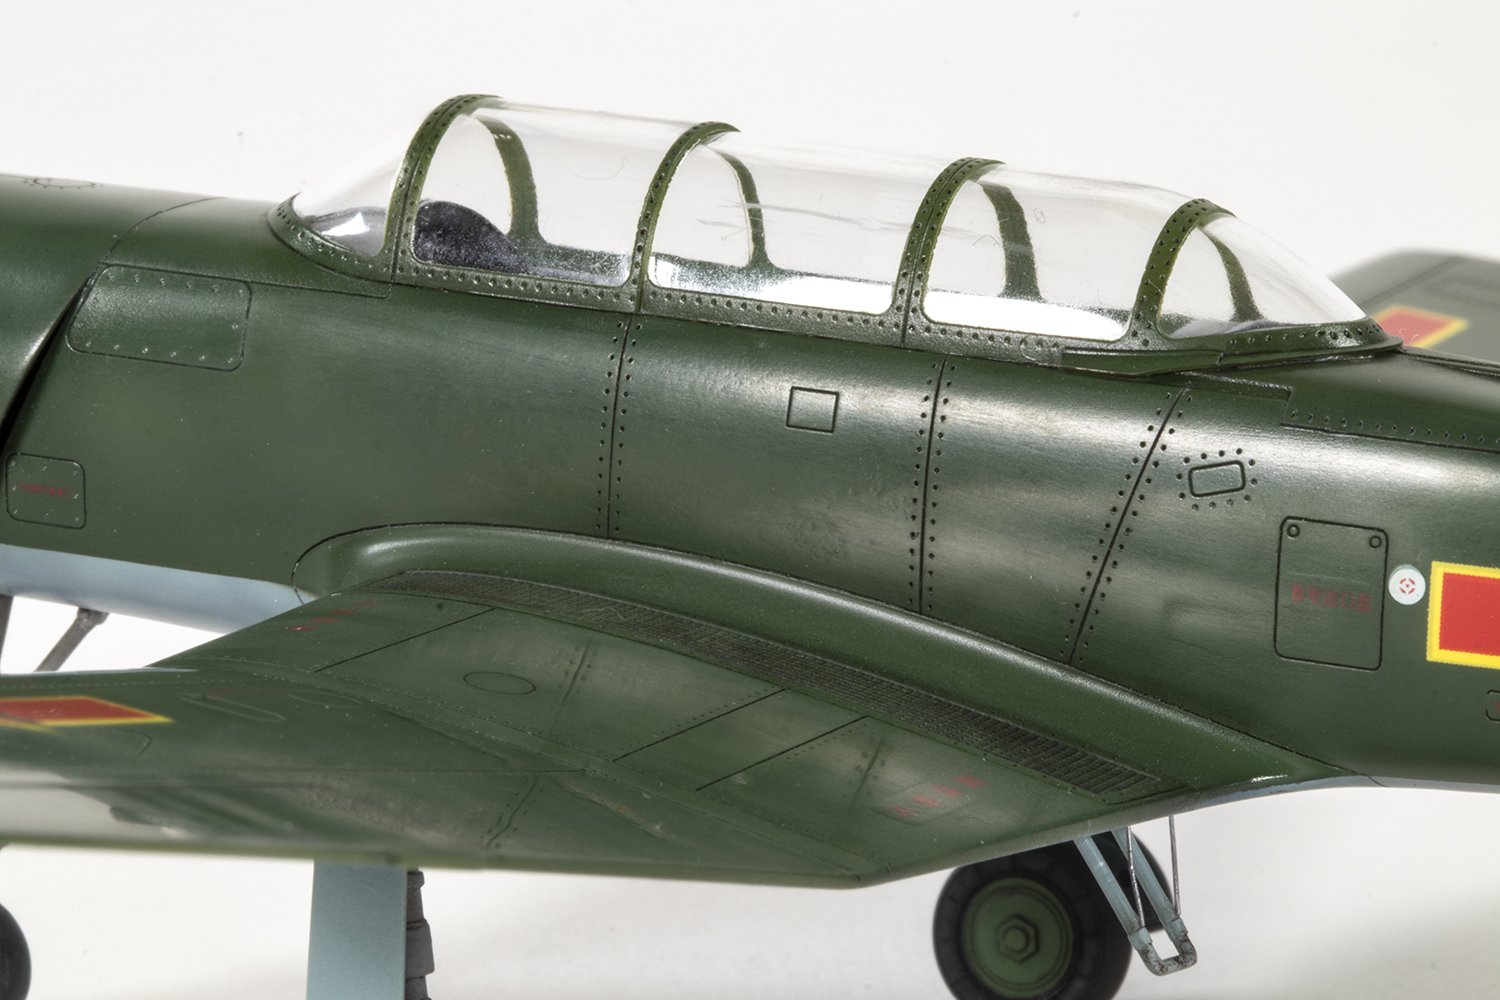
Things were racing along now, and with all the major parts together, I could add the incredibly clear canopy. I like to use Tamiya Extra Thin for clear parts as it forms such a strong bond. The downside it that if you get it where you don’t want it, you can ruin the part, and TET does have a habit of wicking a long way from where you apply it. Fortunately in this case it was mishap-free, and aside from a small mould scar that needed filling with clear UV resin, I could crack on with masking. The curves at the corners of the panes could be masked with some tiny circles made by HIQ Parts and then joined up with fine strips of Tamiya tape sliced on an Infini cutting board. Masking fluid filled the gaps. A dedicated masking set would be nice, but it was less of a drag to make my own than I thought it would be.

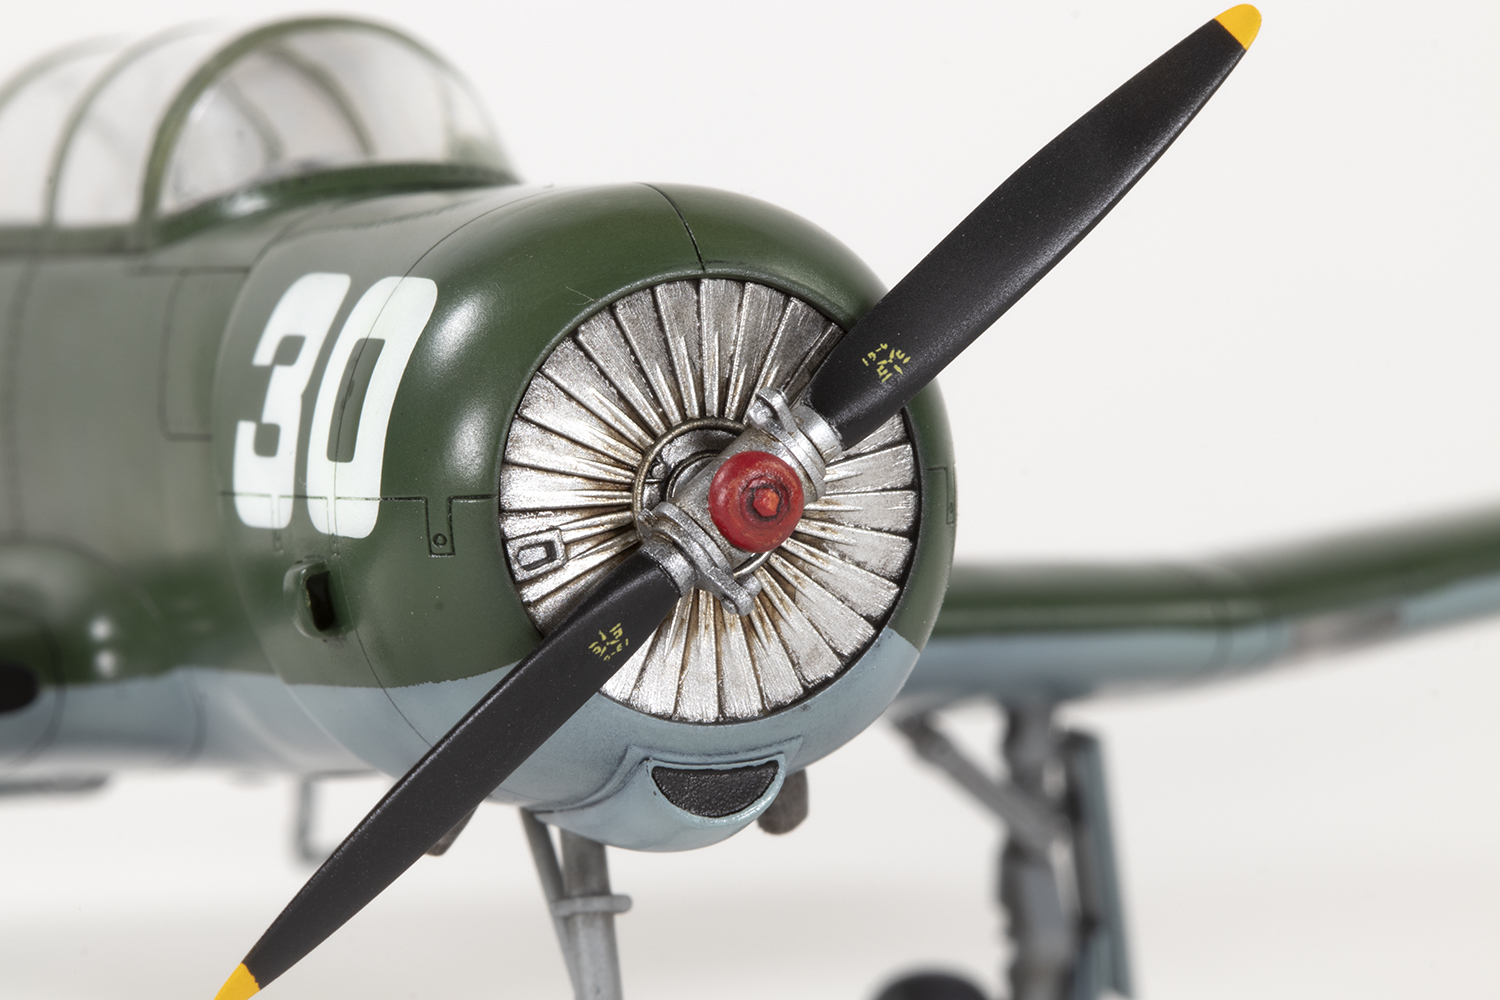
We now reach the major engineering downside of this model: the nose gear. The wheel is moulded to the leg as a single piece, which is clunky but forgivable; what is not is how early the leg needs to be added. I have read of other modellers fitting it at the end, and I played around with this, but they must be better than me as I couldn’t do it. The nose leg was glued in place. In the absence of any references, I had already painted it with AKAN 63059 Faded Grey as it seemed a suitably Communist fit, and used Russian Green from the same brand for the wheels. Thankfully the leg remained unscathed through the remainder of the project, but it did get in the way. Once on, the cowling could be added and the model was ready for paint.
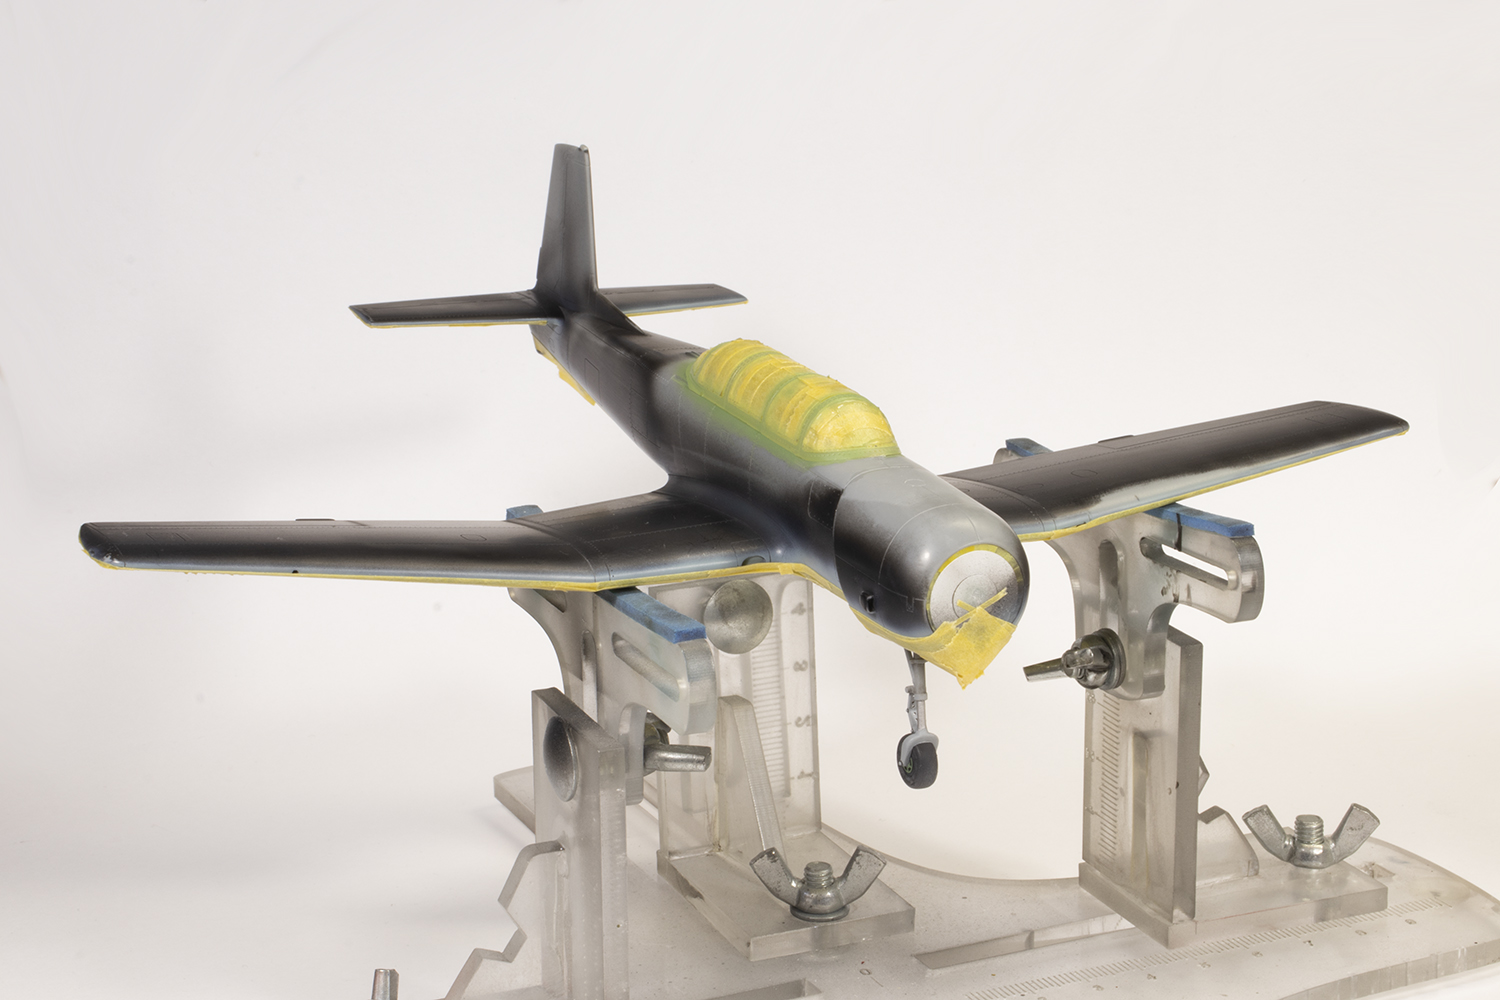
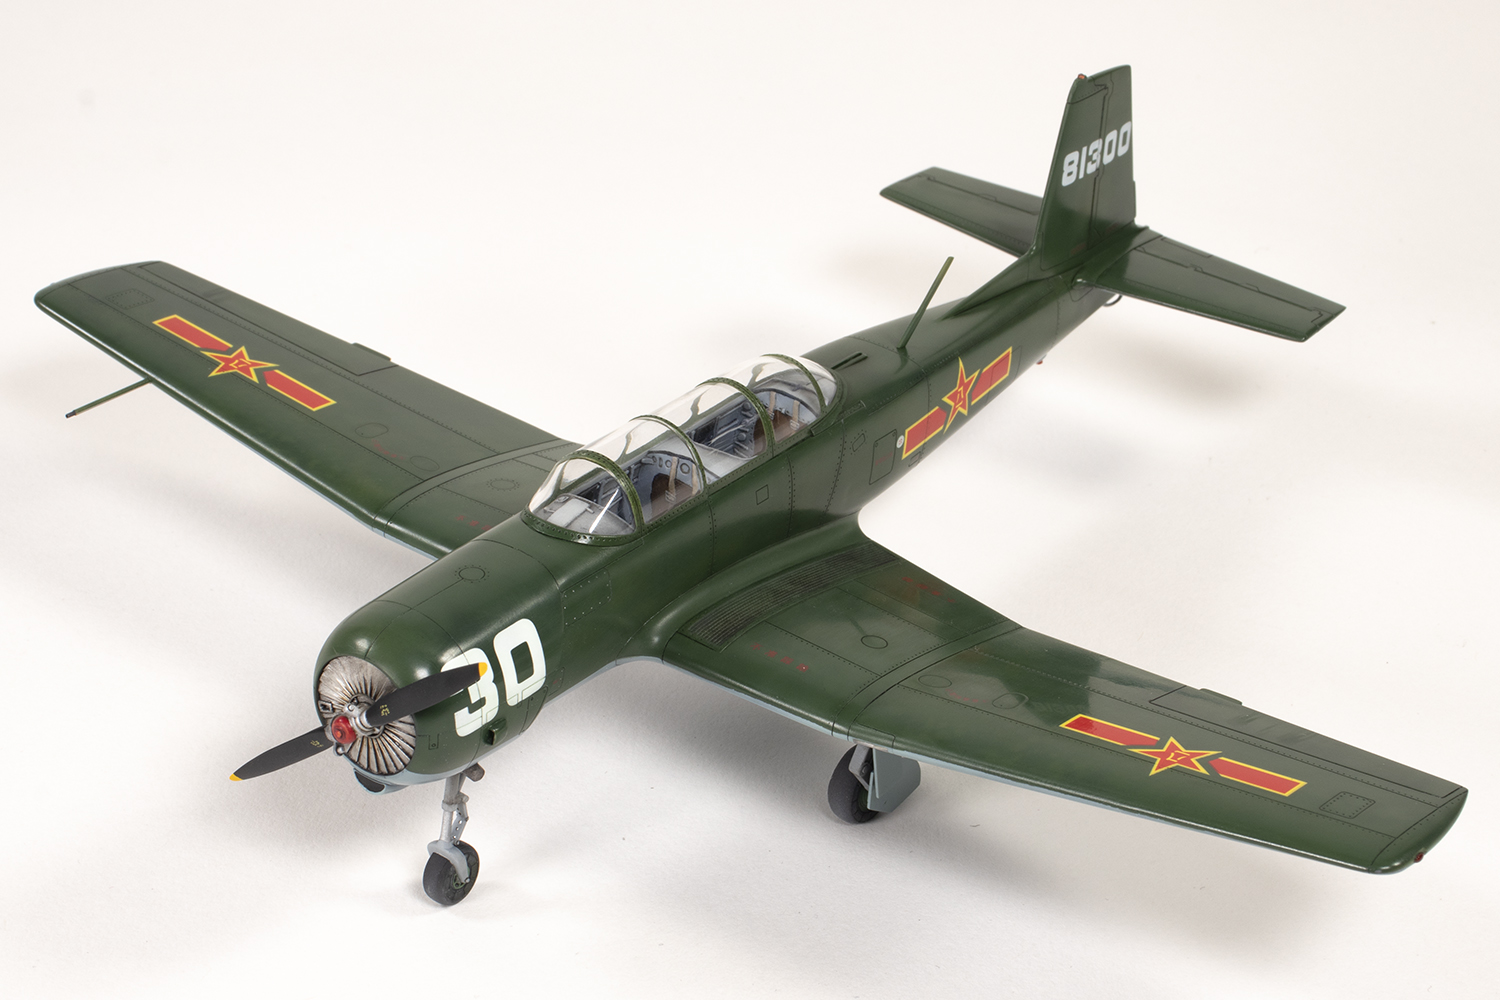
Trumpeter recommend Mr Color 115 RLM65 Light Blue for the undersides, and since it was a generic light blue, I did not object. The green, however, was another matter. I had three photographs of CJ-6s from the 1st Training Regiment of the PLANAF available, covering two airframes, and all three showed quite dramatic changes in the shade of green depending on the light. In one they were an olive green (indeed, Trumpeter recommend an Olive Drab by Gunze); in the other two the green was much darker, approaching a British Racing Green. What to do? As an inveterate fence-sitter I found a shade of green I thought roughly matched each photo and mixed them together in attempt to split the difference. I plumped for Mr Color 302 FS34092 and 303 FS34102 and enthusiastically mottled my mix over the black primer I’d applied earlier. During airbrushing I altered the mix a little, both darker and lighter, since some subtle paint variations were visible in the photos. As I intended to replicate the glossy finish of the real thing, I pushed the contrast of the green mottling just a bit further than I normally would since the clear coat would reduce it later on.


Once done I looked at my hard work and didn’t like it: It wasn’t nearly olive enough. But since I hate redoing things, I buried my head in the sand and pushed on. It is, as they say, what it is.
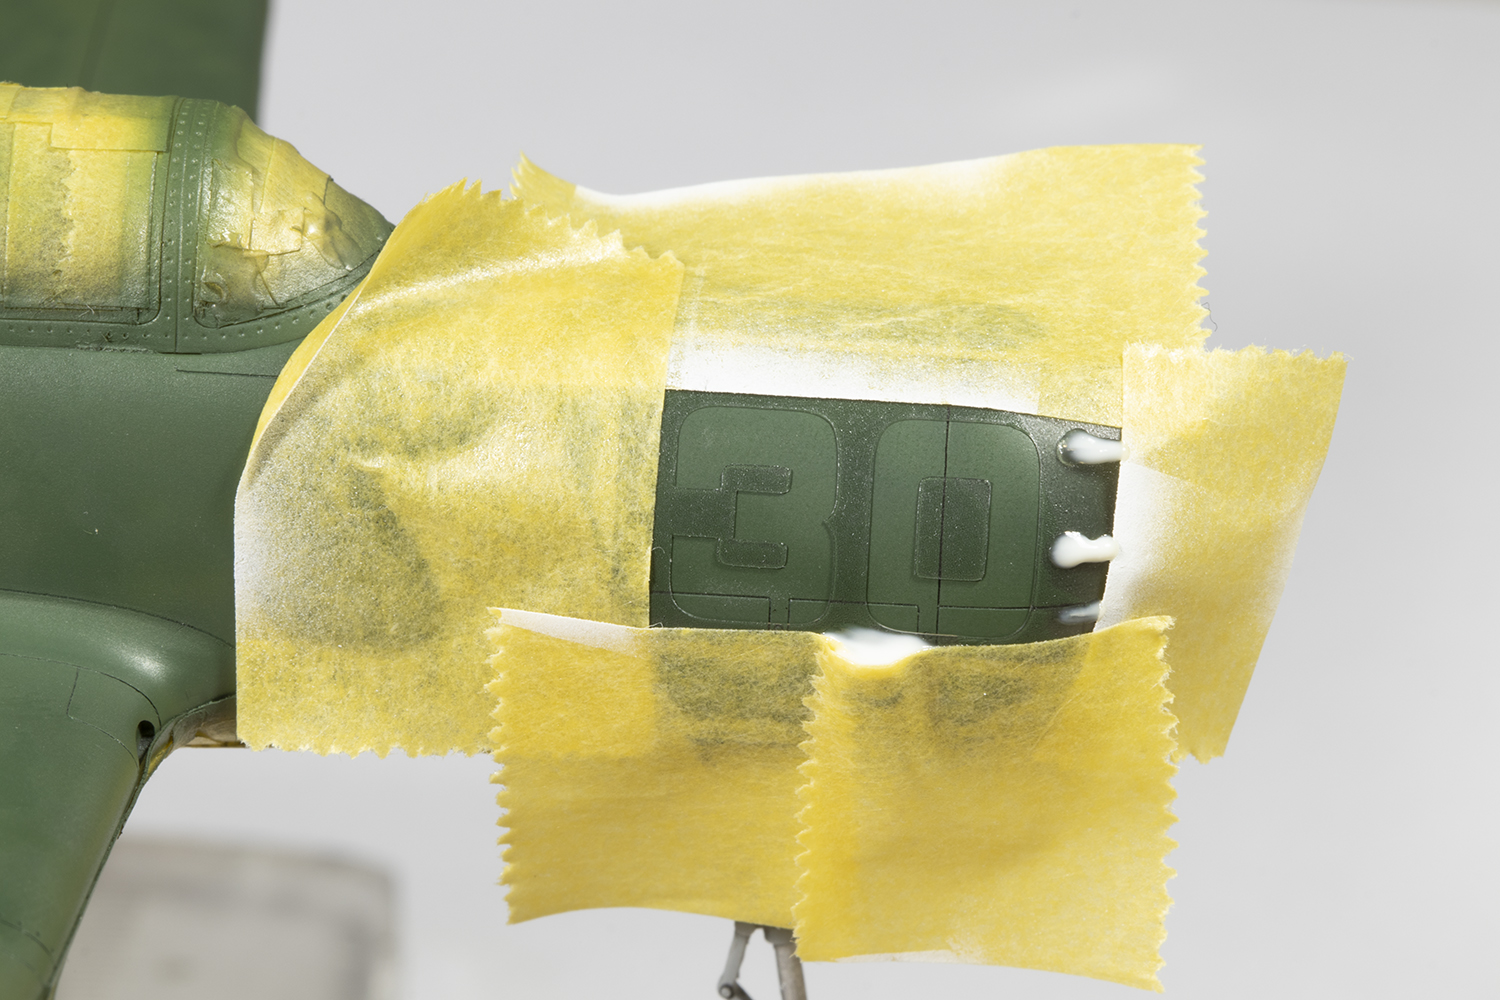
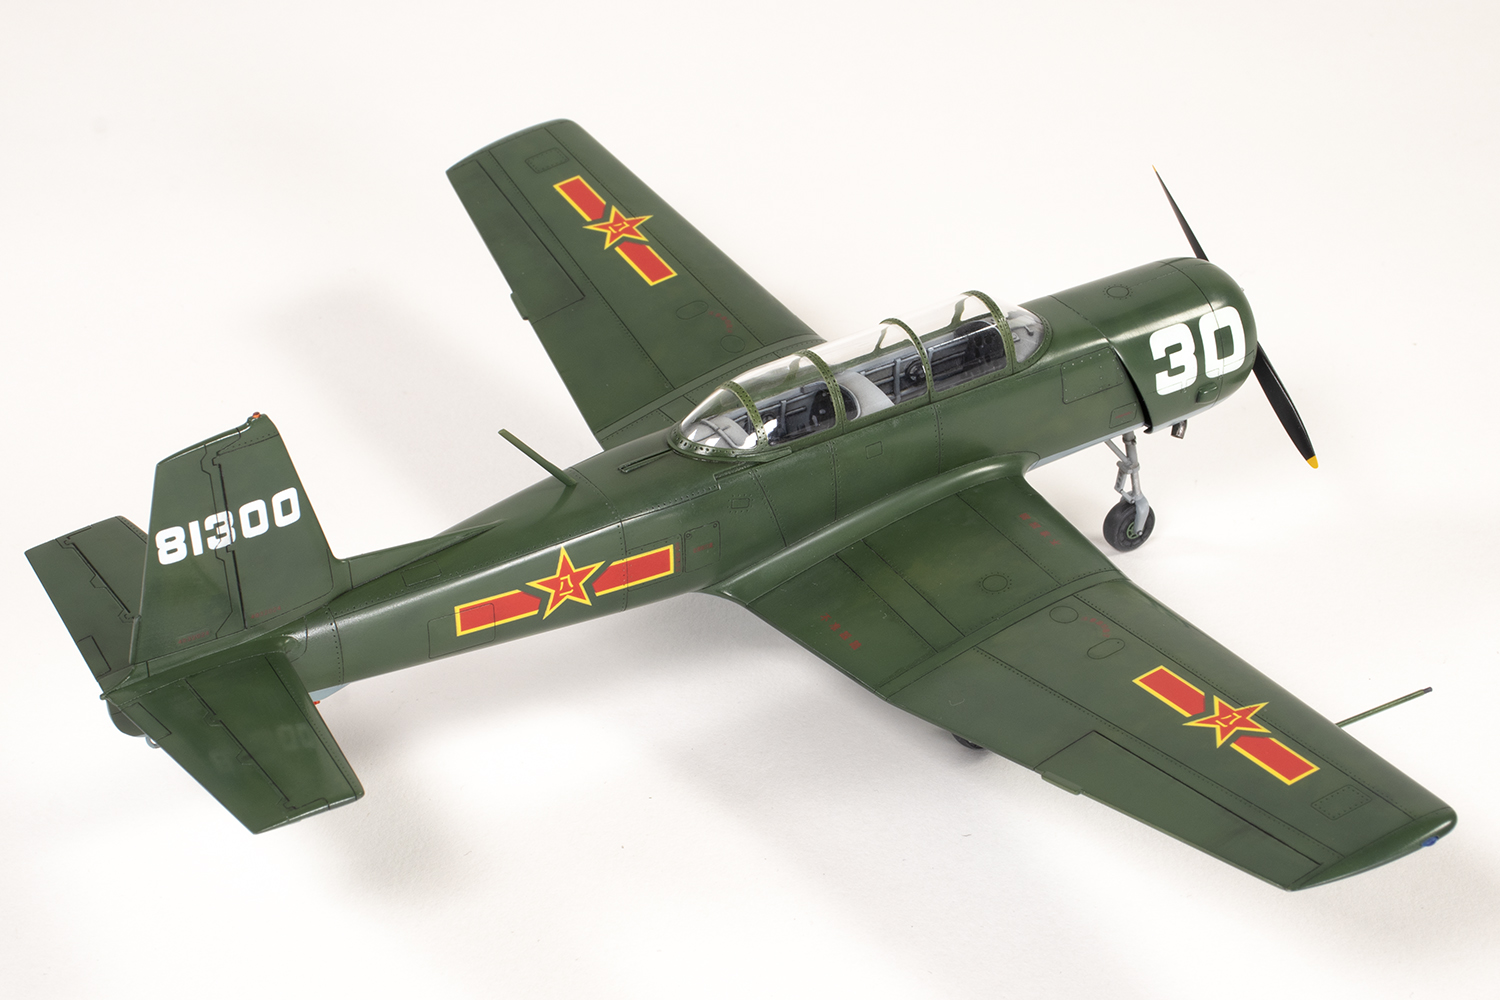
Before playing around with oils, I got the serials done with Tamiya XF-2 Flat White. The masks were designed and cut on my Silhouette Portrait 2 cutter (a surprisingly useful purchase) using Oramask 810 adhesive vinyl. I much prefer the Tamiya paints when spraying through a stencil as they form a neater edge than I can manage with lacquers.
Decals were next and are a mixed bag. The national insignia are pixelated, have poor registration and thus don’t look good. Why I persisted in using them I have no idea, but they did settle down nicely. Trumpeter provide quite a few stencils, which in contrast, are beautifully printed and very clear. I suspect those made up of a string of identical numbers are nonsense, but I added most of them anyway for interest. The Chinese stencils are exquisitely legible and from my rusty language skills make sense.

To enhance the contrast I’d already baked in with the paint, I played around with various darker shades of the base colours mixed from ABT oil paints. A thinner mix was used for the panel lines, and thicker for general discolouration. Photos showed that many of the screws or rivets around panels are a bright metallic colour, and Ammo Silver Oilbrusher was perfect for this. All of this so far had been done directly on the paint.


Next was the stage I was dreading the most: the gloss coat. I didn’t want a super-glossy finish (it’s not a car model, after all!) but I did want something pretty reflective, like the photos. My strategy was to airbrush on a decent gloss and polish it back a little bit to make the shininess less in-your-face. I dread gloss coats because of the bits of dust and microfibres that inevitably get stuck in the finish and need sanding out. This proved to be the case, made worse by the fact I’d picked the model up a few times with an ungloved hand, and I think I must be silicone-based as my skin oils repel lacquers like nothing else; a few fingerprint-shaped fish-eyes appeared in the gloss. The clear coat was Mr Color GX100 thinned quite heavily with Mr Leveling Thinner and airbrushed wet with an Iwata RG-3L mini pseudo-spray gun. Once cured, I cut it back with some Infini 2500 grit sanding film and buffed it with their 4000 grit abrasive. This produces a subdued gloss which I like.
Inevitably some touch-ups were required where my polishing burned through the varnish and paint, but thankfully they were minor and added to the overall patina of the model. Polishing a clear coat can clog the recessed detail with a pale-coloured residue that is a nightmare to remove. In this case, reapplying some of the oil wash was the quickest way to restore the darker colour.
Late in the game I discovered that the boarding step was located in the wrong place. This necessitated filling the location holes and re-drilling them as close to the flap as possible. I could then replicate what I take to be straps that brace the step with some 0.2mm lead wire. I also took the opportunity to replace the wing-mounted pitot tube with 0.6mm and 0.8mm brass tube from Albion Alloys.

Removing the masks was predictably disappointing. In general it looked great, but a very fine streak of overspray was in the inside that had made its way through a hairline gap I neglected to seal when seating the canopy. It does mar the finished model, but from lots of angles can’t be seen.
Everything else was then installed to bring the project to a rapid conclusion. The main undercarriage is slightly crooked – the retraction struts pull the gear legs in a little too much. My CJ-6 ended up with one wing tip lower than the other by a couple of millimetres. This can be hidden by sanding a deeper flat into the relevant wheel – a bit of a cheat, but one that generally works. The final parts to be added were the spine aerial (terrifying – I wish it had had a locating pin!) and the prop.
This was a super-quick ‘slammer’ build intended to close out my modelling for 2022. It didn’t quite make it, being finished in early January, but for three and a half weeks’ work over a busy Christmas period, it fitted the bill. It has its minor problems, but this is a great little kit that charmed me more than I anticipated.


Year bought: 2015 (Hannants)
Year built: 2023 (New Addington, Croydon)
Back to home.
